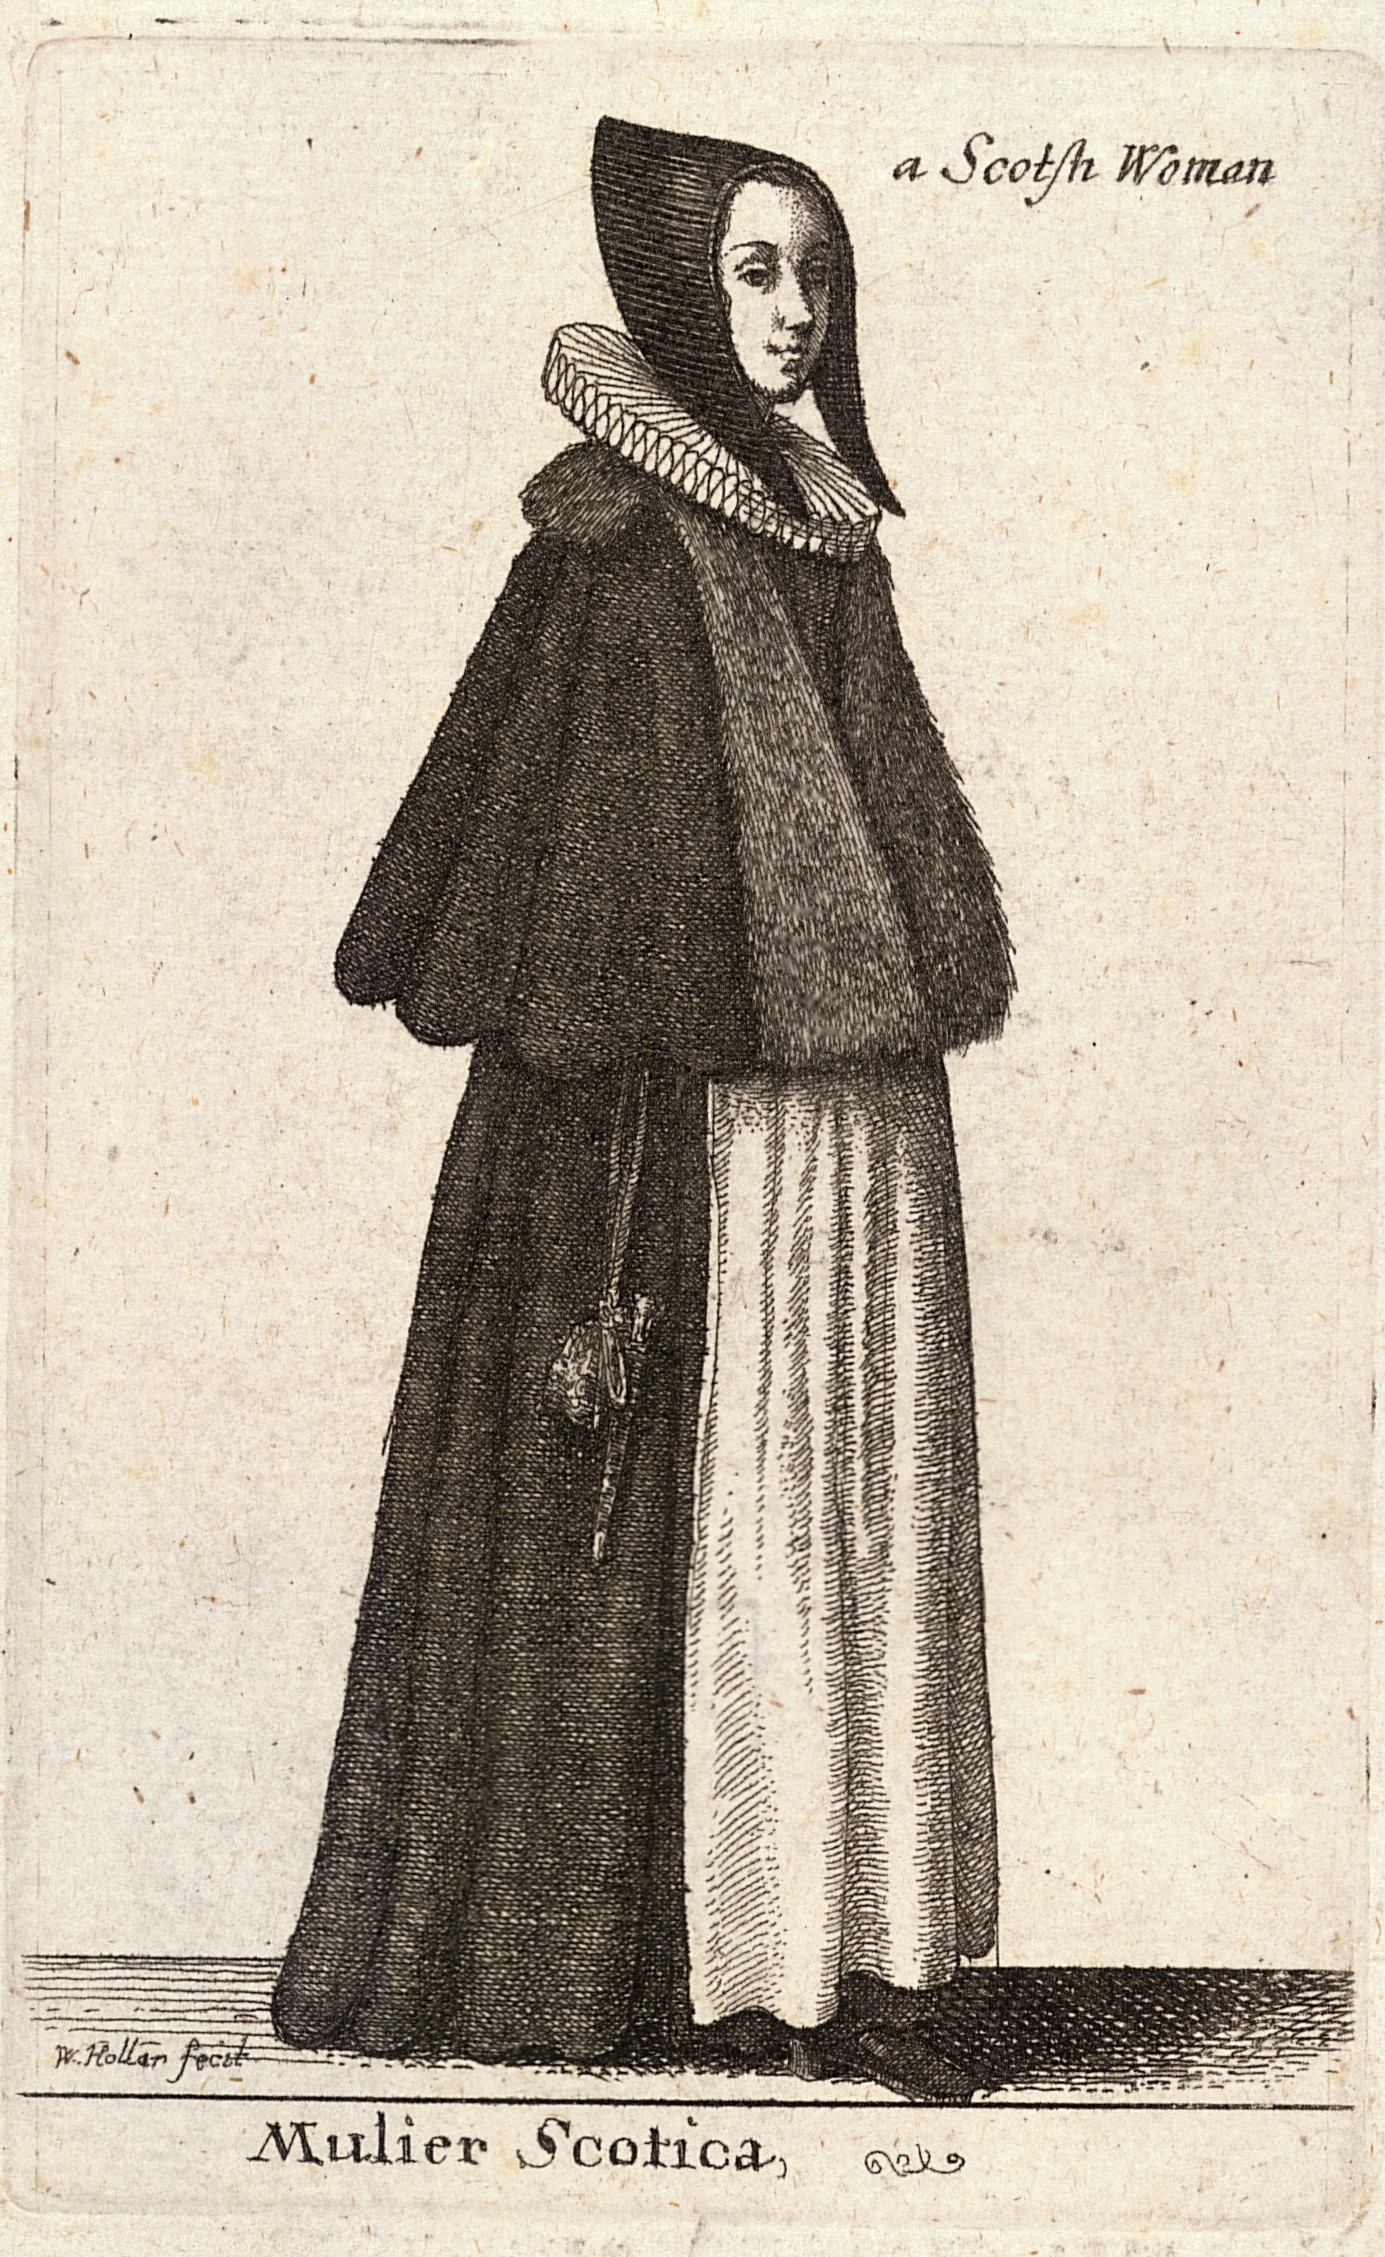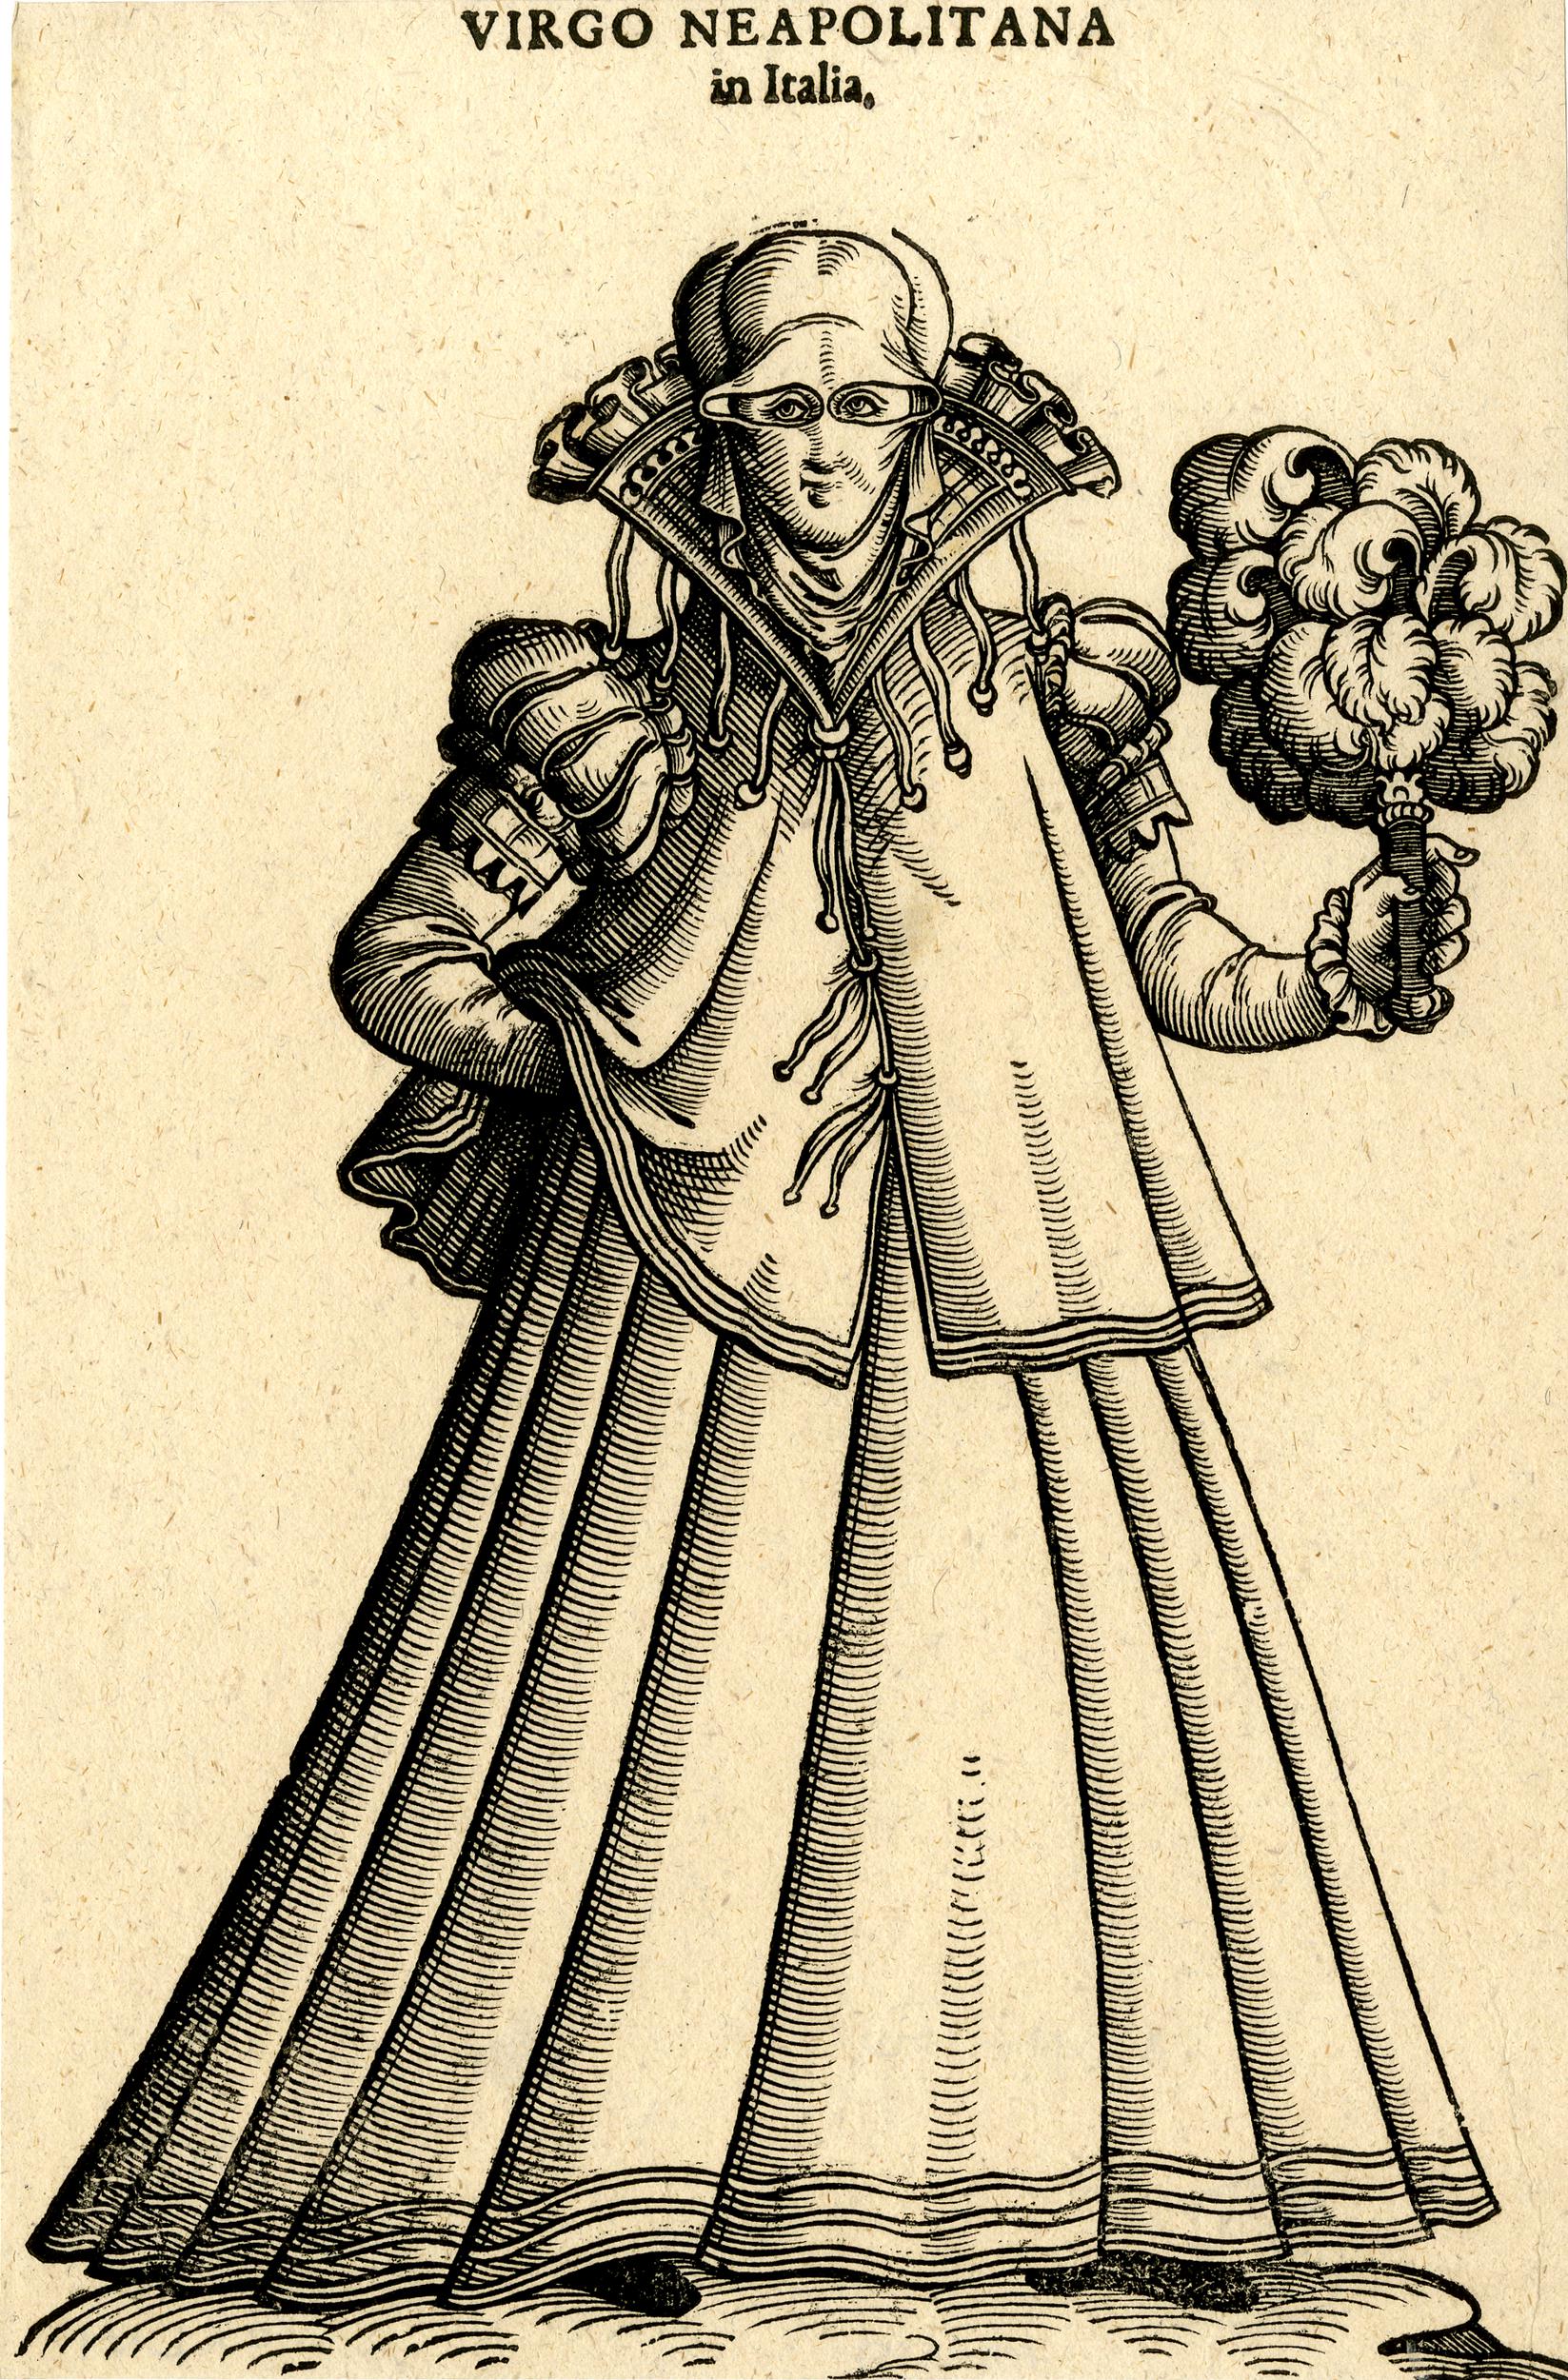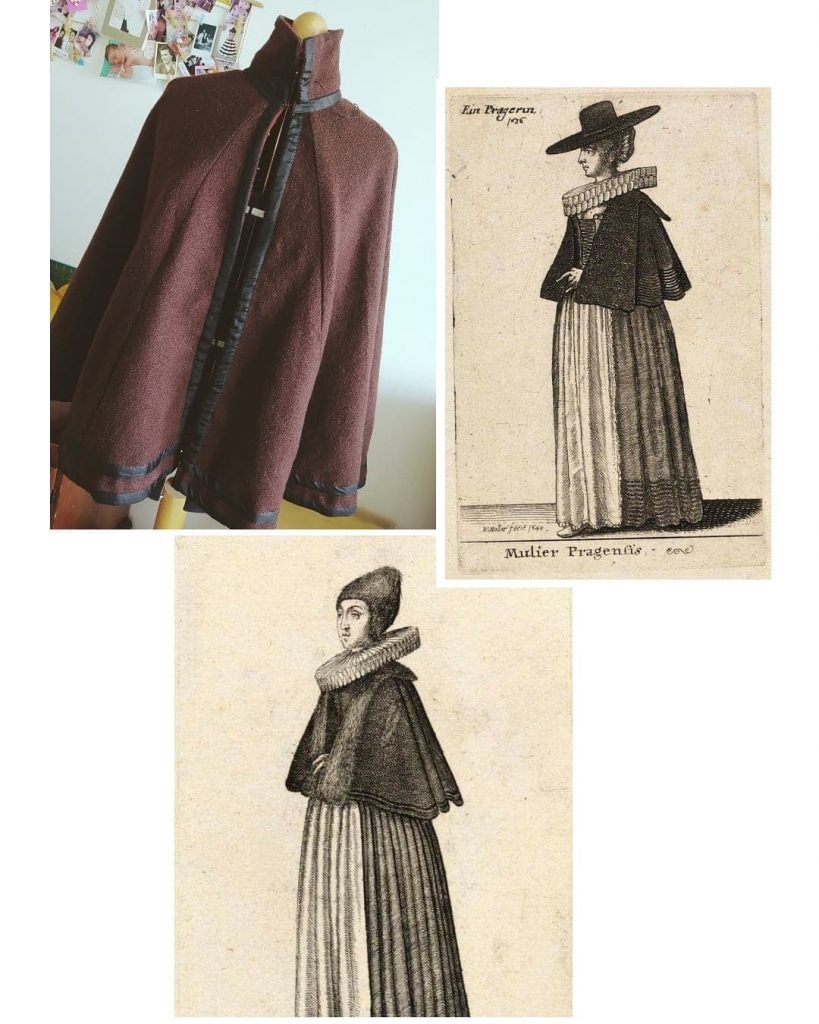
I began to sew a cloak ispired by Hollar's costume study of a woman at a time when I was just starting to reenact, when I didn't know much about 17th century fashion. Apart from the lack of knowledge about what a woman's costume looked like at that time, I also didn't know for a long time what country my very first historical outfit would be inspired by.
Until then, I only had a basic costume: a smock, a kirtle with a stomacher (a piece of fabric under the lacing), a coif, shoes, hose and a waistcoat. It was necessary equipment, but not enough for very cold weather. The warm waistcoat I had was not enough for the winter and the cloak complemented this costume very well with another warm and at the same time nice layer. It seemed appropriate to me because it was possible to dress it over several other warm costume layers. Due to the practical pattern, I therefore chose it as a thermal cloak, which can be worn, for example, over a waistcoat, under which I have another five layers. The cloak got its final shape only after a few years, when I completely replaced the lining and decorated it with ribbons - so it went through several phases and transformations.
What did I want to achieve?

In frauenzimmer
Before I discovered prints of Wenceslas Hollar, I was fascinated by the print of a countrywoman from Prague from the book In frauenzimmer (1586). The woman has a cloak with a fur collar over several layers of clothing and the layer directly under the cloak looks like another cloak of longer dimensions with a fur lining. (I found this source a few years ago on the website krea.wt.cz, which is no longer functional and therefore the link is no longer functional. I try to solve the problem of outdated links by regularly clicking on the blog, but I do not always have enough time and therefore I apologize if you came across an outdated link - it's not an inertial state, all old links will be replaced with the functioanl ones as soon as I can find the source on another link. Thank you for your understanding.)
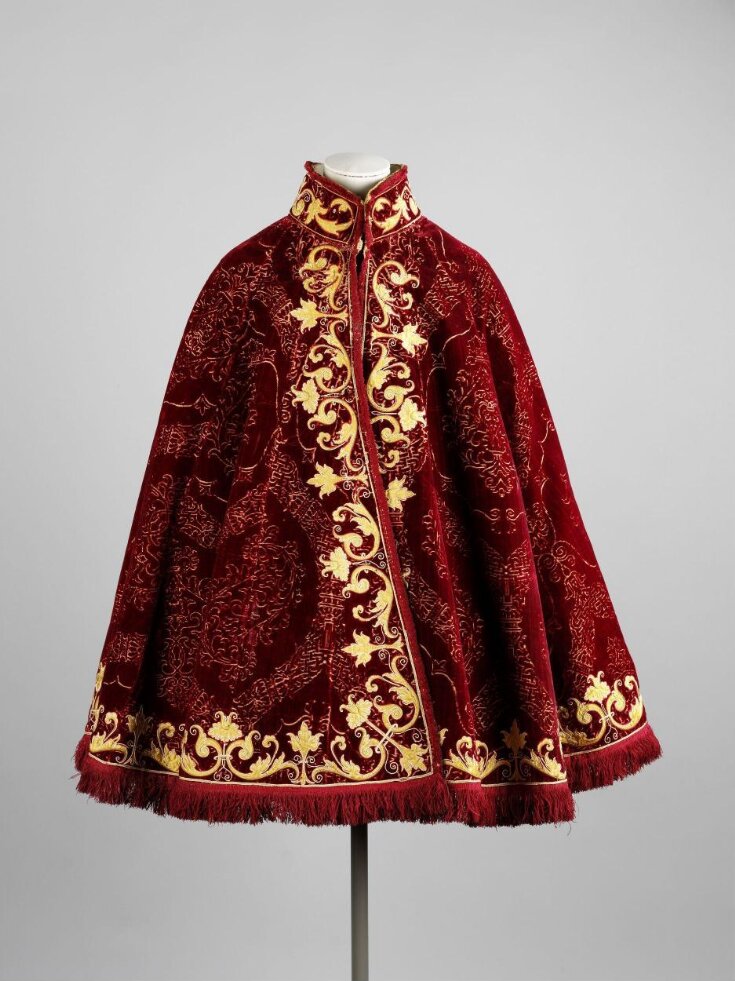
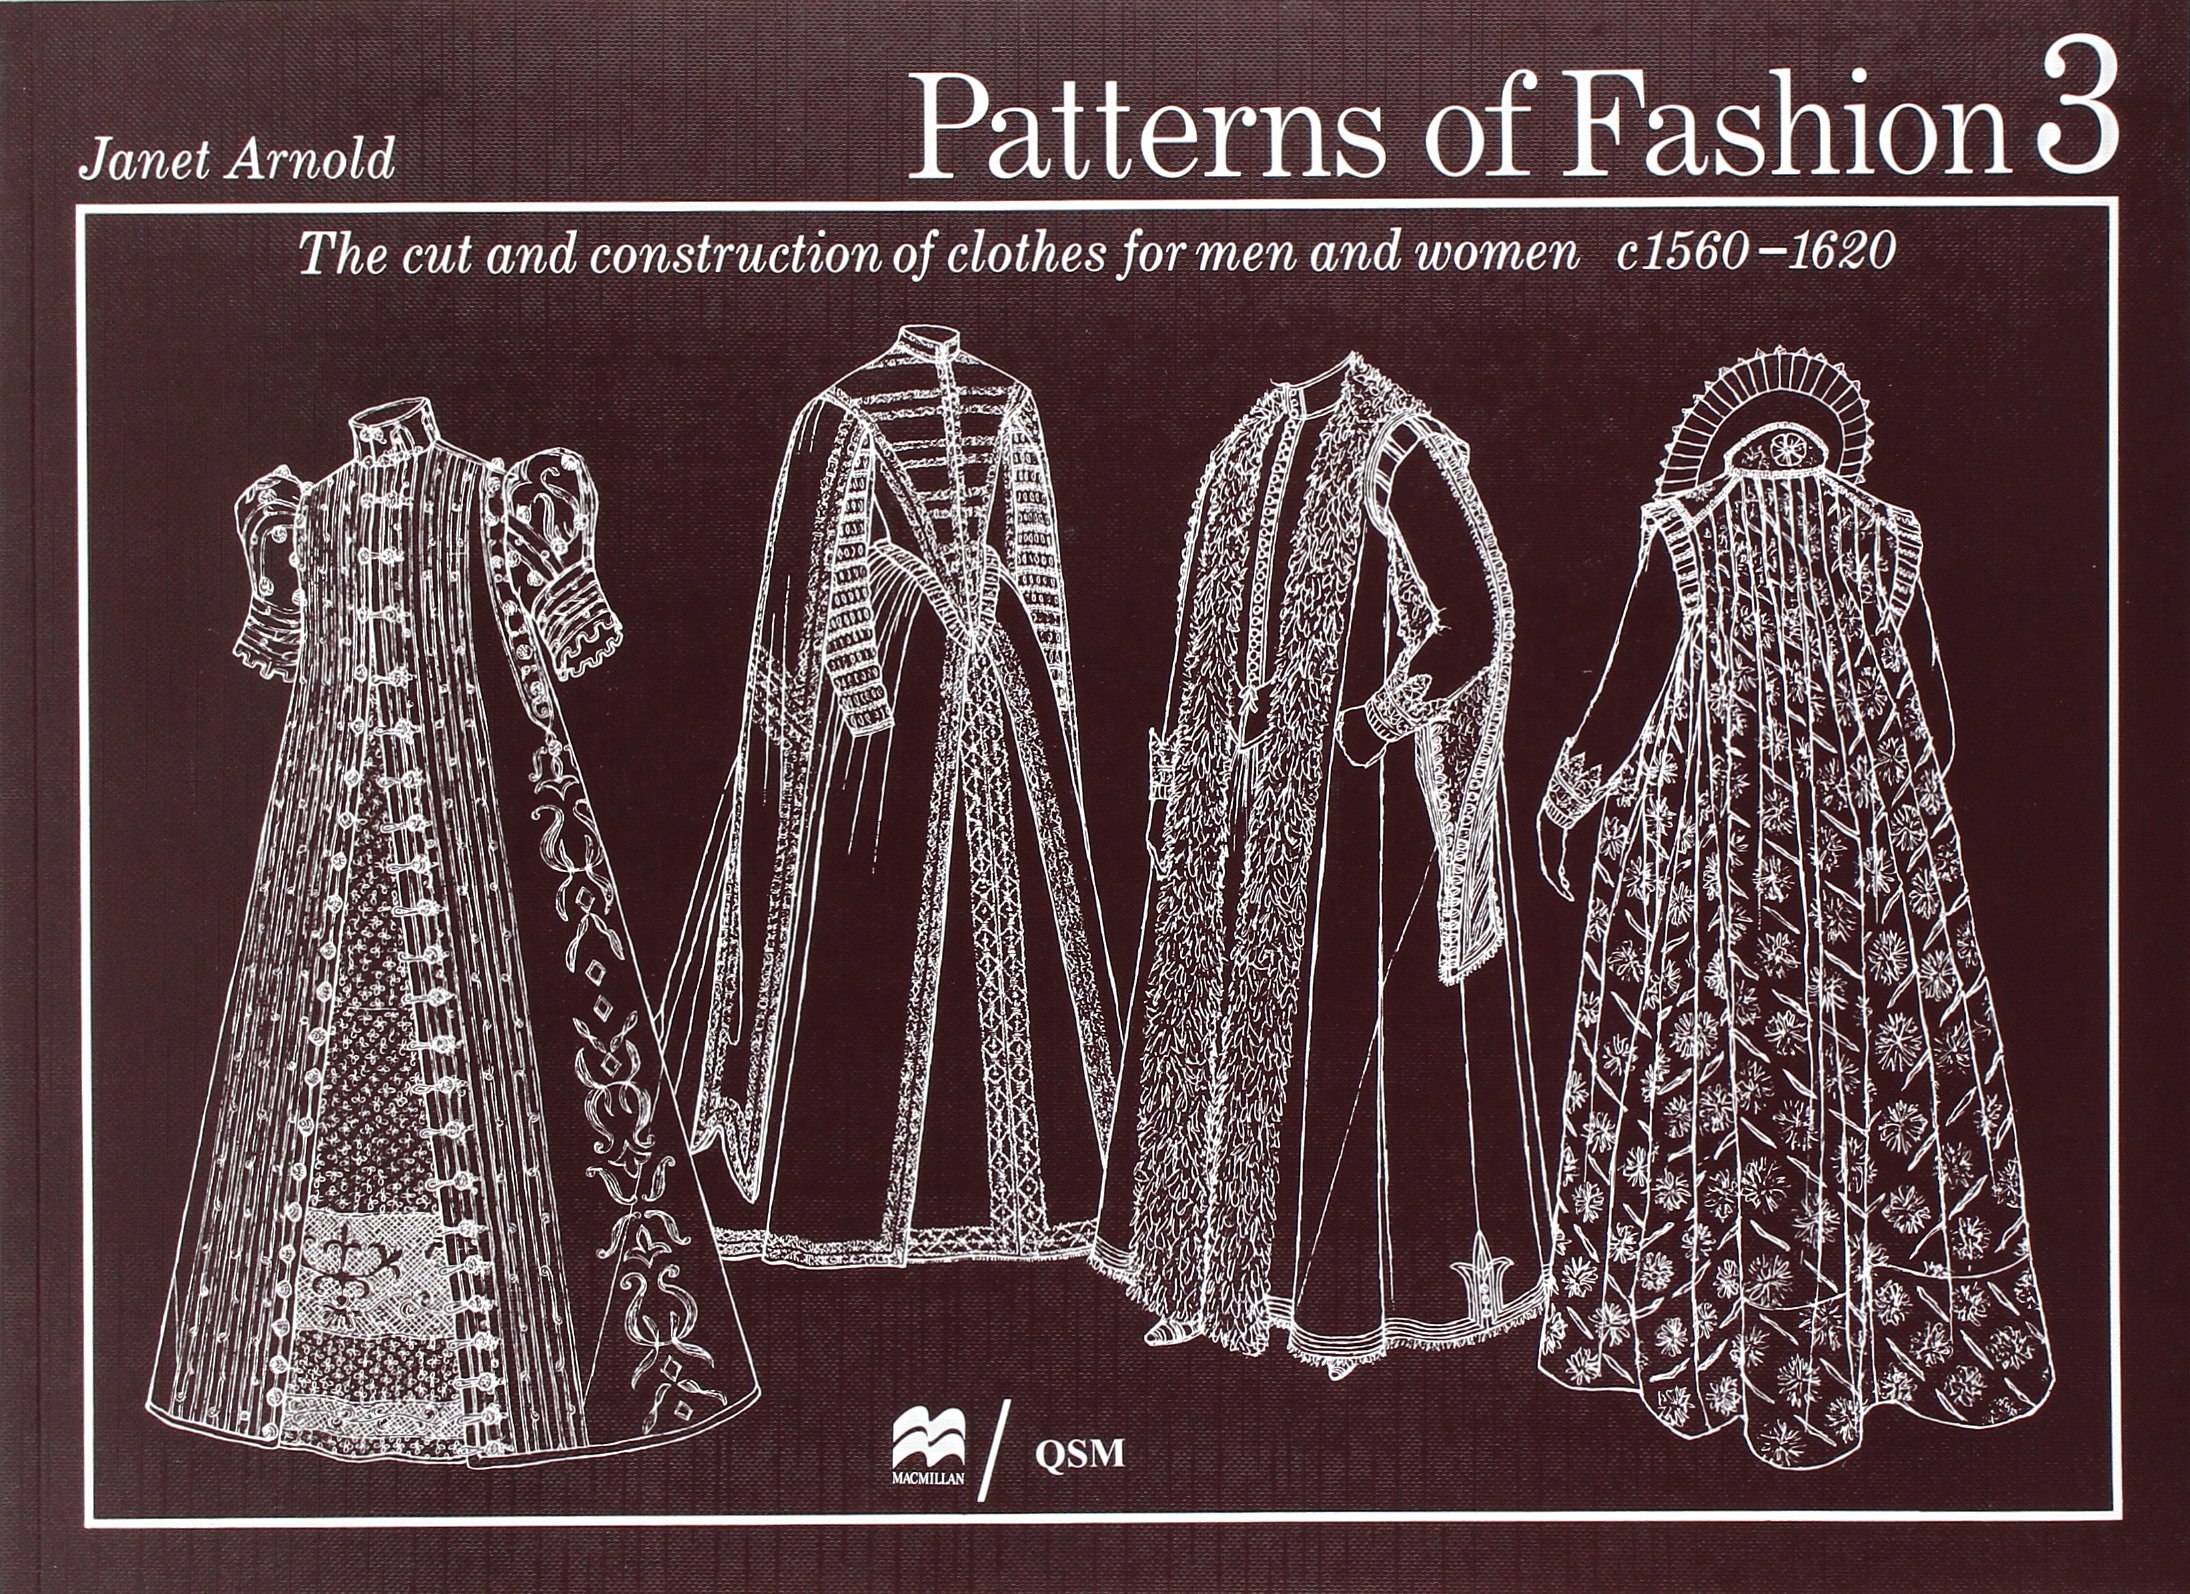
I was most interested in the pattern of this Spanish preserved cloak. I didn't know the sources enough. I had only a small number of them at the time, and one of them was Janet Arnold, who has several men's cloaks in Patterns of Fashion 3: The Cut and Construction of Clothes for Men and Women C. 1560-1620. However, they were all men's and it was a half-circle cut. Rather, I wanted the whole circle so that the cloak would not open and warm me as much as possible. I simply needed to replace the blanket, the cloak was to play this role.

LAROON, Marcellus a Sean SHESGREEN. The criers and hawkers of London: engravings and drawings
I first discovered woman 's cloak on these pictures, which rather show a kind of simple piece of fabric attached with something at the neck - all year 1688.
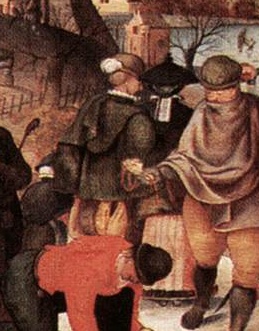
GRIMMER, Abel. Winter
Detail of Winter by Grimmer - the woman on the left has a cloak I imagined.
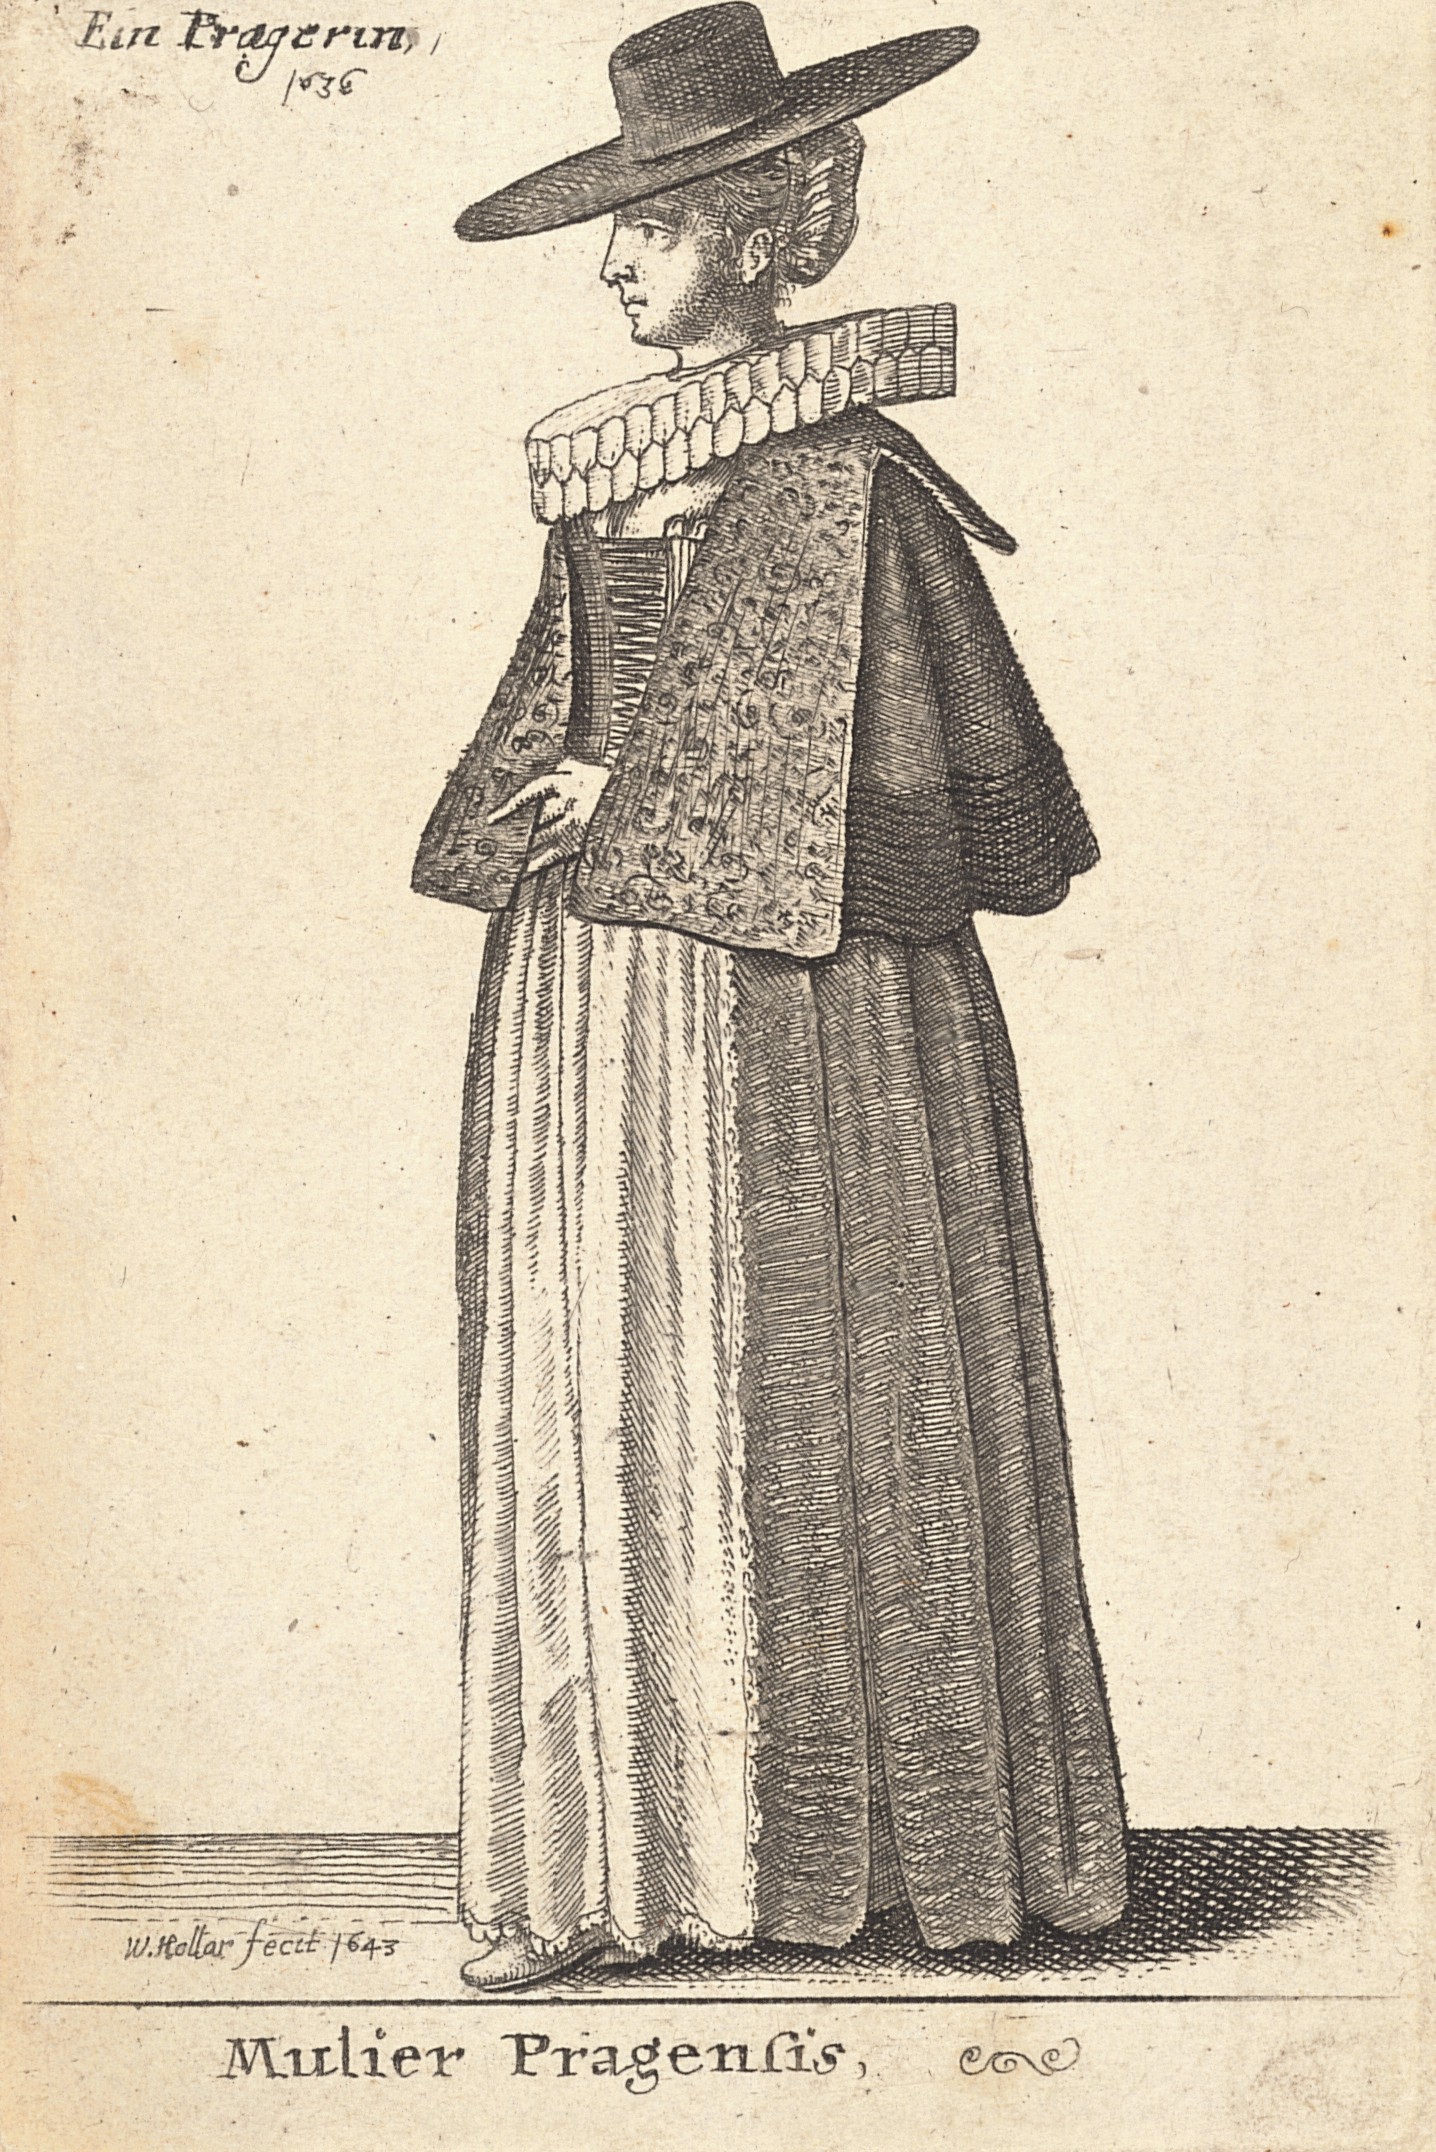
HOLLAR, Wenceslas. Mulier Pragensis
And then my horizons opened up to countless beautiful Hollar´s engravings, of which I knew only a few of the most famous. From his costume studies, I found that such cloaks were worn in various lengths - from a length that barely reached the elbows to those that reached to the ground. A woman from Prague has a decorative cloak with a large collar.
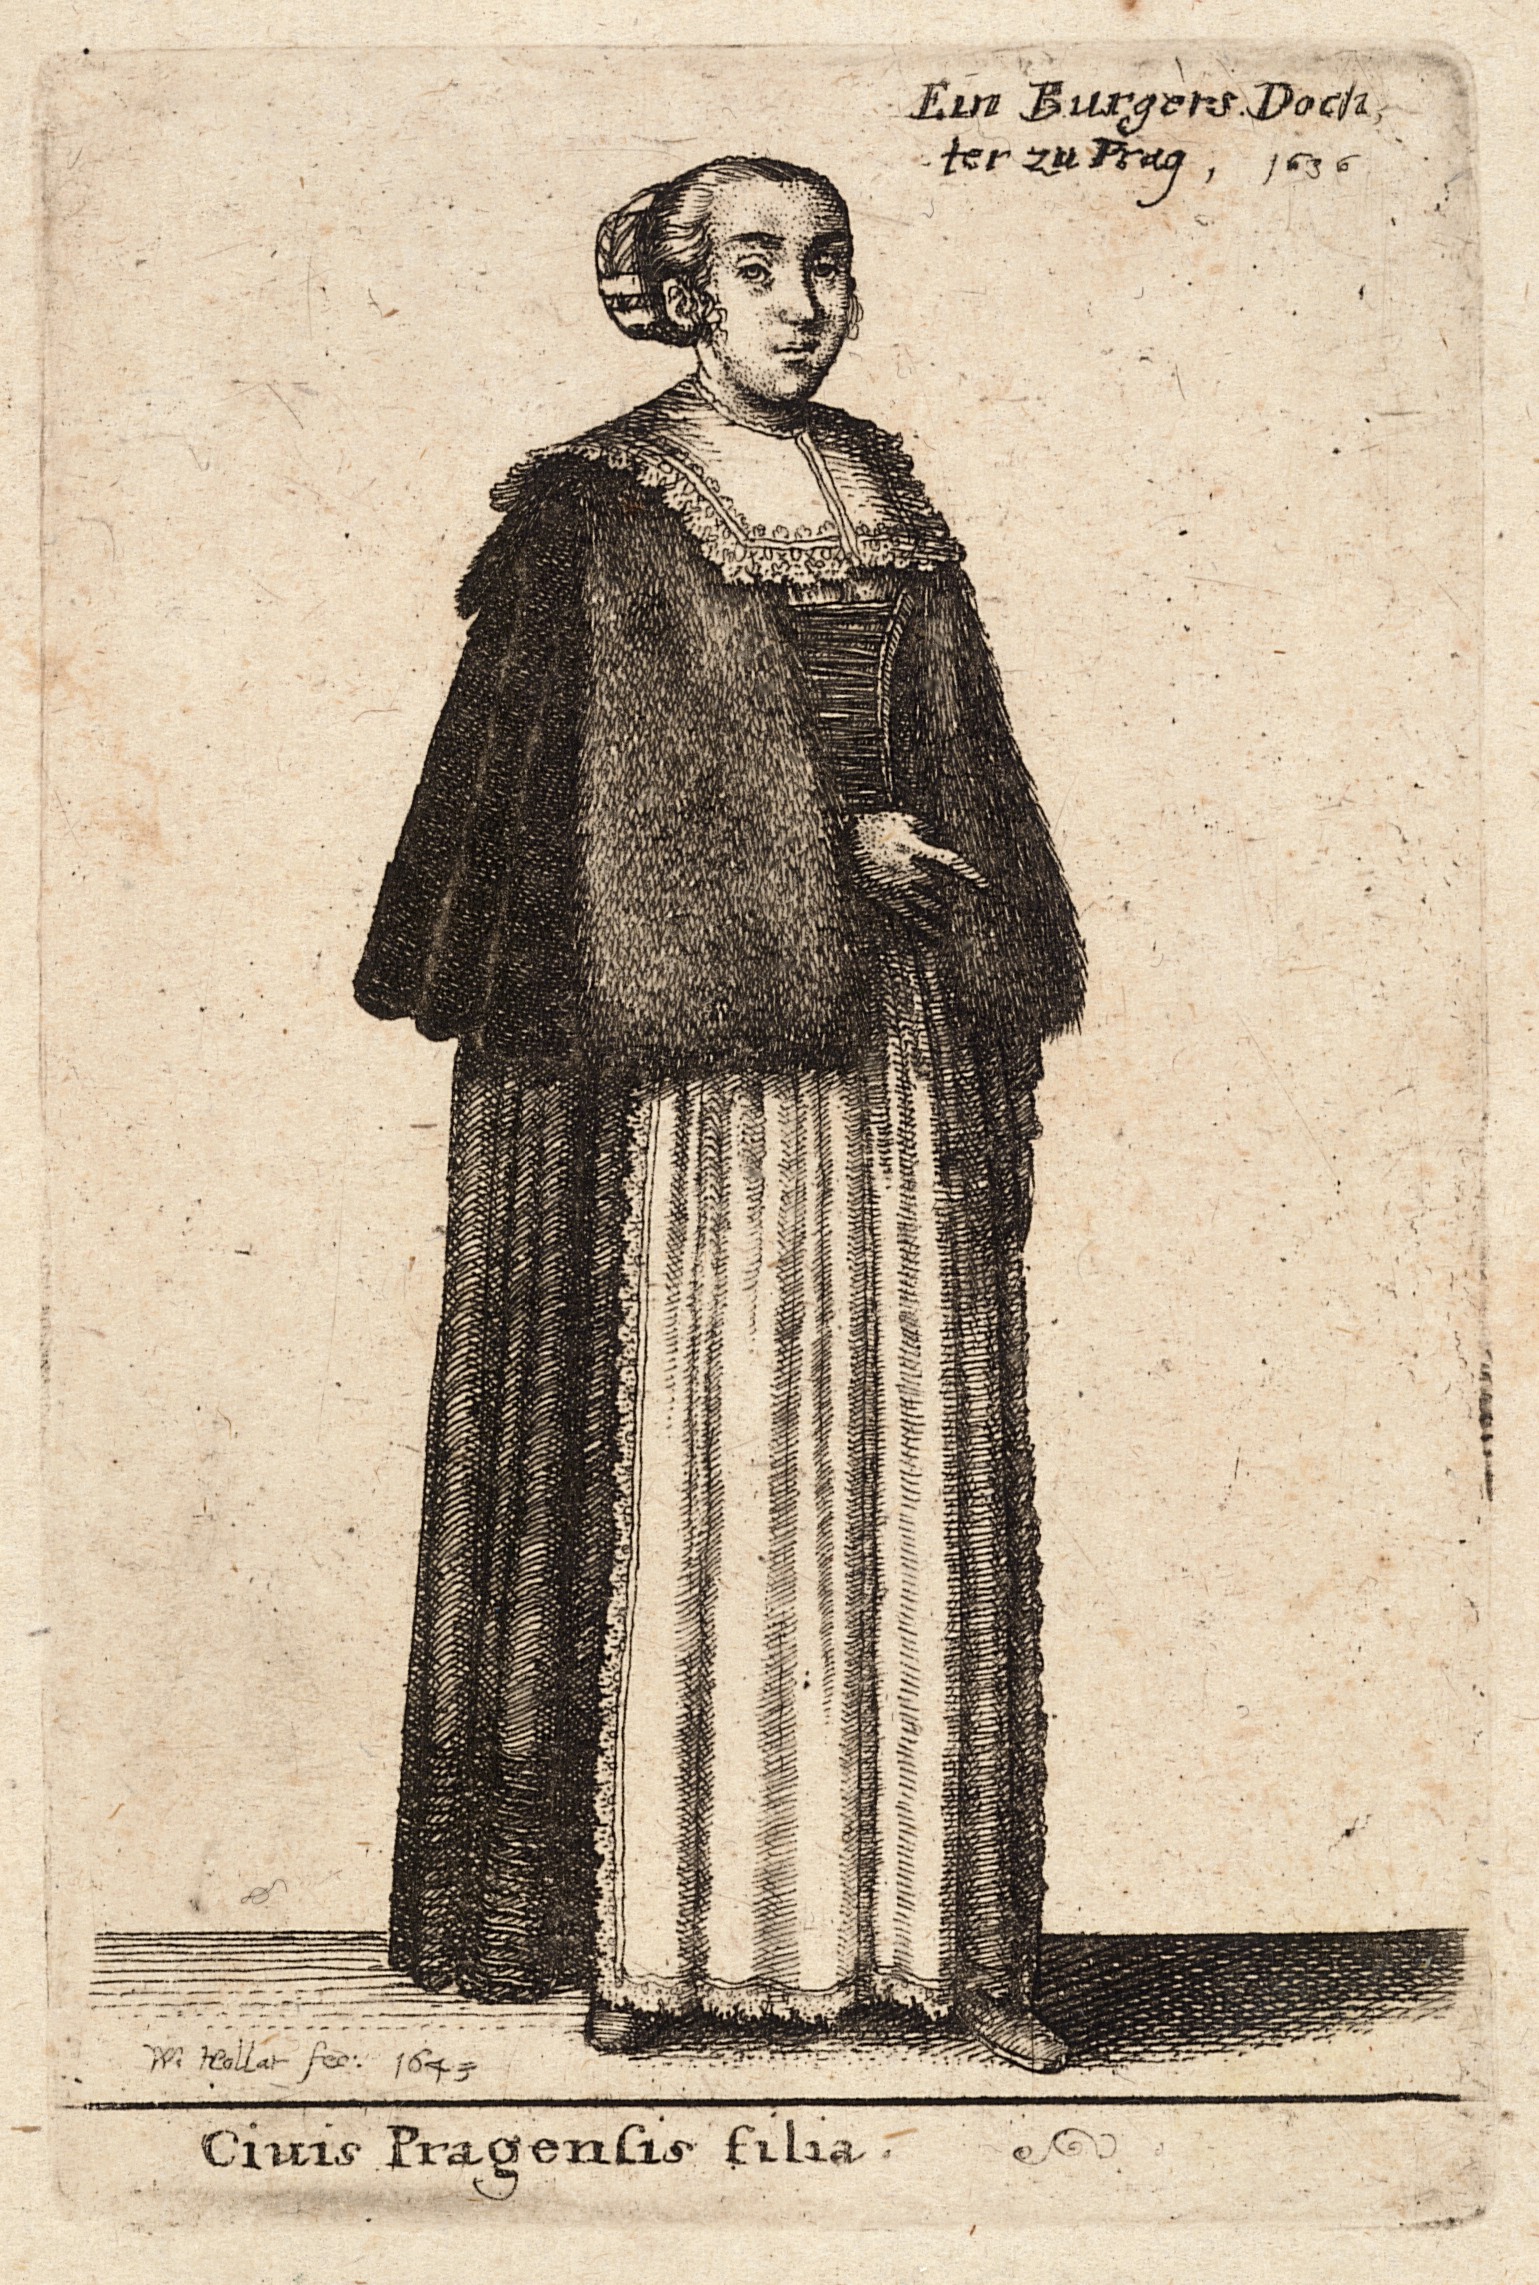
HOLLAR, Wenceslas. Ciuis Pragensis filia
Another Prague woman and a warm cloak lined with fur.
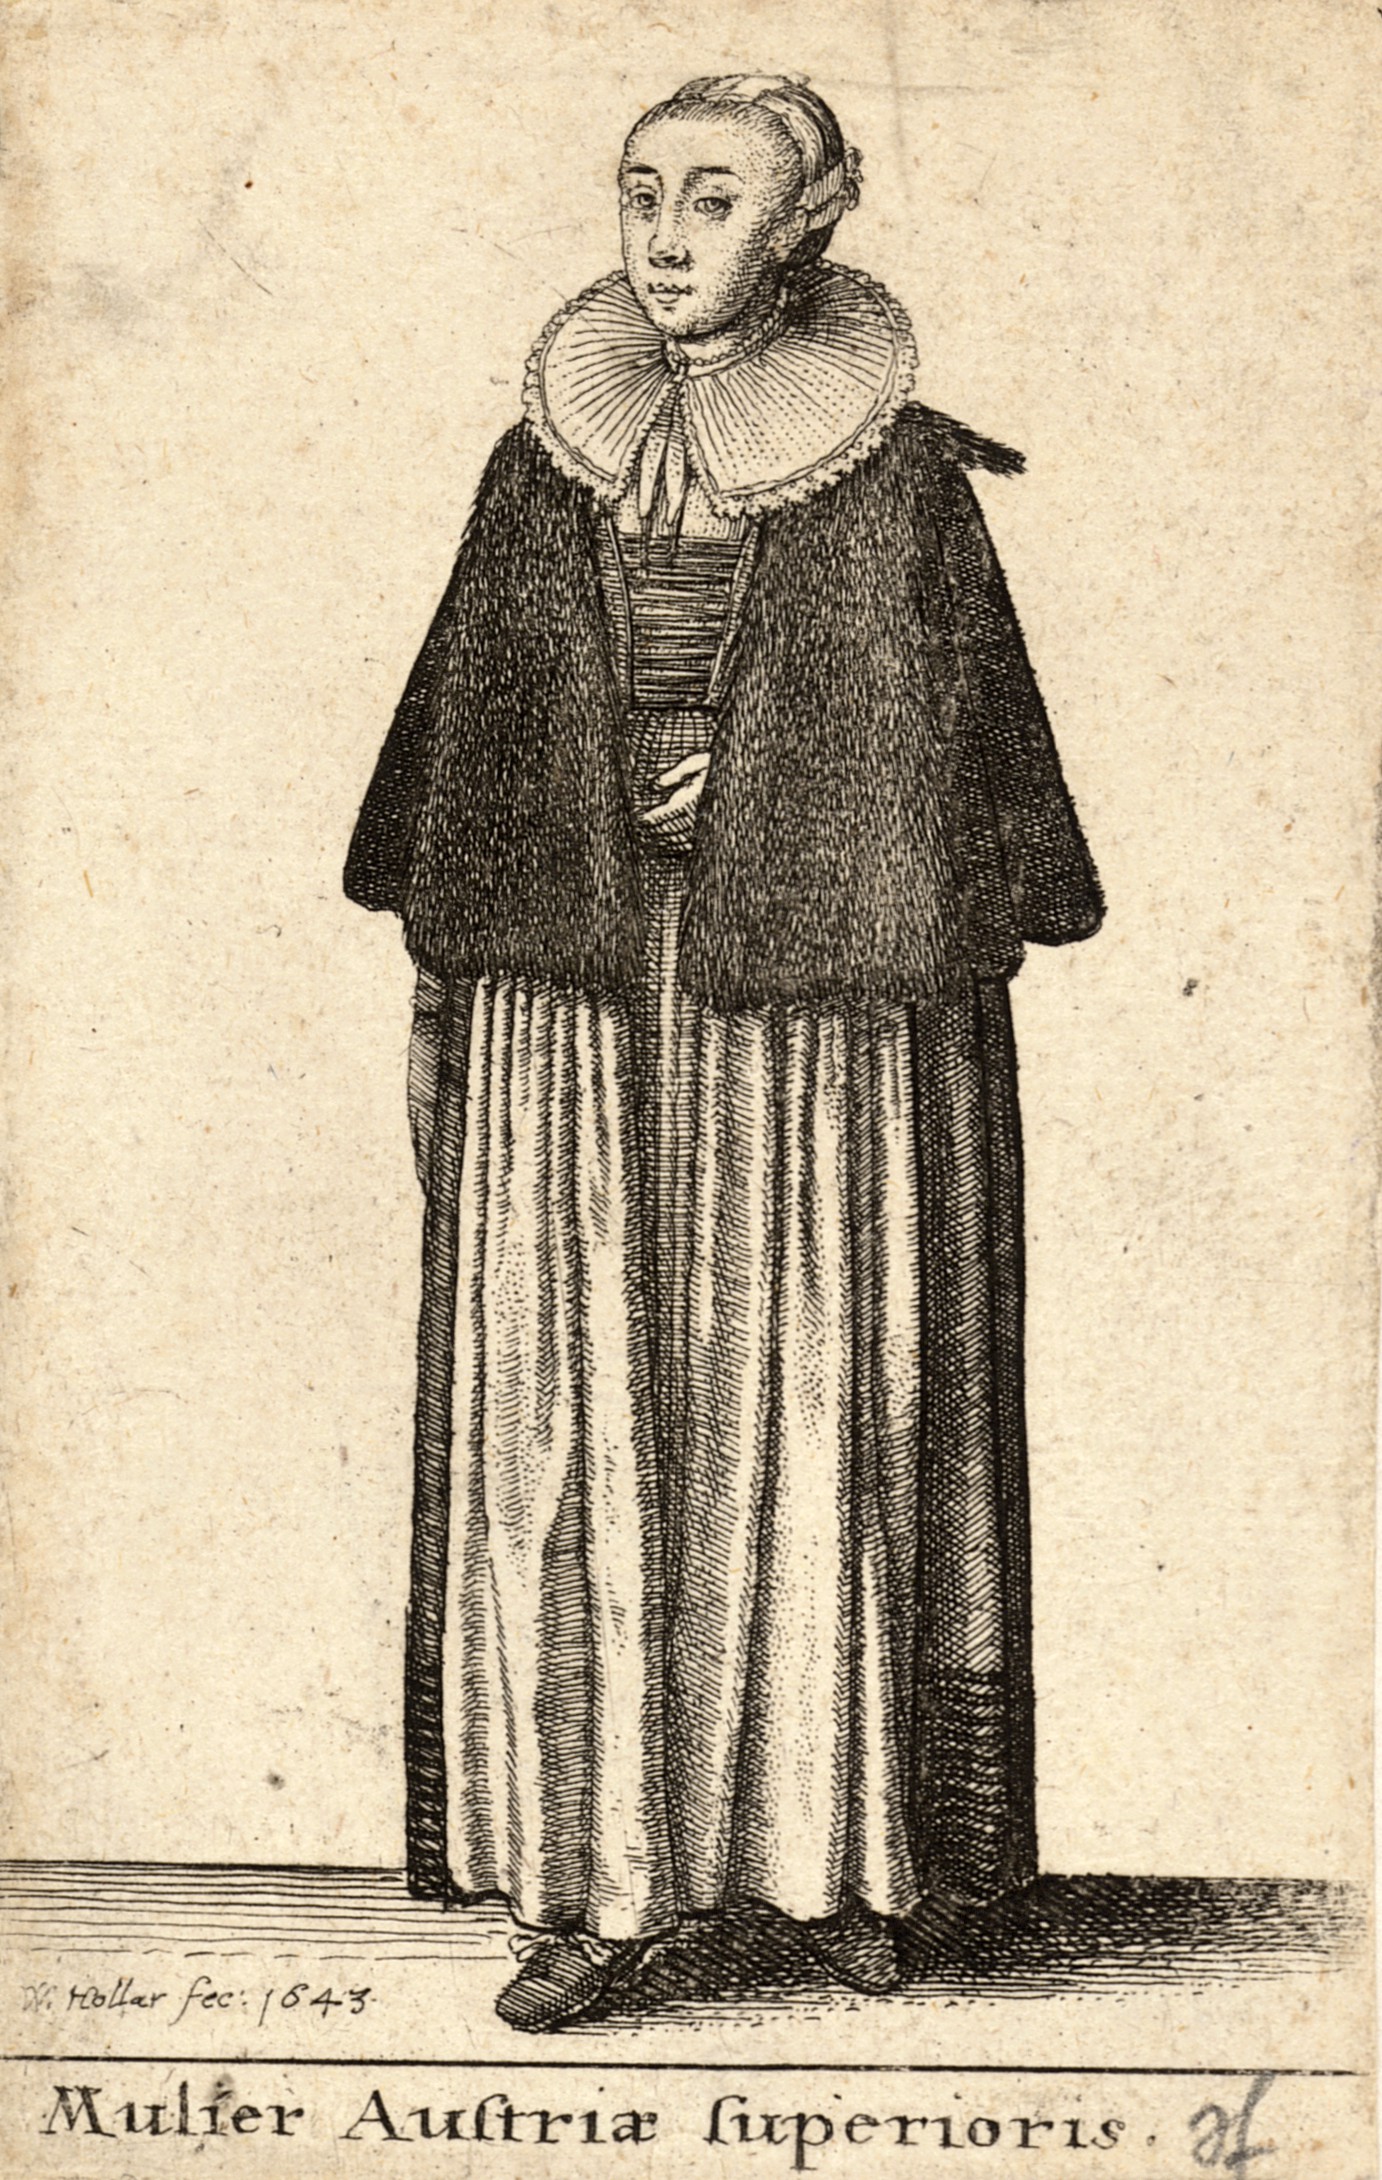
HOLLAR, Wenceslas. Mulier Austriae superioris
Hollar's Austrian woman with a warm cloak also lined with fur.
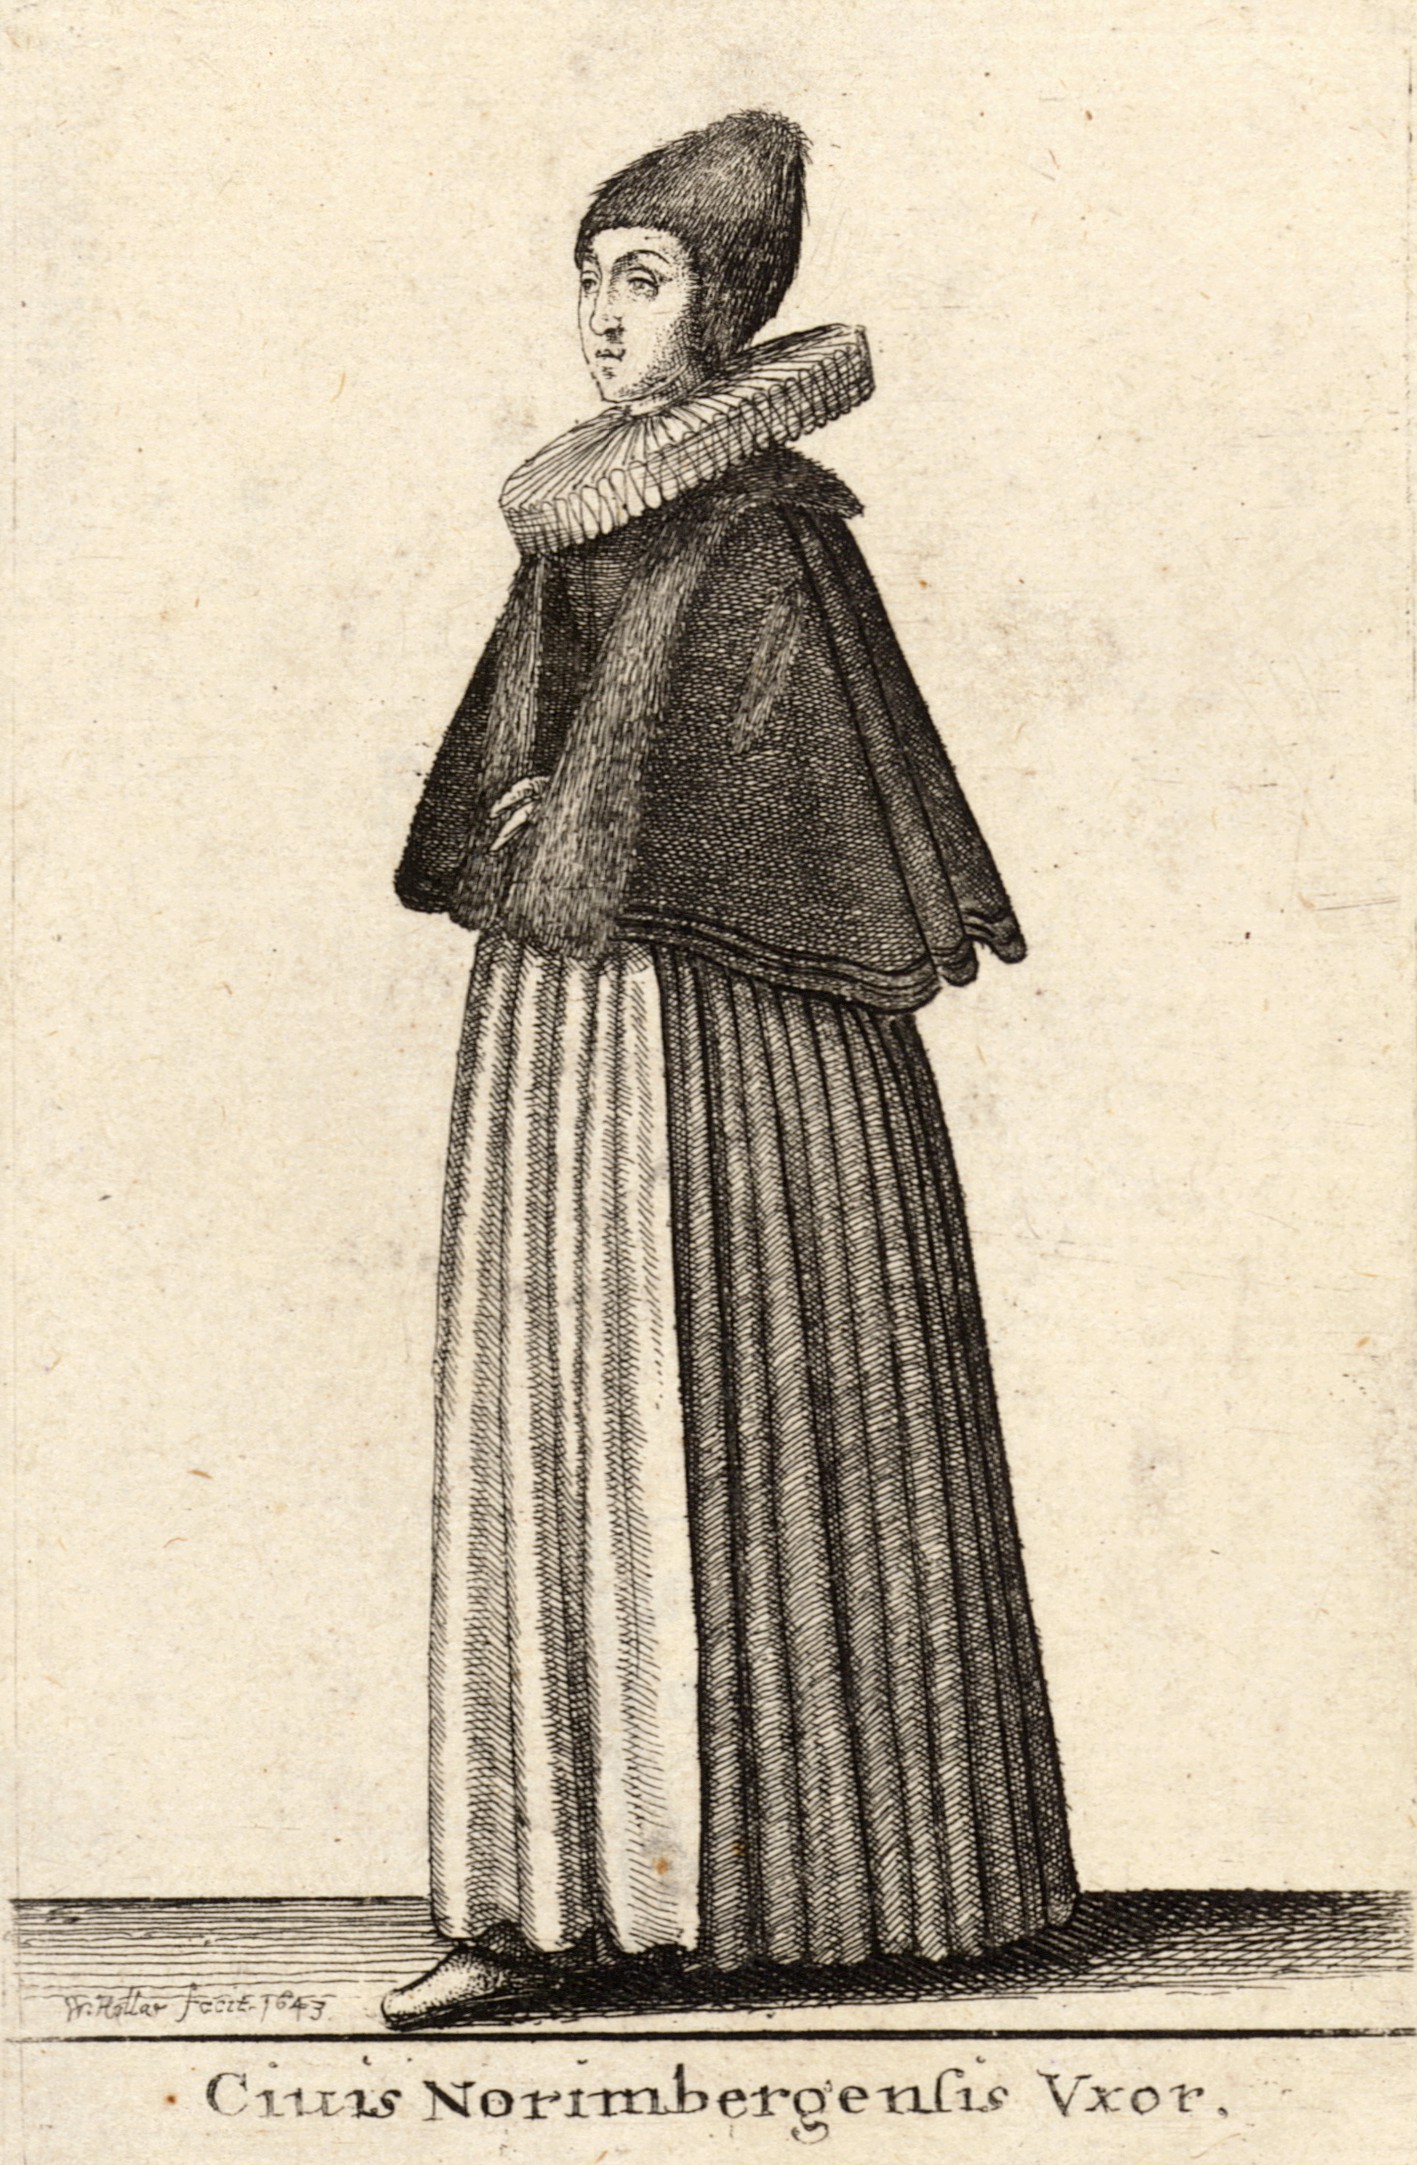
HOLLAR, Wenceslas. Ciuis Norimbergensis Vxor
A woman from Nuremberg from Hollar also has a fur lined cloak and two decorative stripes at the bottom of the cloak, which I gradually began to like very much and it inspired me to decorate the cloak with silk ribbons.
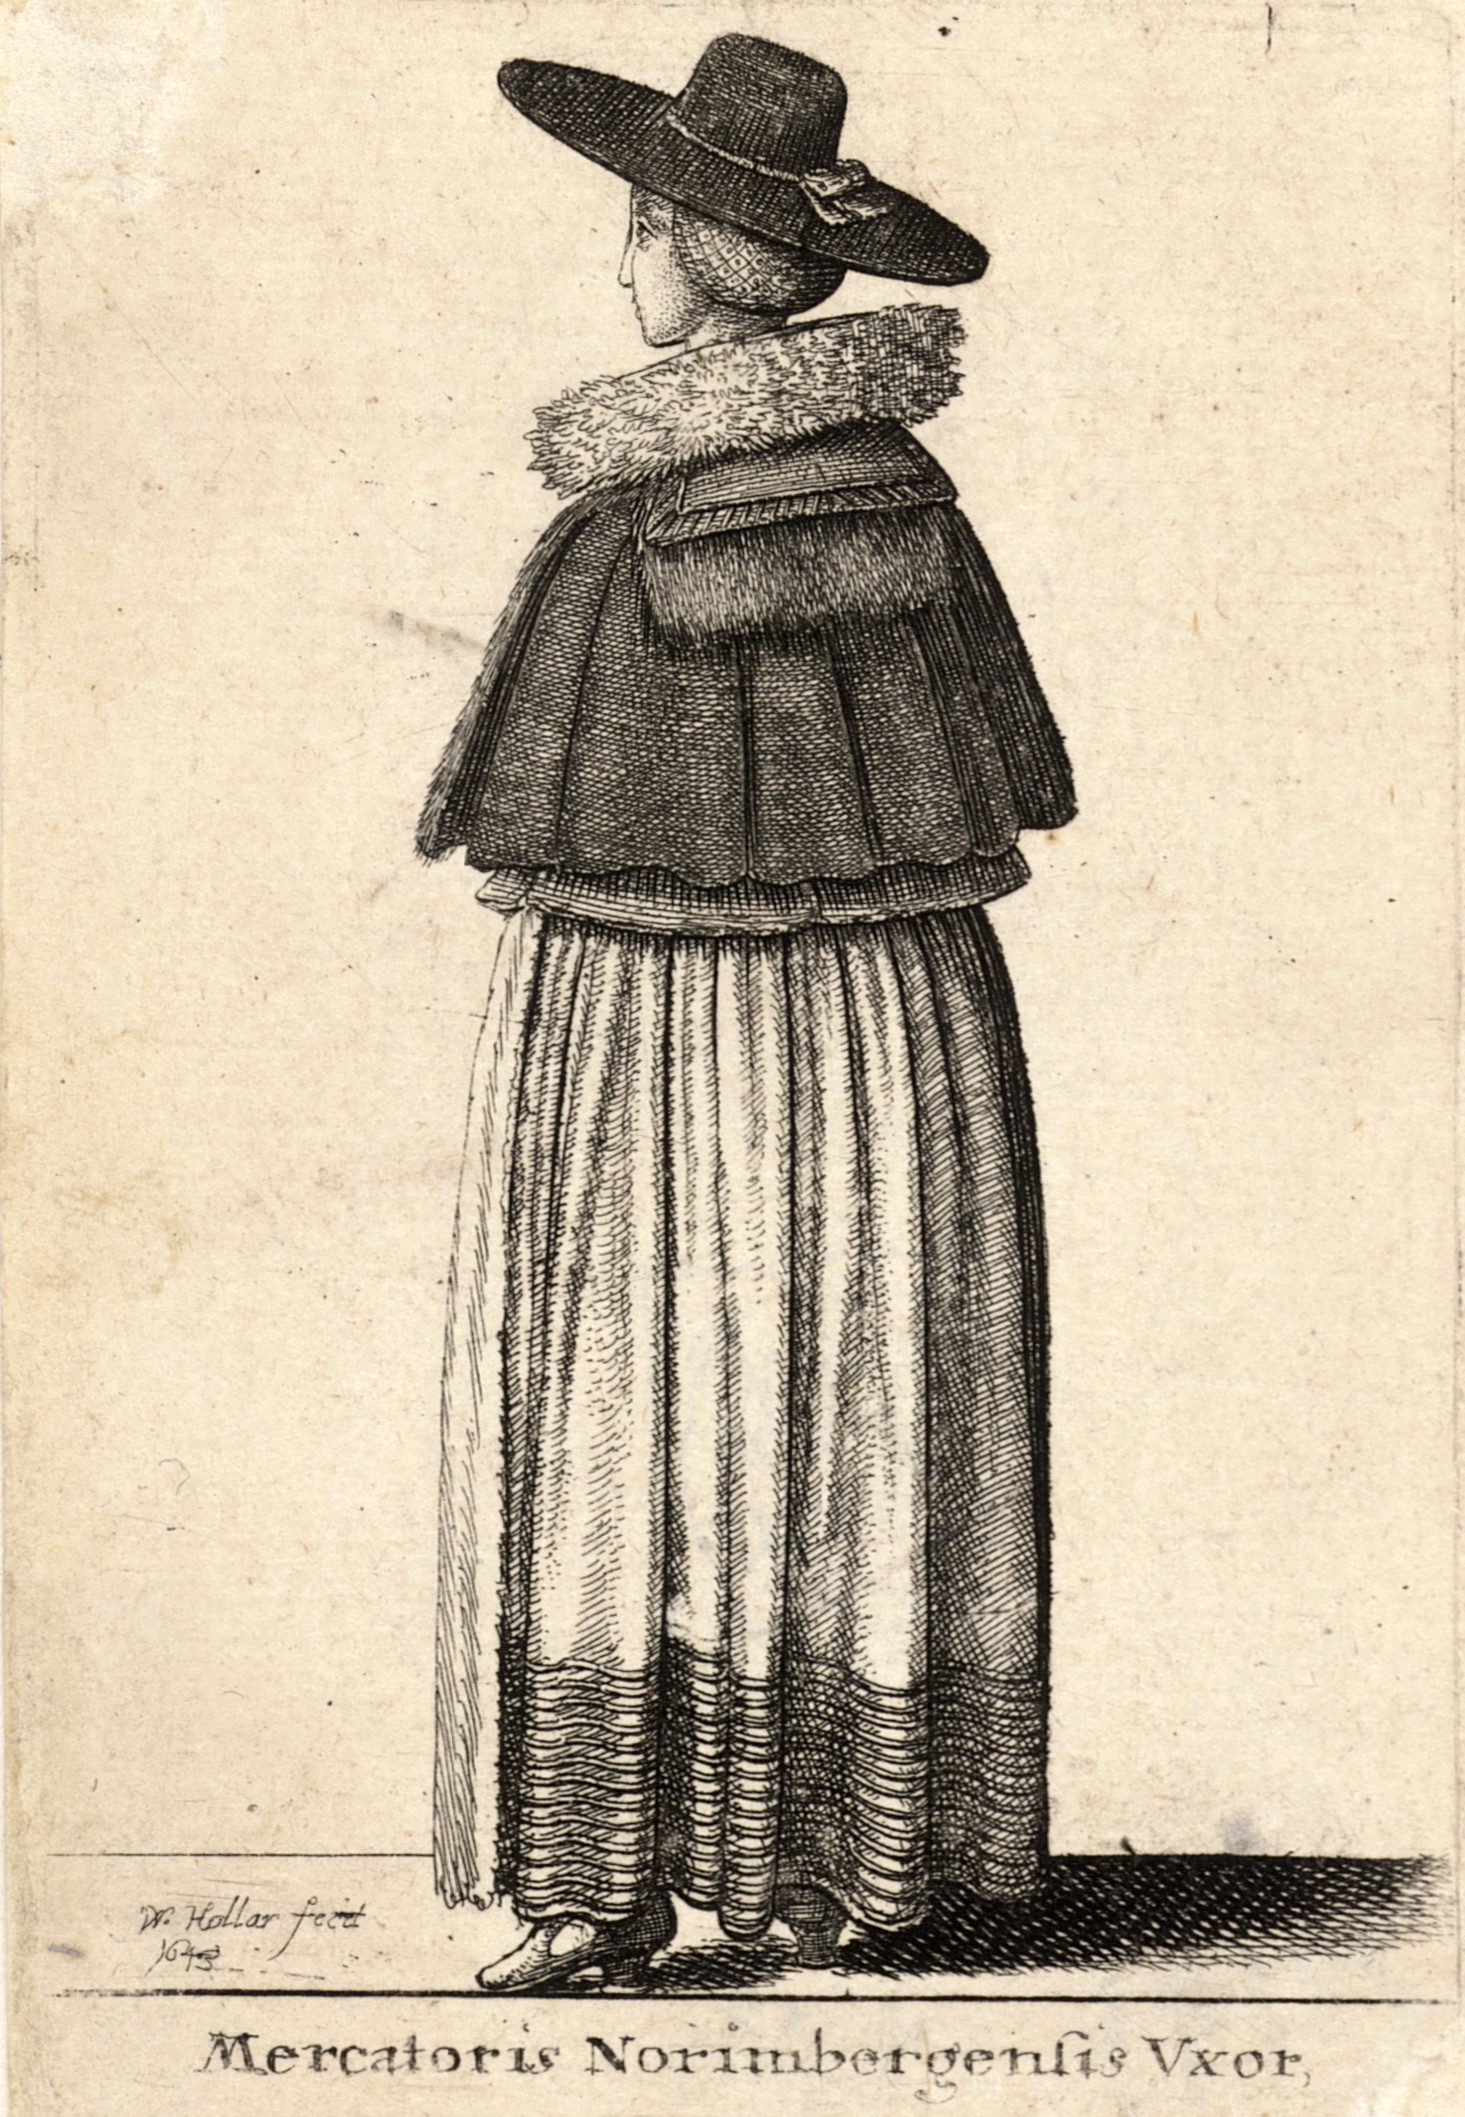
HOLLAR, Wenceslas. Mercatoris Norimbergensis Vxor
What I liked most about Hollar's women is the different lengths, widths and sizes of their cloaks and collars. I talked about them with the historian Mgr. Jiří Louda, who leads our army – Regiment zemské hotovosti. I quote his observations on the Hollar's cloaks from our correspondence: “They can be both semicircular and three-quarter and round. However, the rectangular or trapezoidal collar is often not fitted along the entire space around the head, but only over the back, so that the front parts of the cloak can be decoratively folded like lapels with the lining on top, without in any way preventing the collar from flowing over the shoulders and back. This adjustment also contributes to the fact that the semicircular pattern also has enough "material" at the front so that it can be closed completely if necessary and does not open."
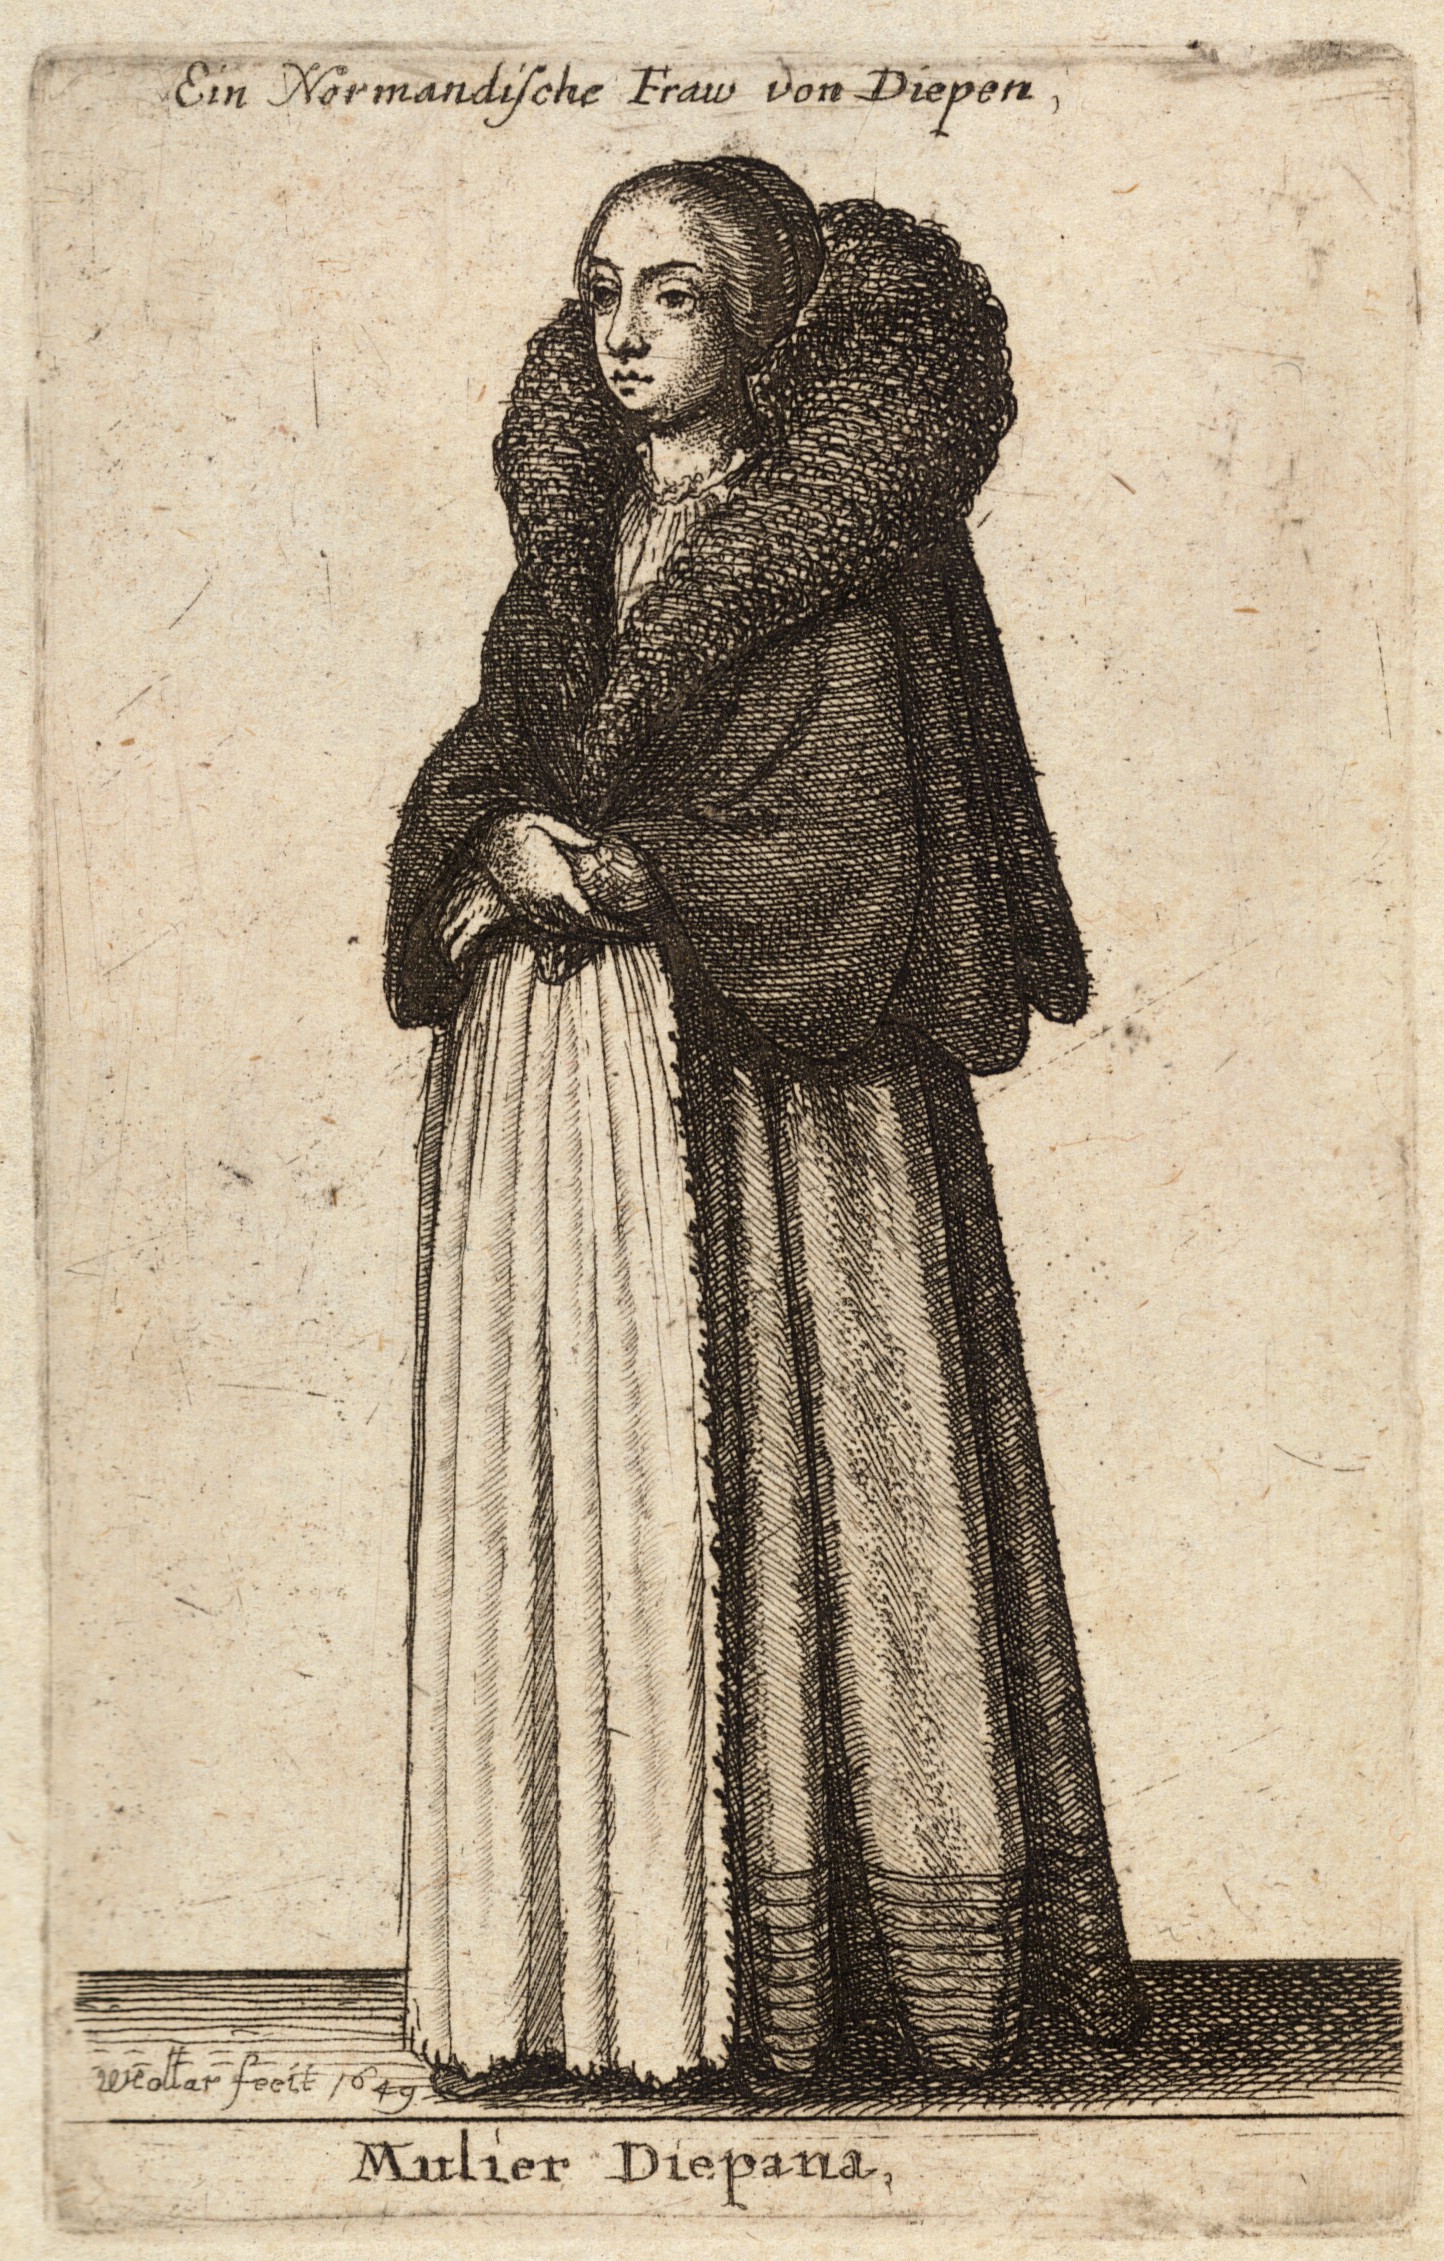
HOLLAR, Wencelas. Mulier Diepana
Another cloak by Weneclas Hollar with an interesting fur/collar serving as a warm headdress.
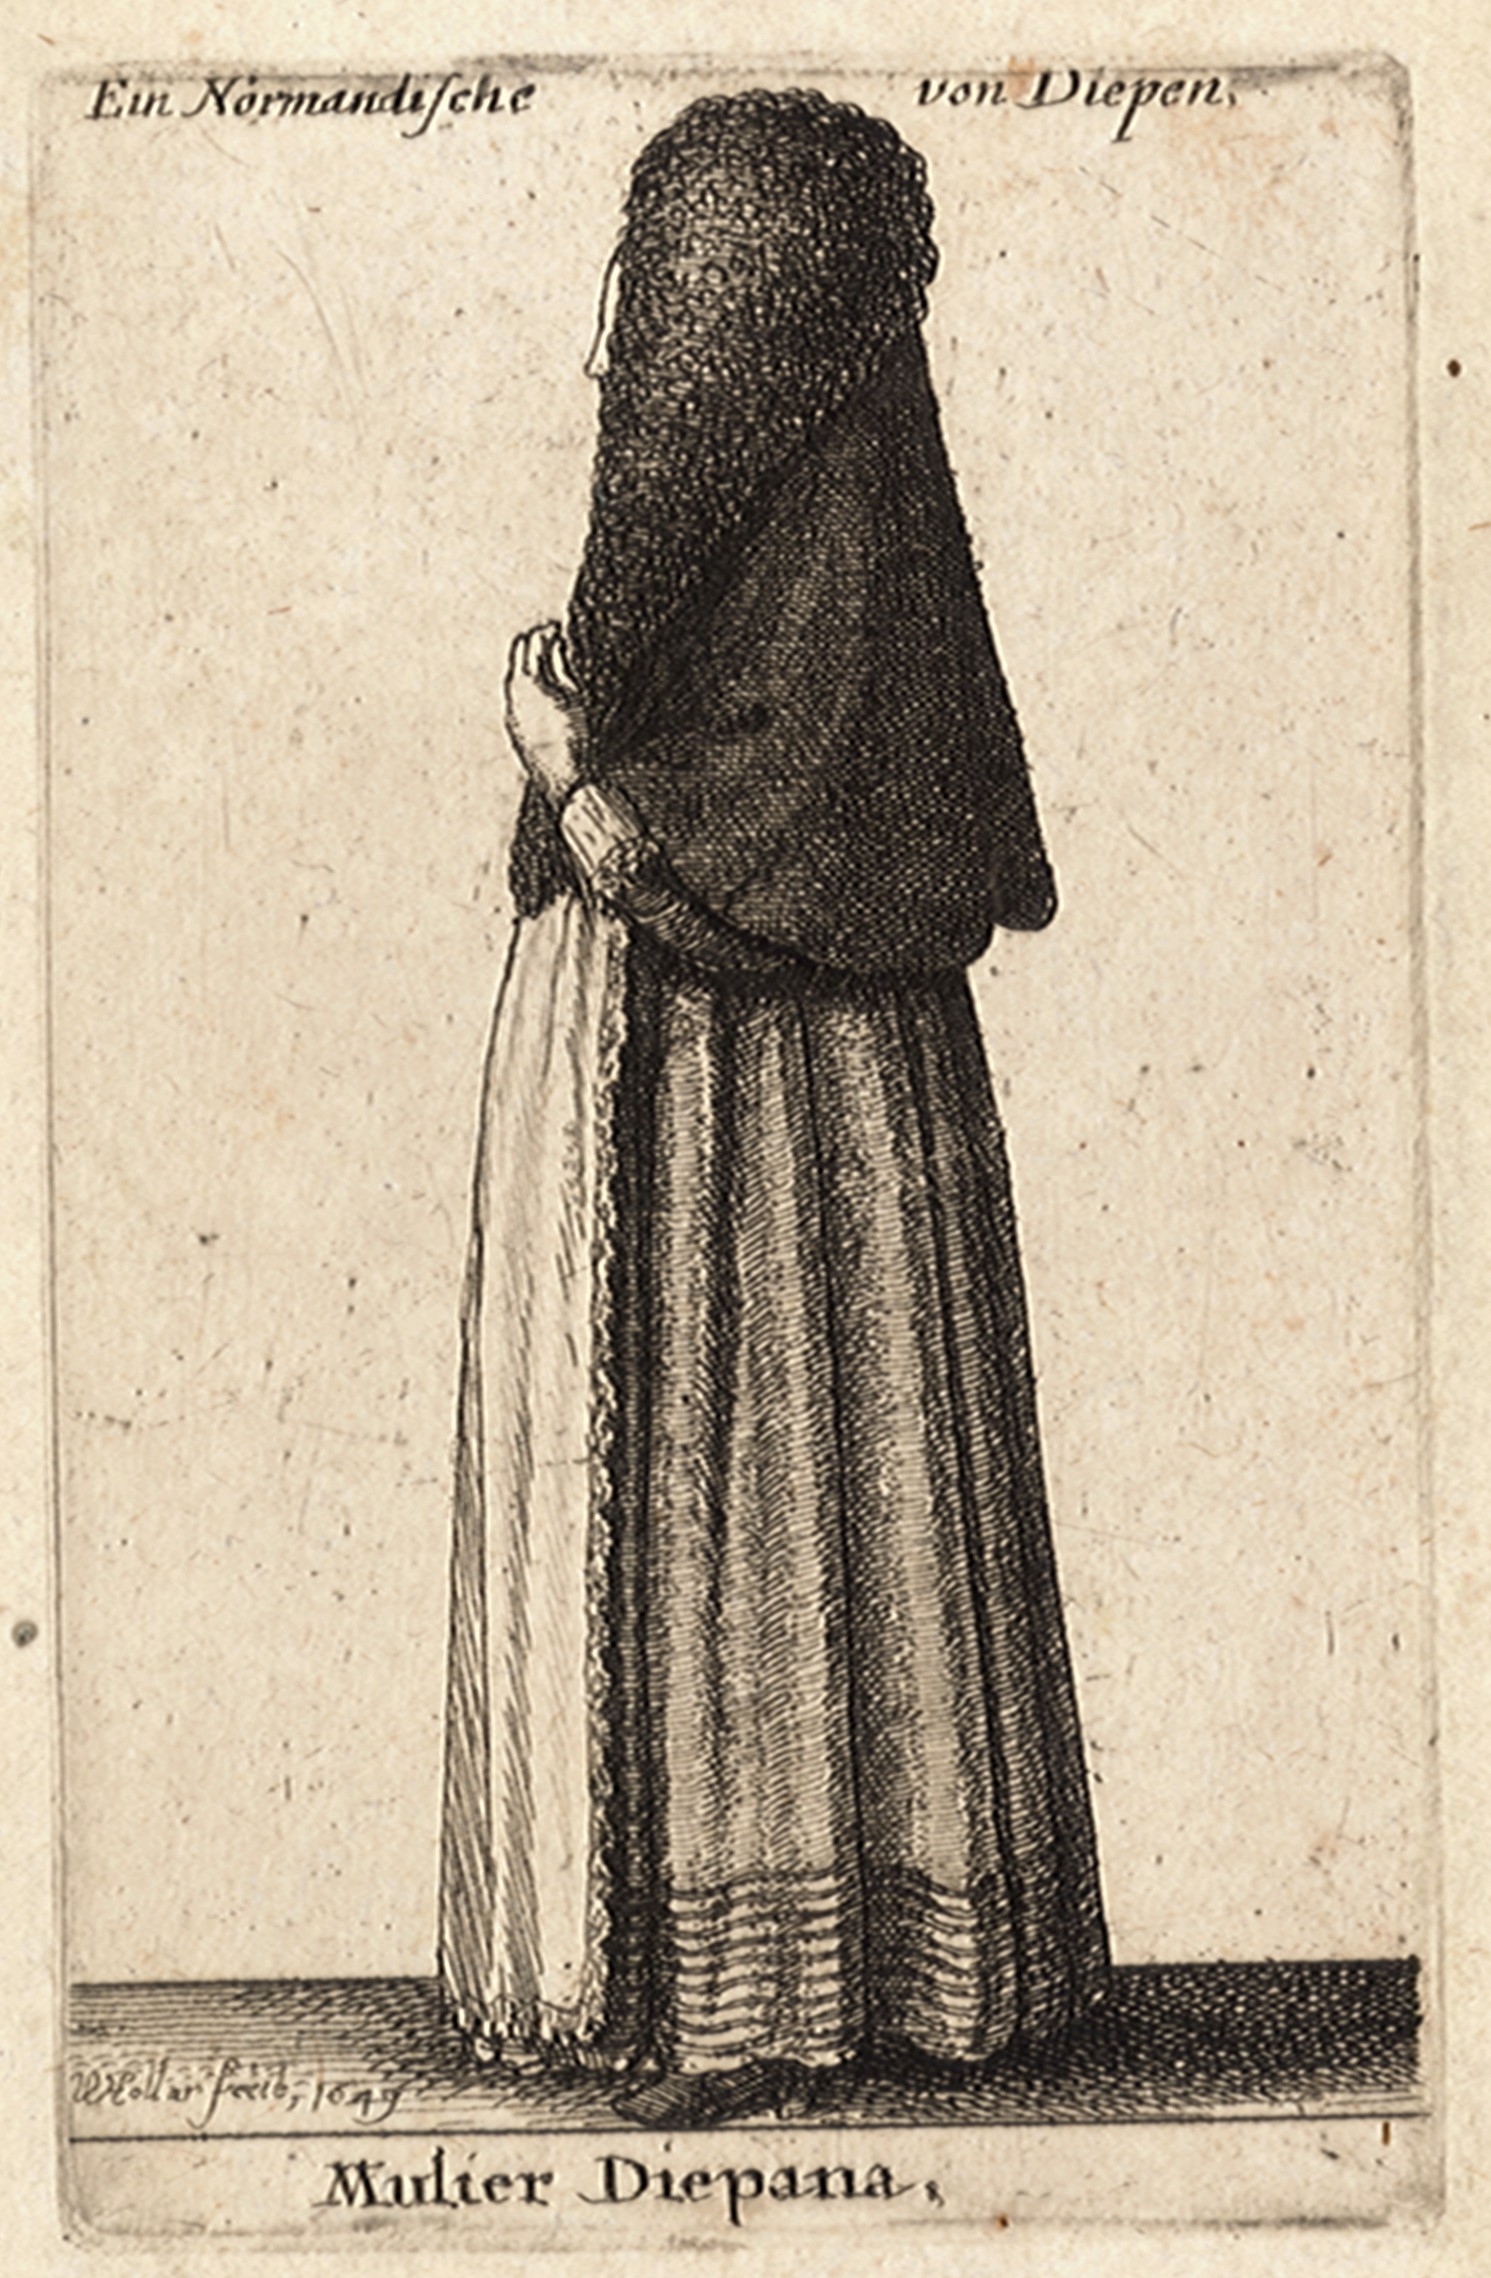
HOLLAR, Wencelas. Mulier Diepana
Potrayal of the same with a collar/fur on the head.
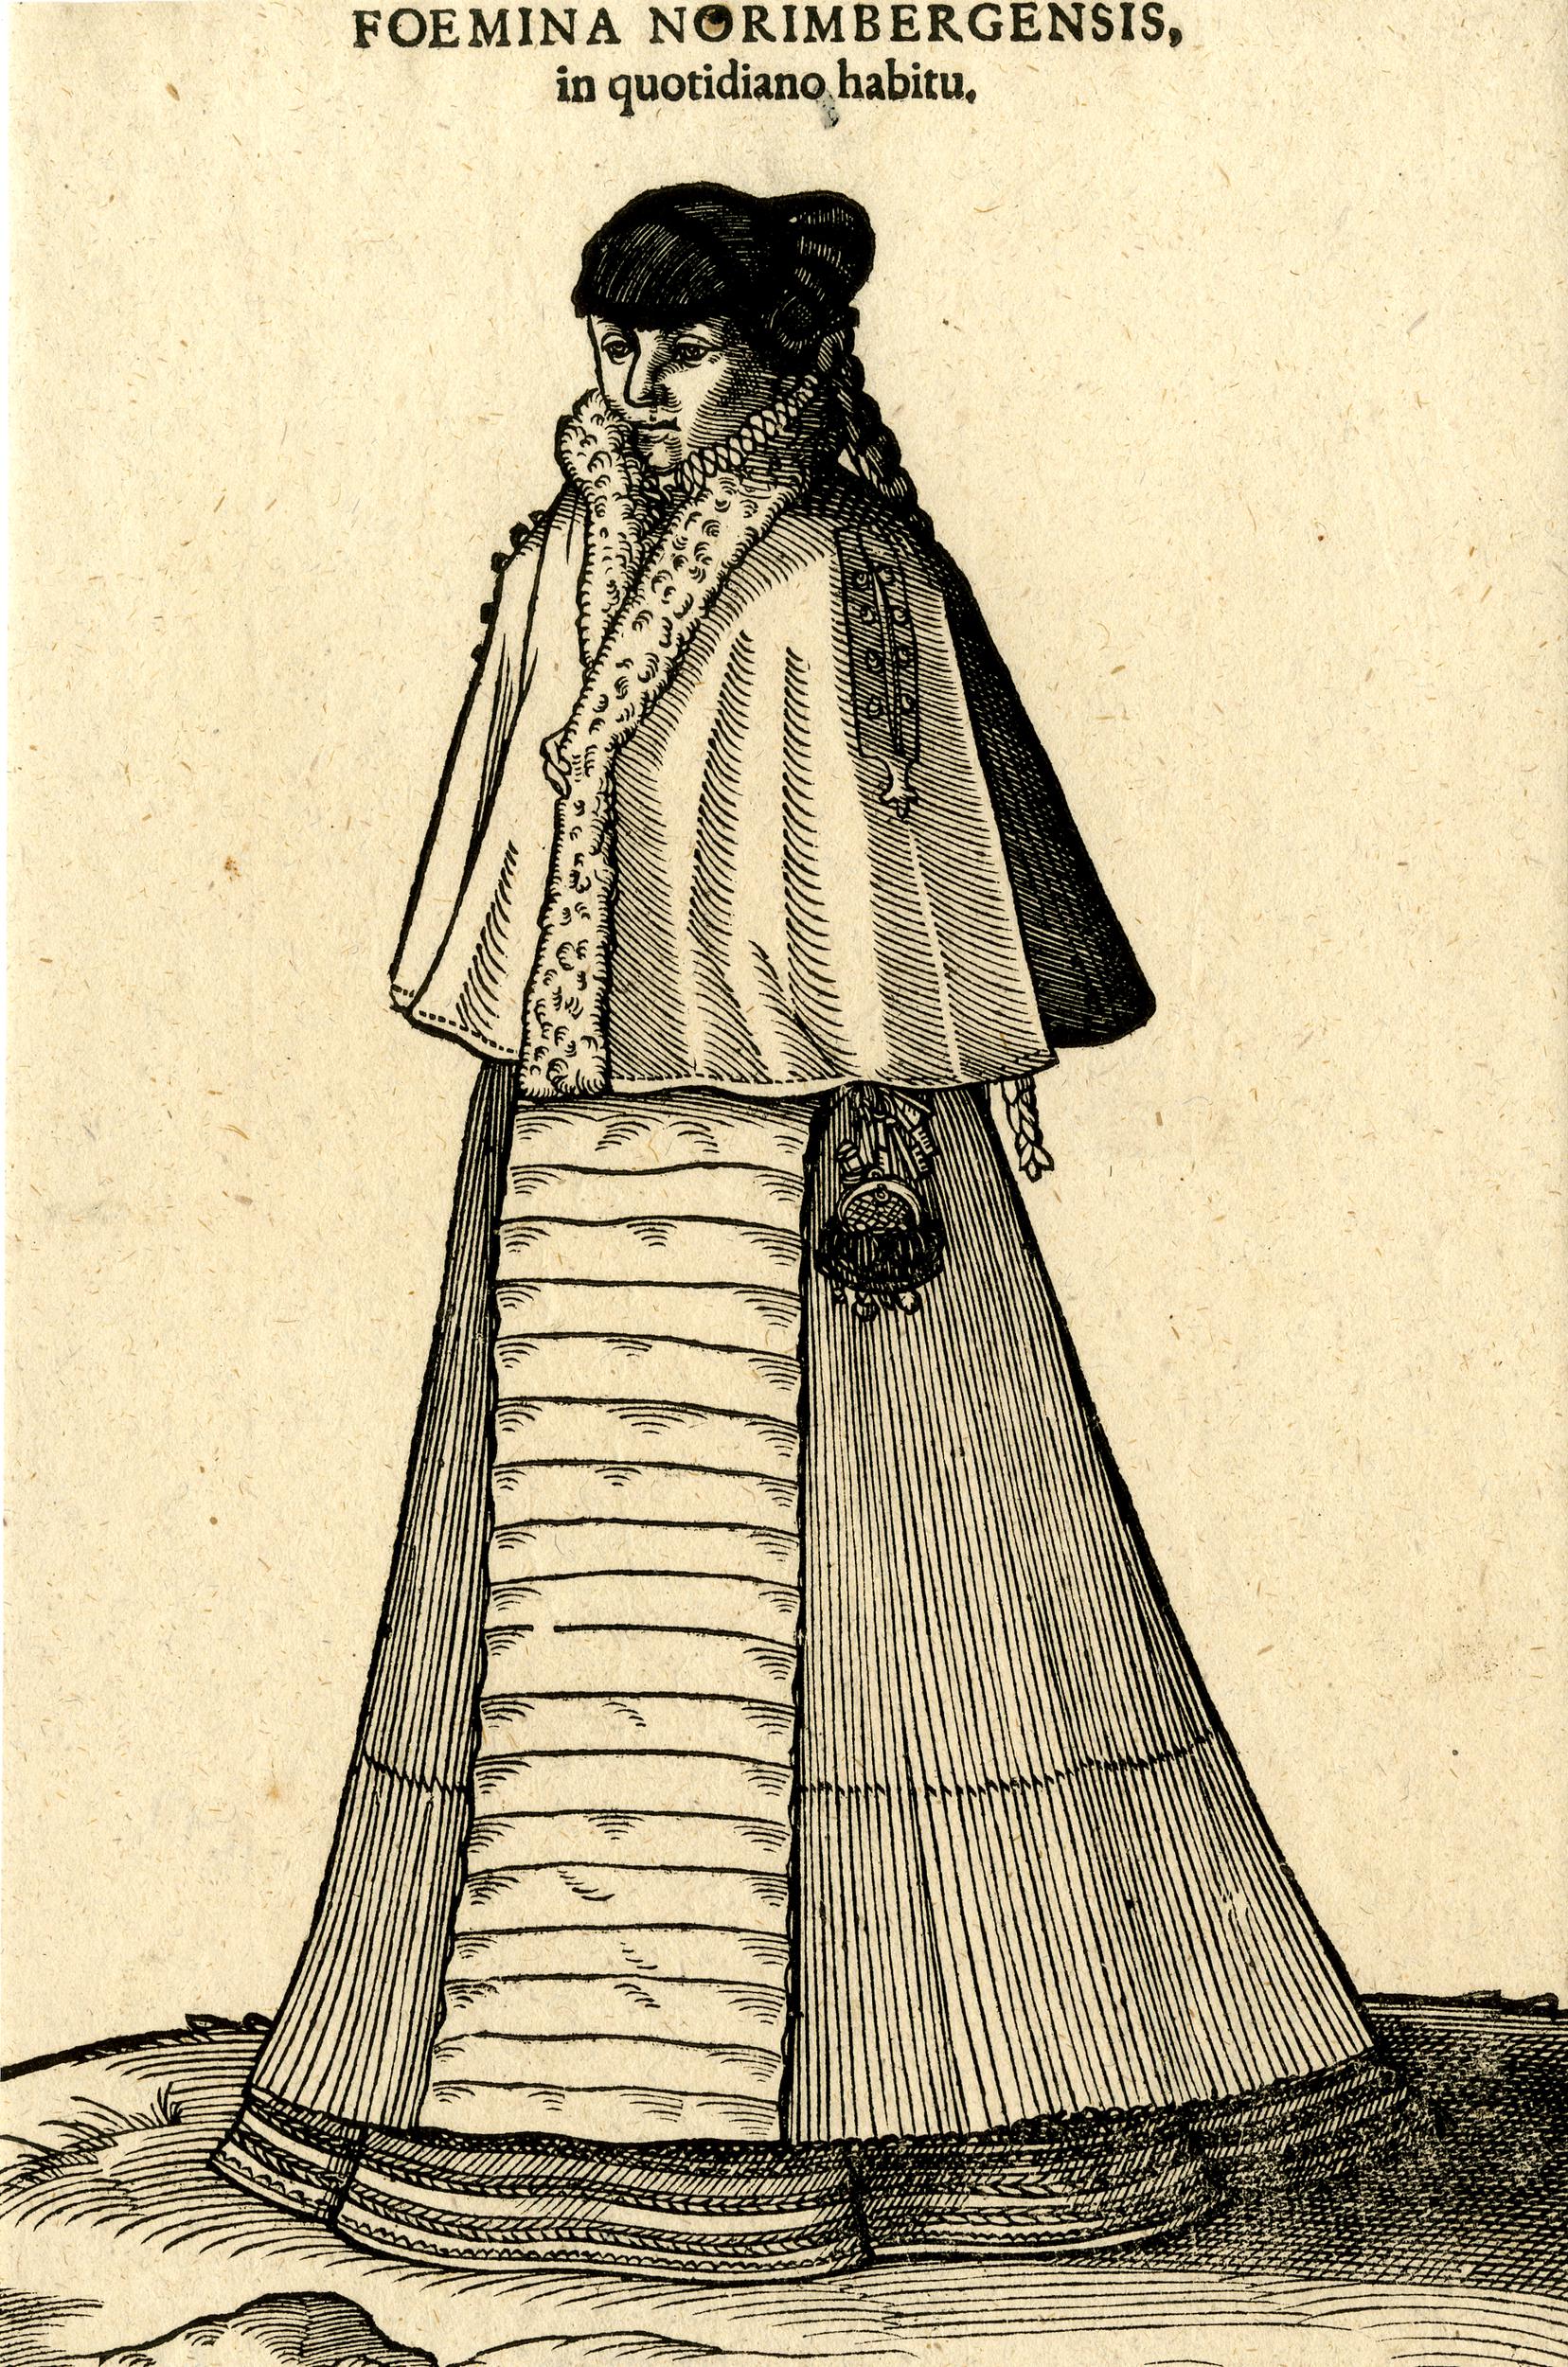
WIEGEL, Hans. Trachtenbuch
I also managed to find another source - the costume book Trachtenbuch by Hans Weigel.
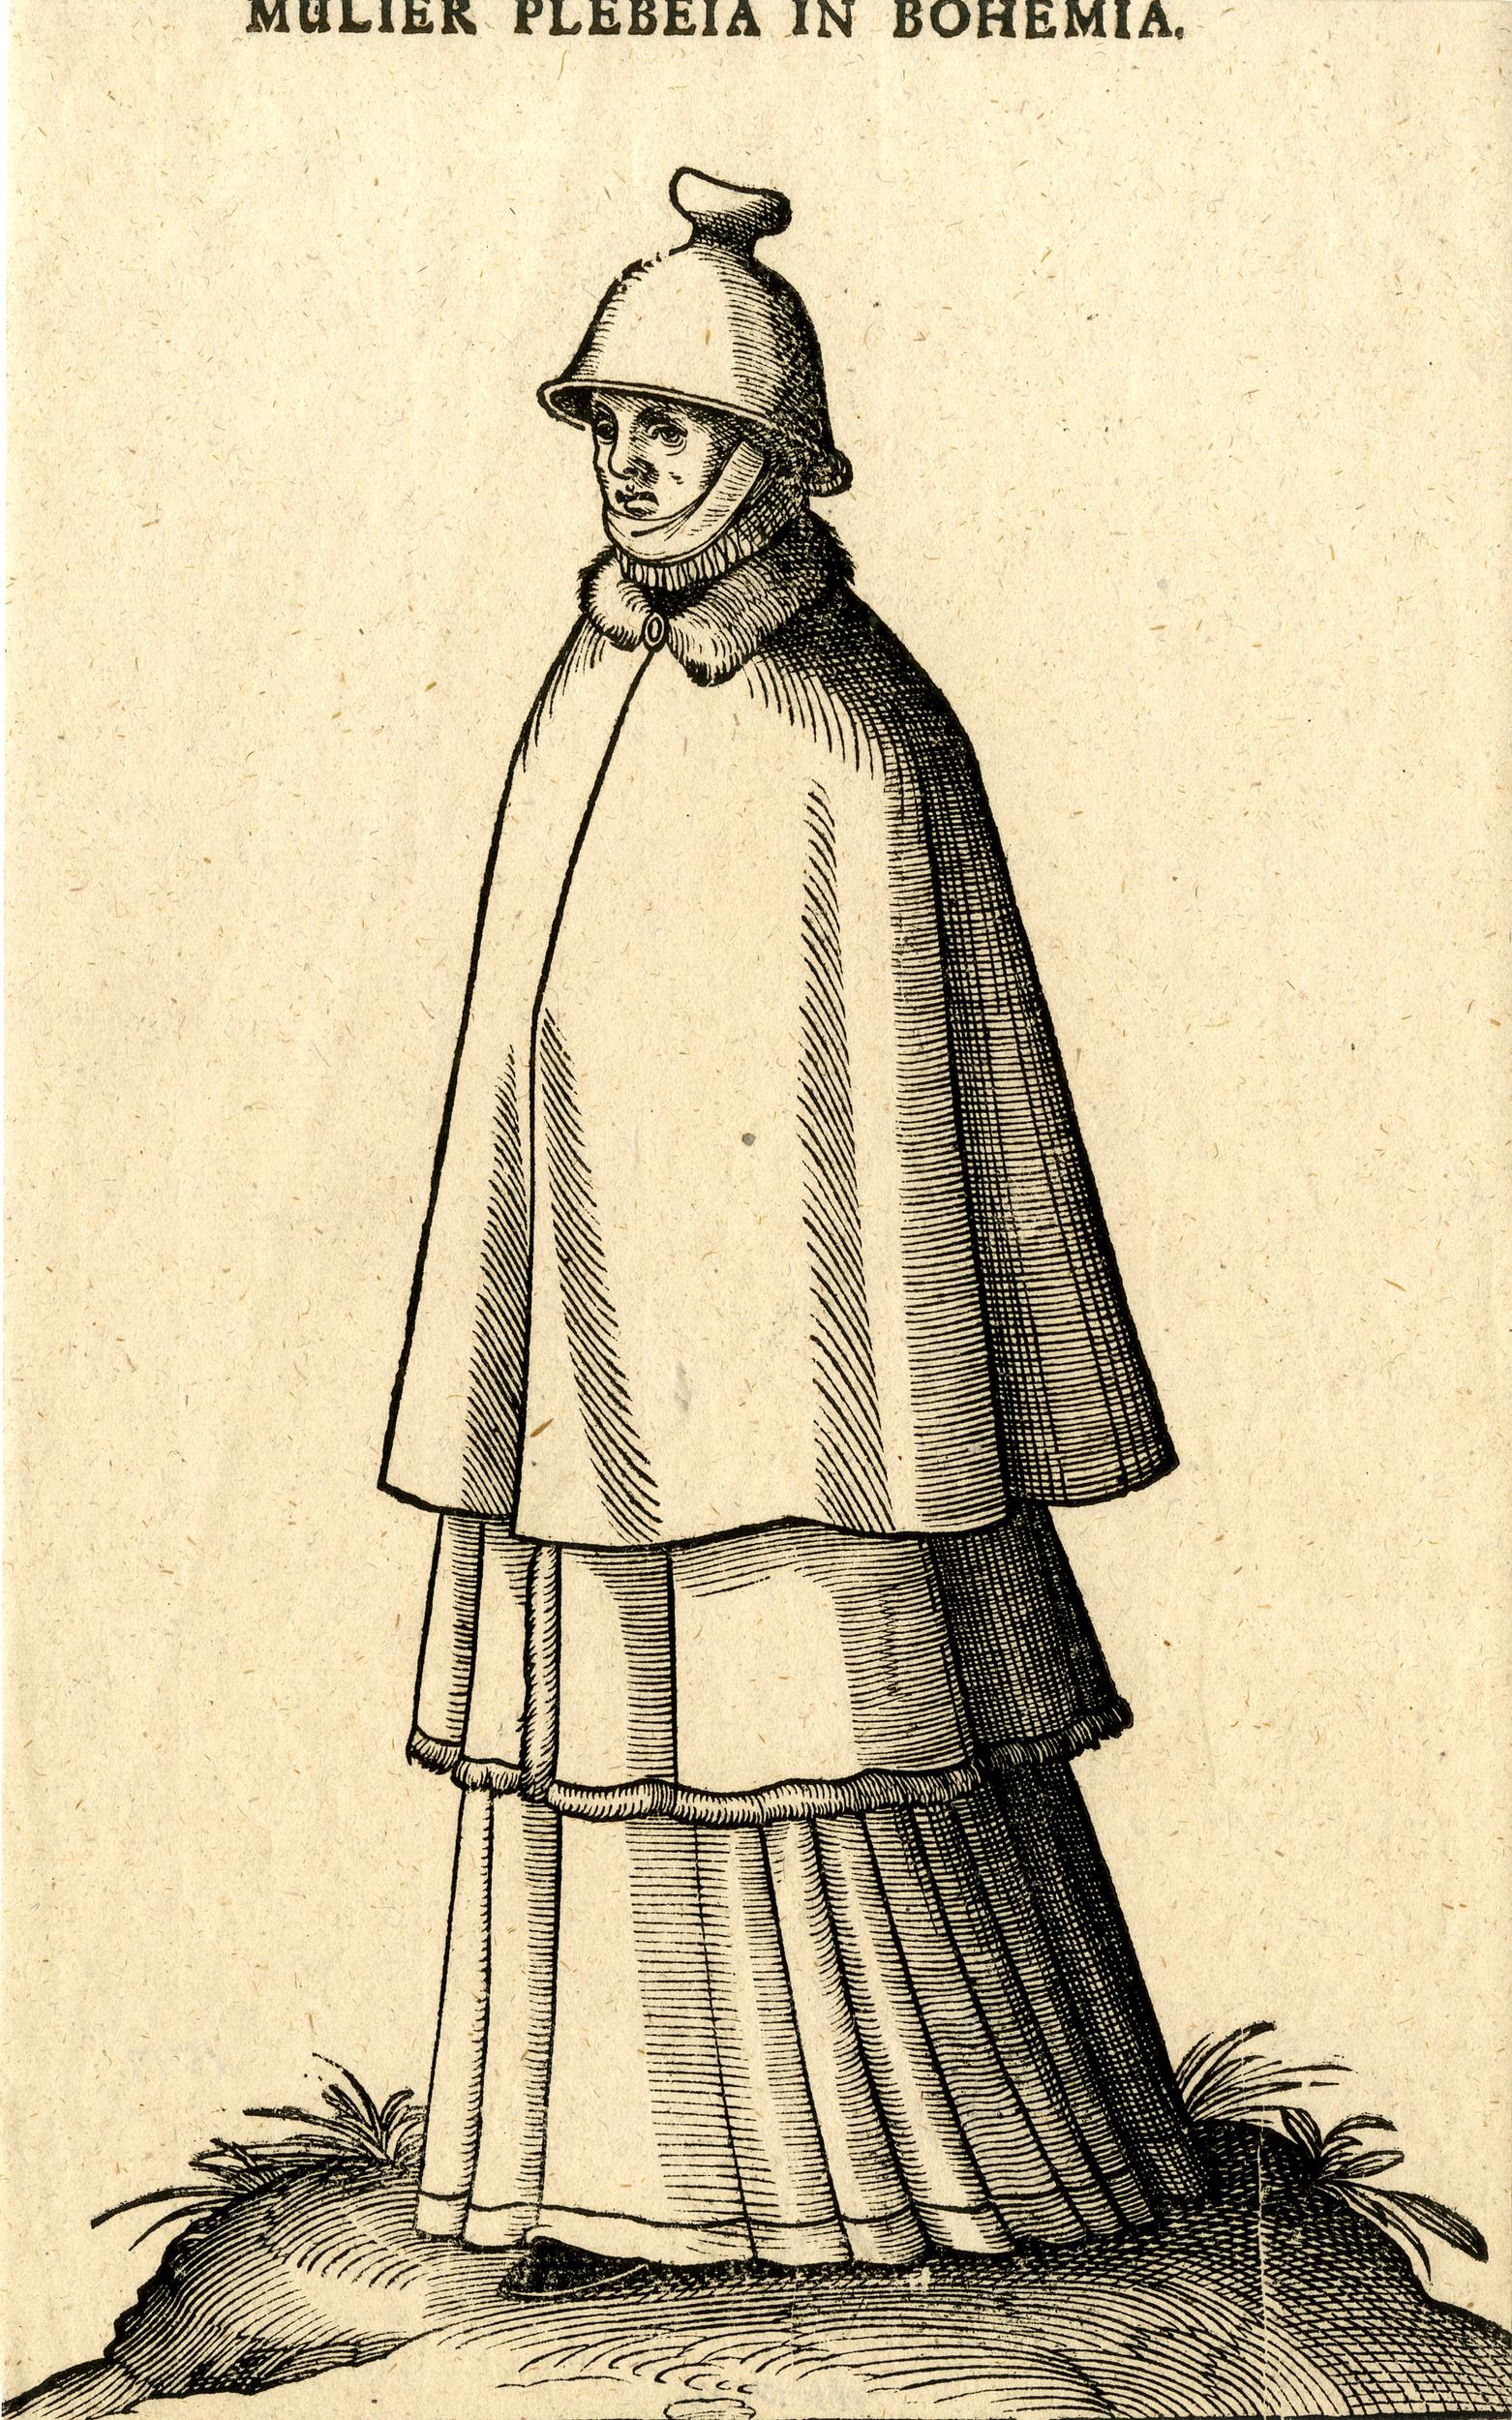
WEIGEL, Hans. Trachtenbuch
According to Veronika Pilná (Clothing in West Bohemia in 15th to 17th century, p. 40), dark colors were popular in the Czech lands, as evidenced by some of the graphics shown here, which can also be found in color. The fact that dark colors were popular abroad as well is also evidenced by the number of illustrations.
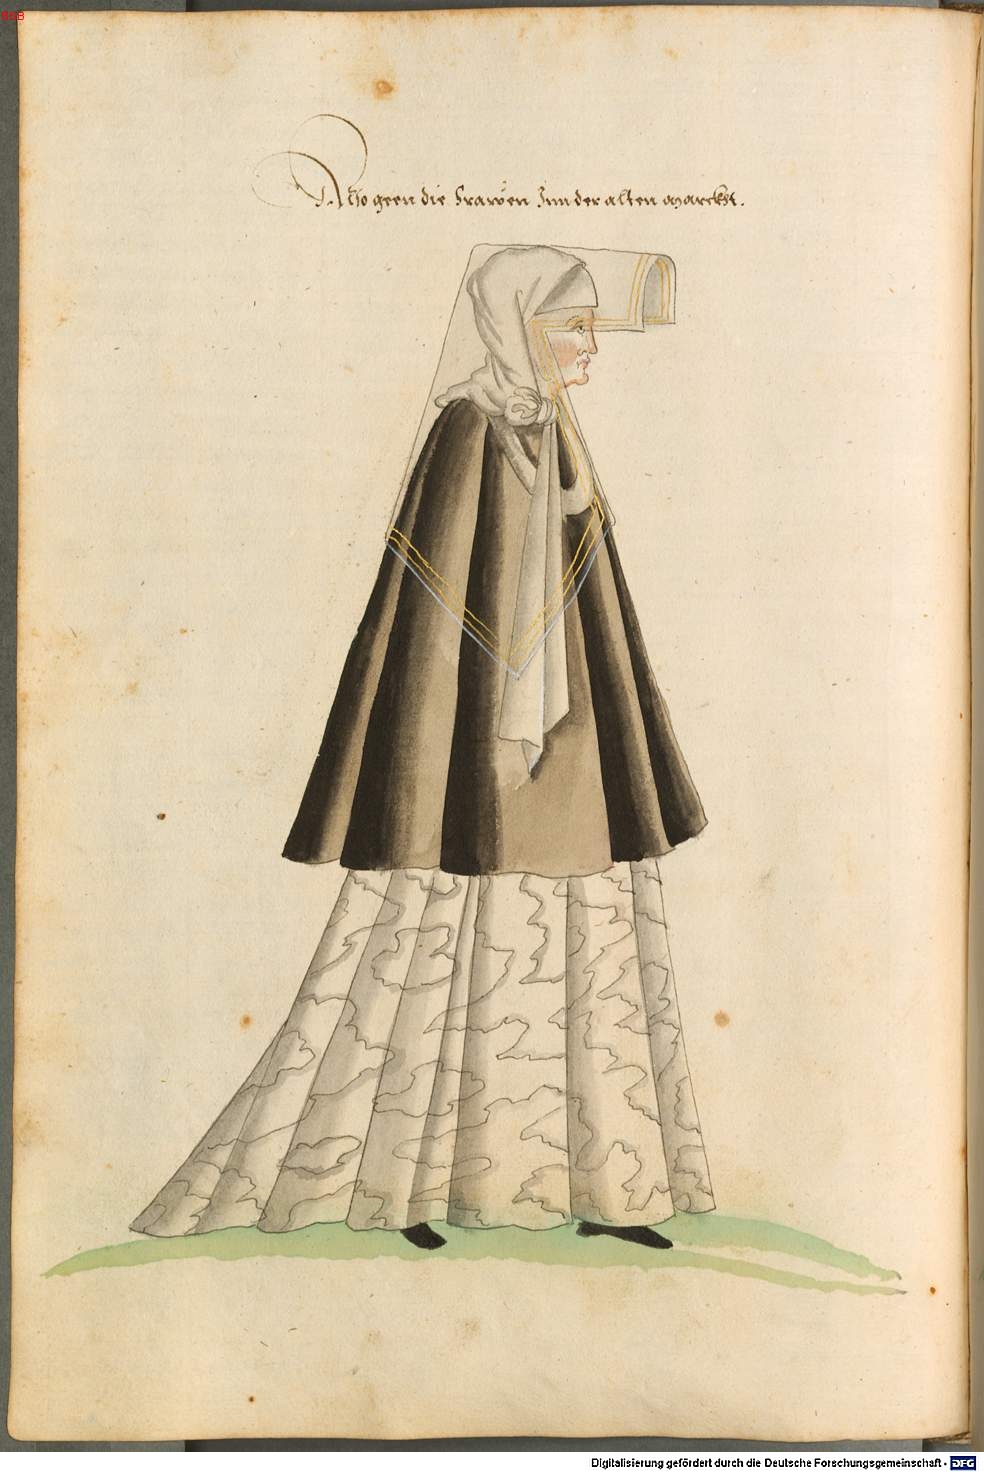
Kostüme der Männer und Frauen in Augsburg und Nürnberg, Deutschland, Europa, Orient und Afrika
The costume book for men and women in Augsburg and Nuremberg, Germany, Europe, the Orient and Africa also offers an overview of beautiful cloaks and, in addition, high-quality online digitization.
Step by step
I was fascinated by the seams on the cloak, which connect the pattern composed of several triangular panels (with a rounding at the bottom). Often such cloaks were also only decorated with stripes that resembled a triangular pattern, so the cloak was not cut from individual triangles, but was only decorated with braids where the seams of the joined triangles would be.
I chose for my cloak a 35-year-old wool of lighter weight from the Belgrade Woolen Combine (BVK), which no longer exists. I owe this to my mother, who was working in a combine at the time. Although the wool is thinner, it was enough for me for the purpose of a warm layer over several costumes. I was planning from the beginning linen lining, a kind of interlining (a material used as a special lining between an ordinary lining and an upper fabric) and internal fur insulation. I didn't know what this insulation was supposed to look like until the last moment, because I had been dealing with the problem of fur allergy for a long time.
I don't have much photos (let alone high quality) from the time I sewed the cloak but I found something in my old phone. The first thing I did was cutting the triangles for the cloak. (My pattern is inspired by several cloaks, so unlike the cut in Janet Arnold, it is made up of several isosceles triangles and two right angles triangles at the edges.) The lining copies completely upper layer by pattern - the preserved original, which Arnold describes, has a one-piece lining and all panels of the upper layer are rectangular triangles.)
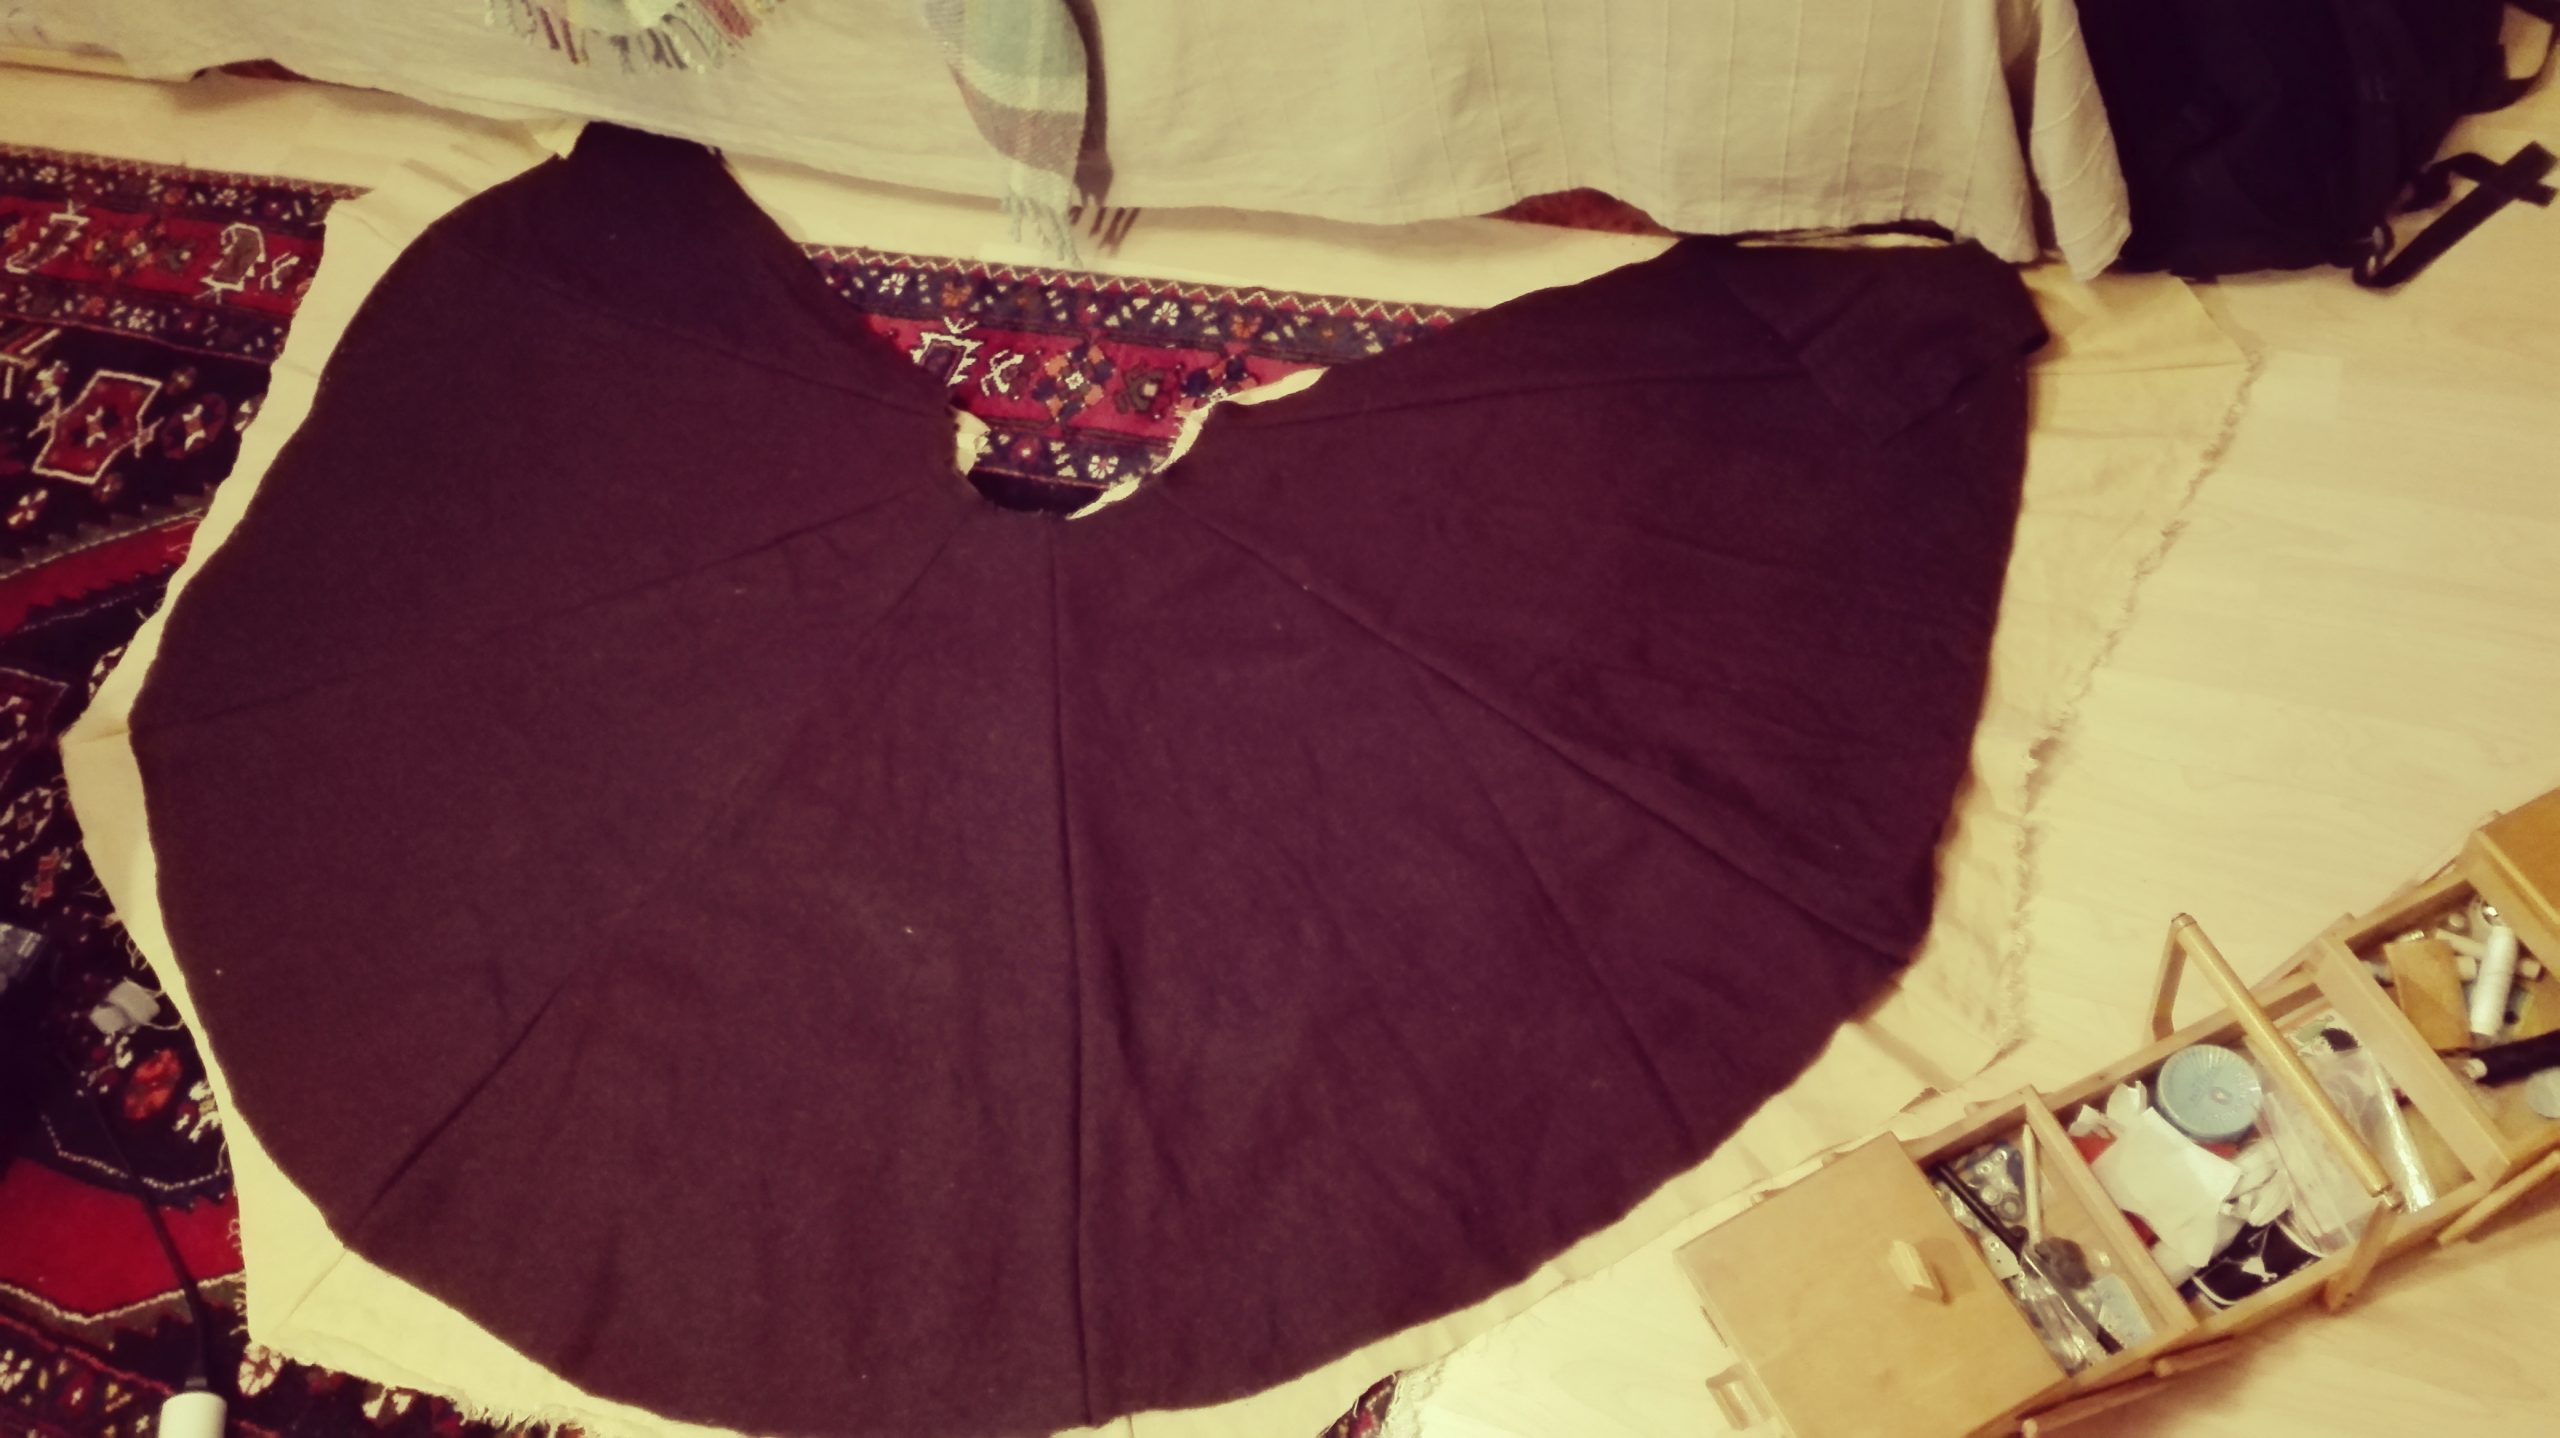
After sewing the individual parts, I decided that I could leave the two triangles aside, because the cloak covered me well. I rounded the future cloak with a cord.
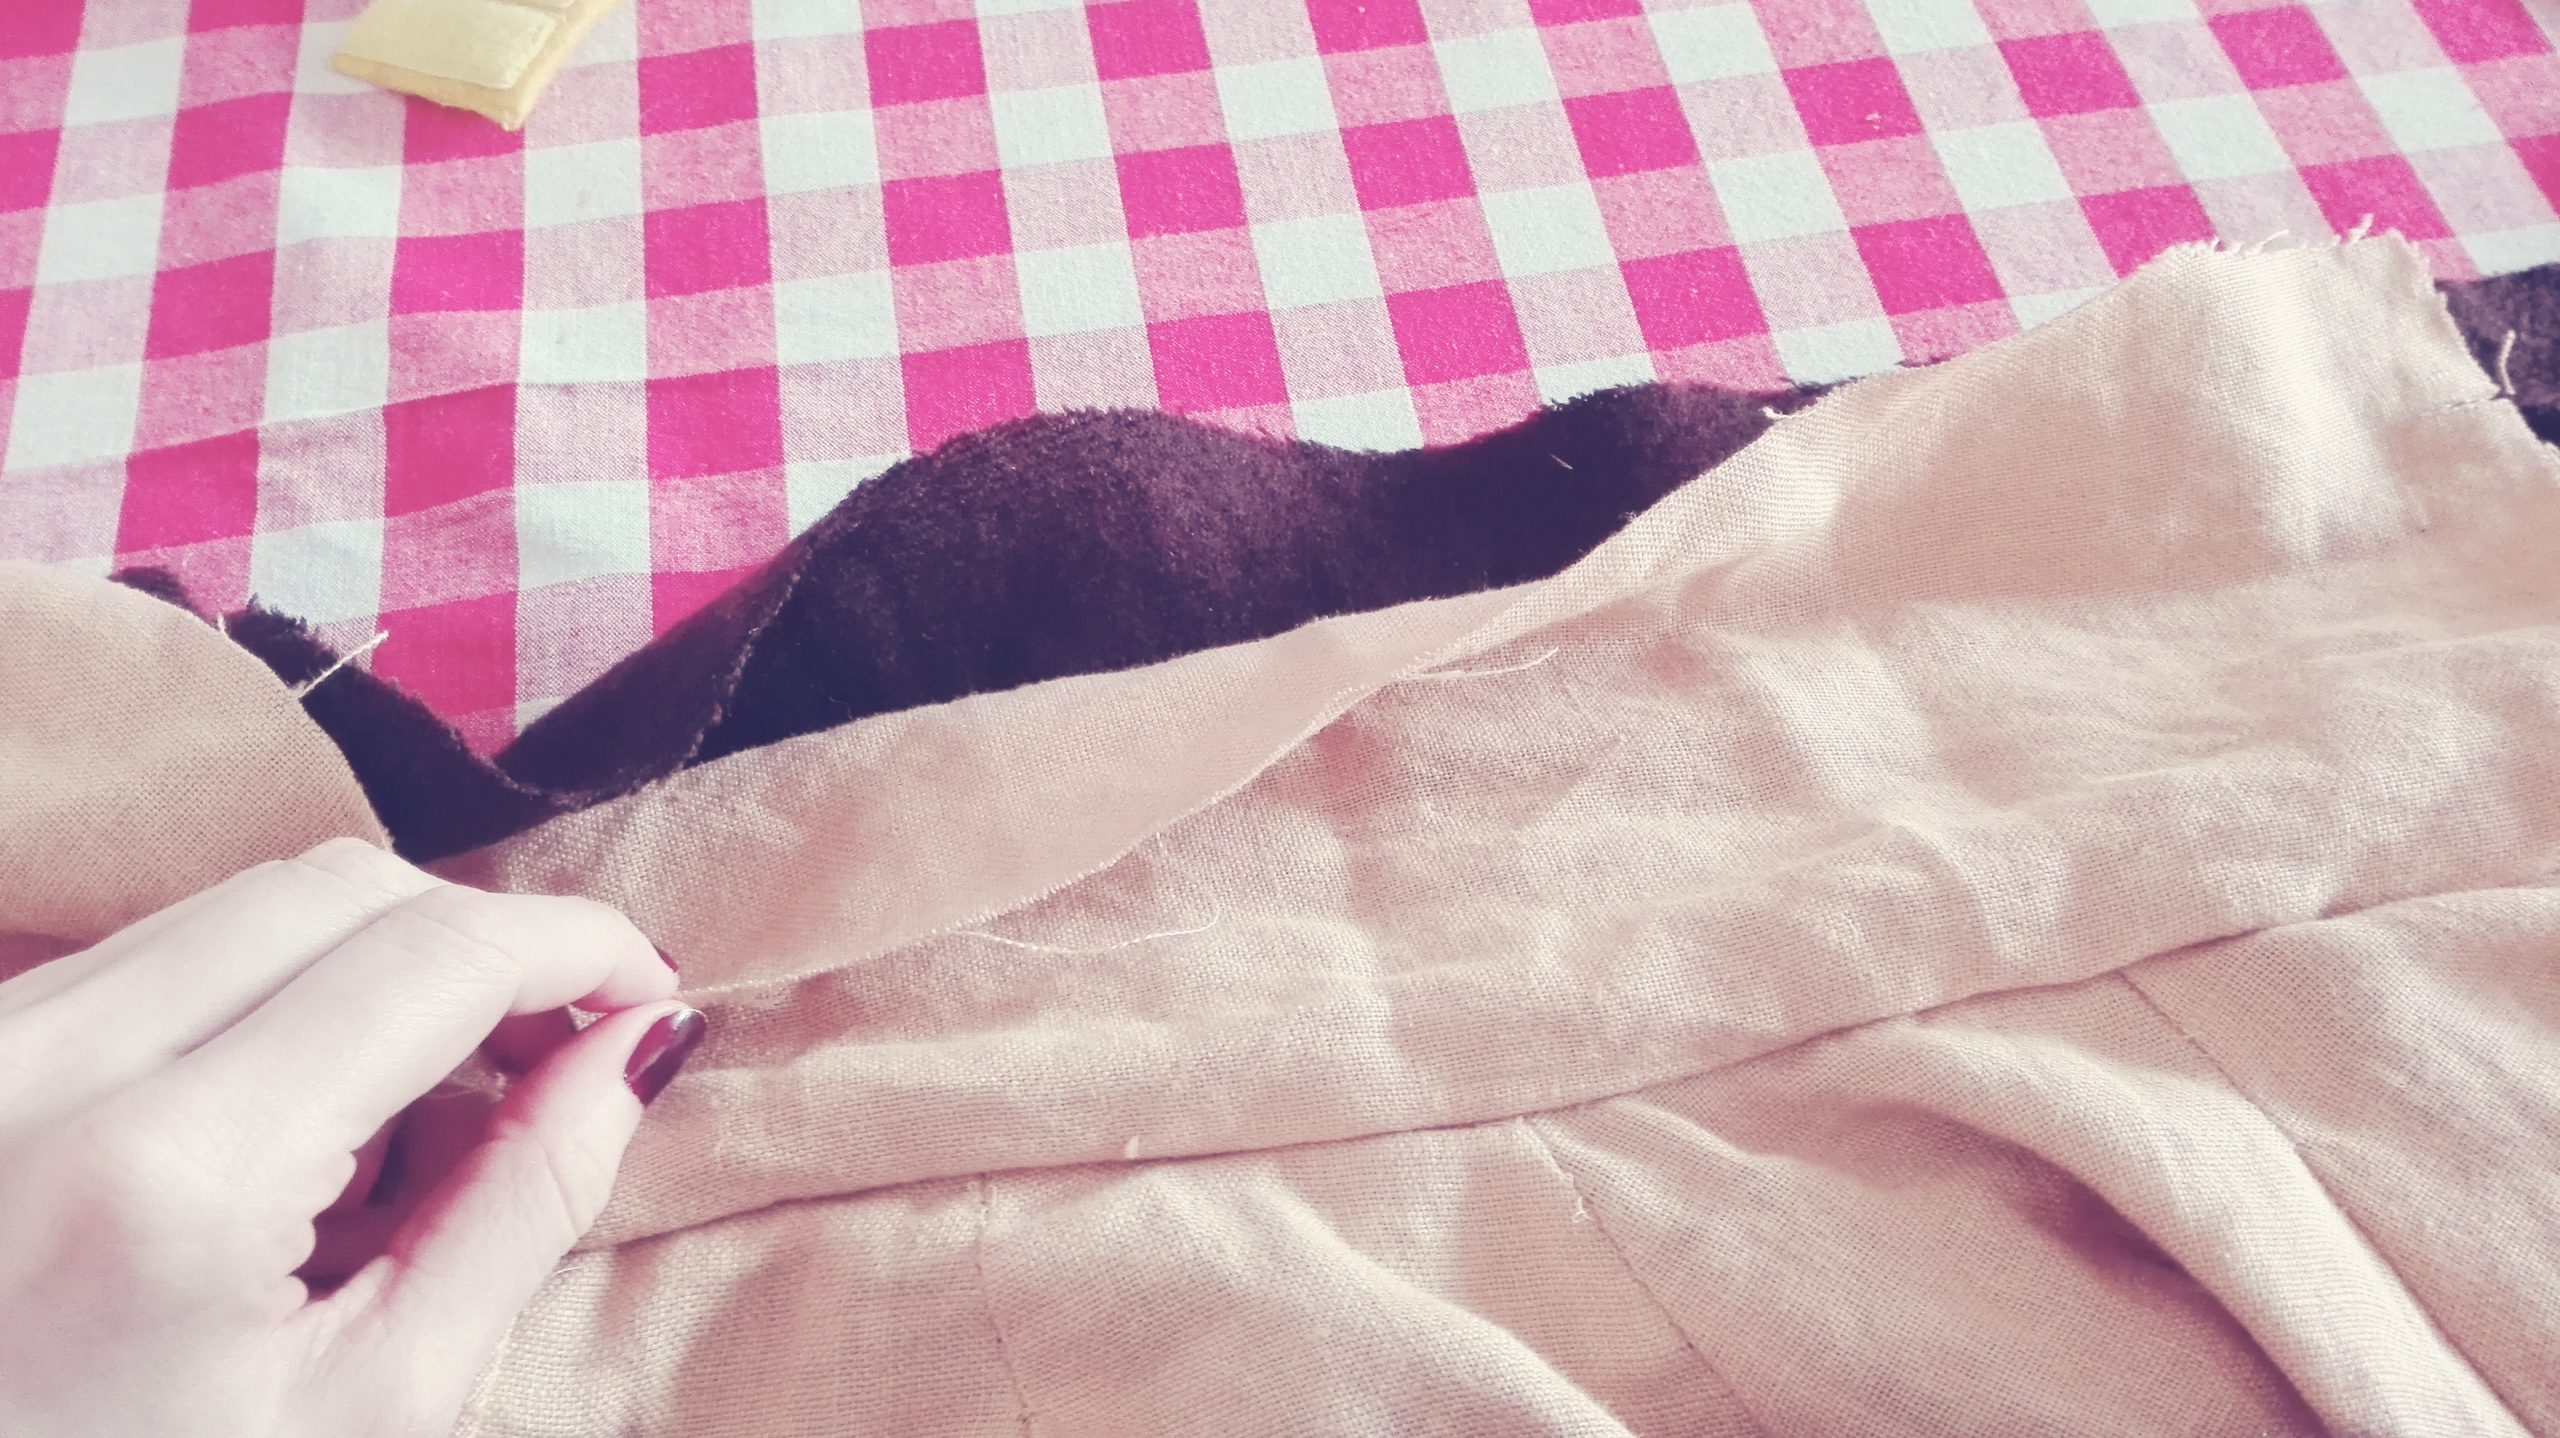
I also cut out the collar from the yellow linen lining and the upper fabric and sewed it to the cloak. The idea was to sew on this yelllow linen the mentioned fur.
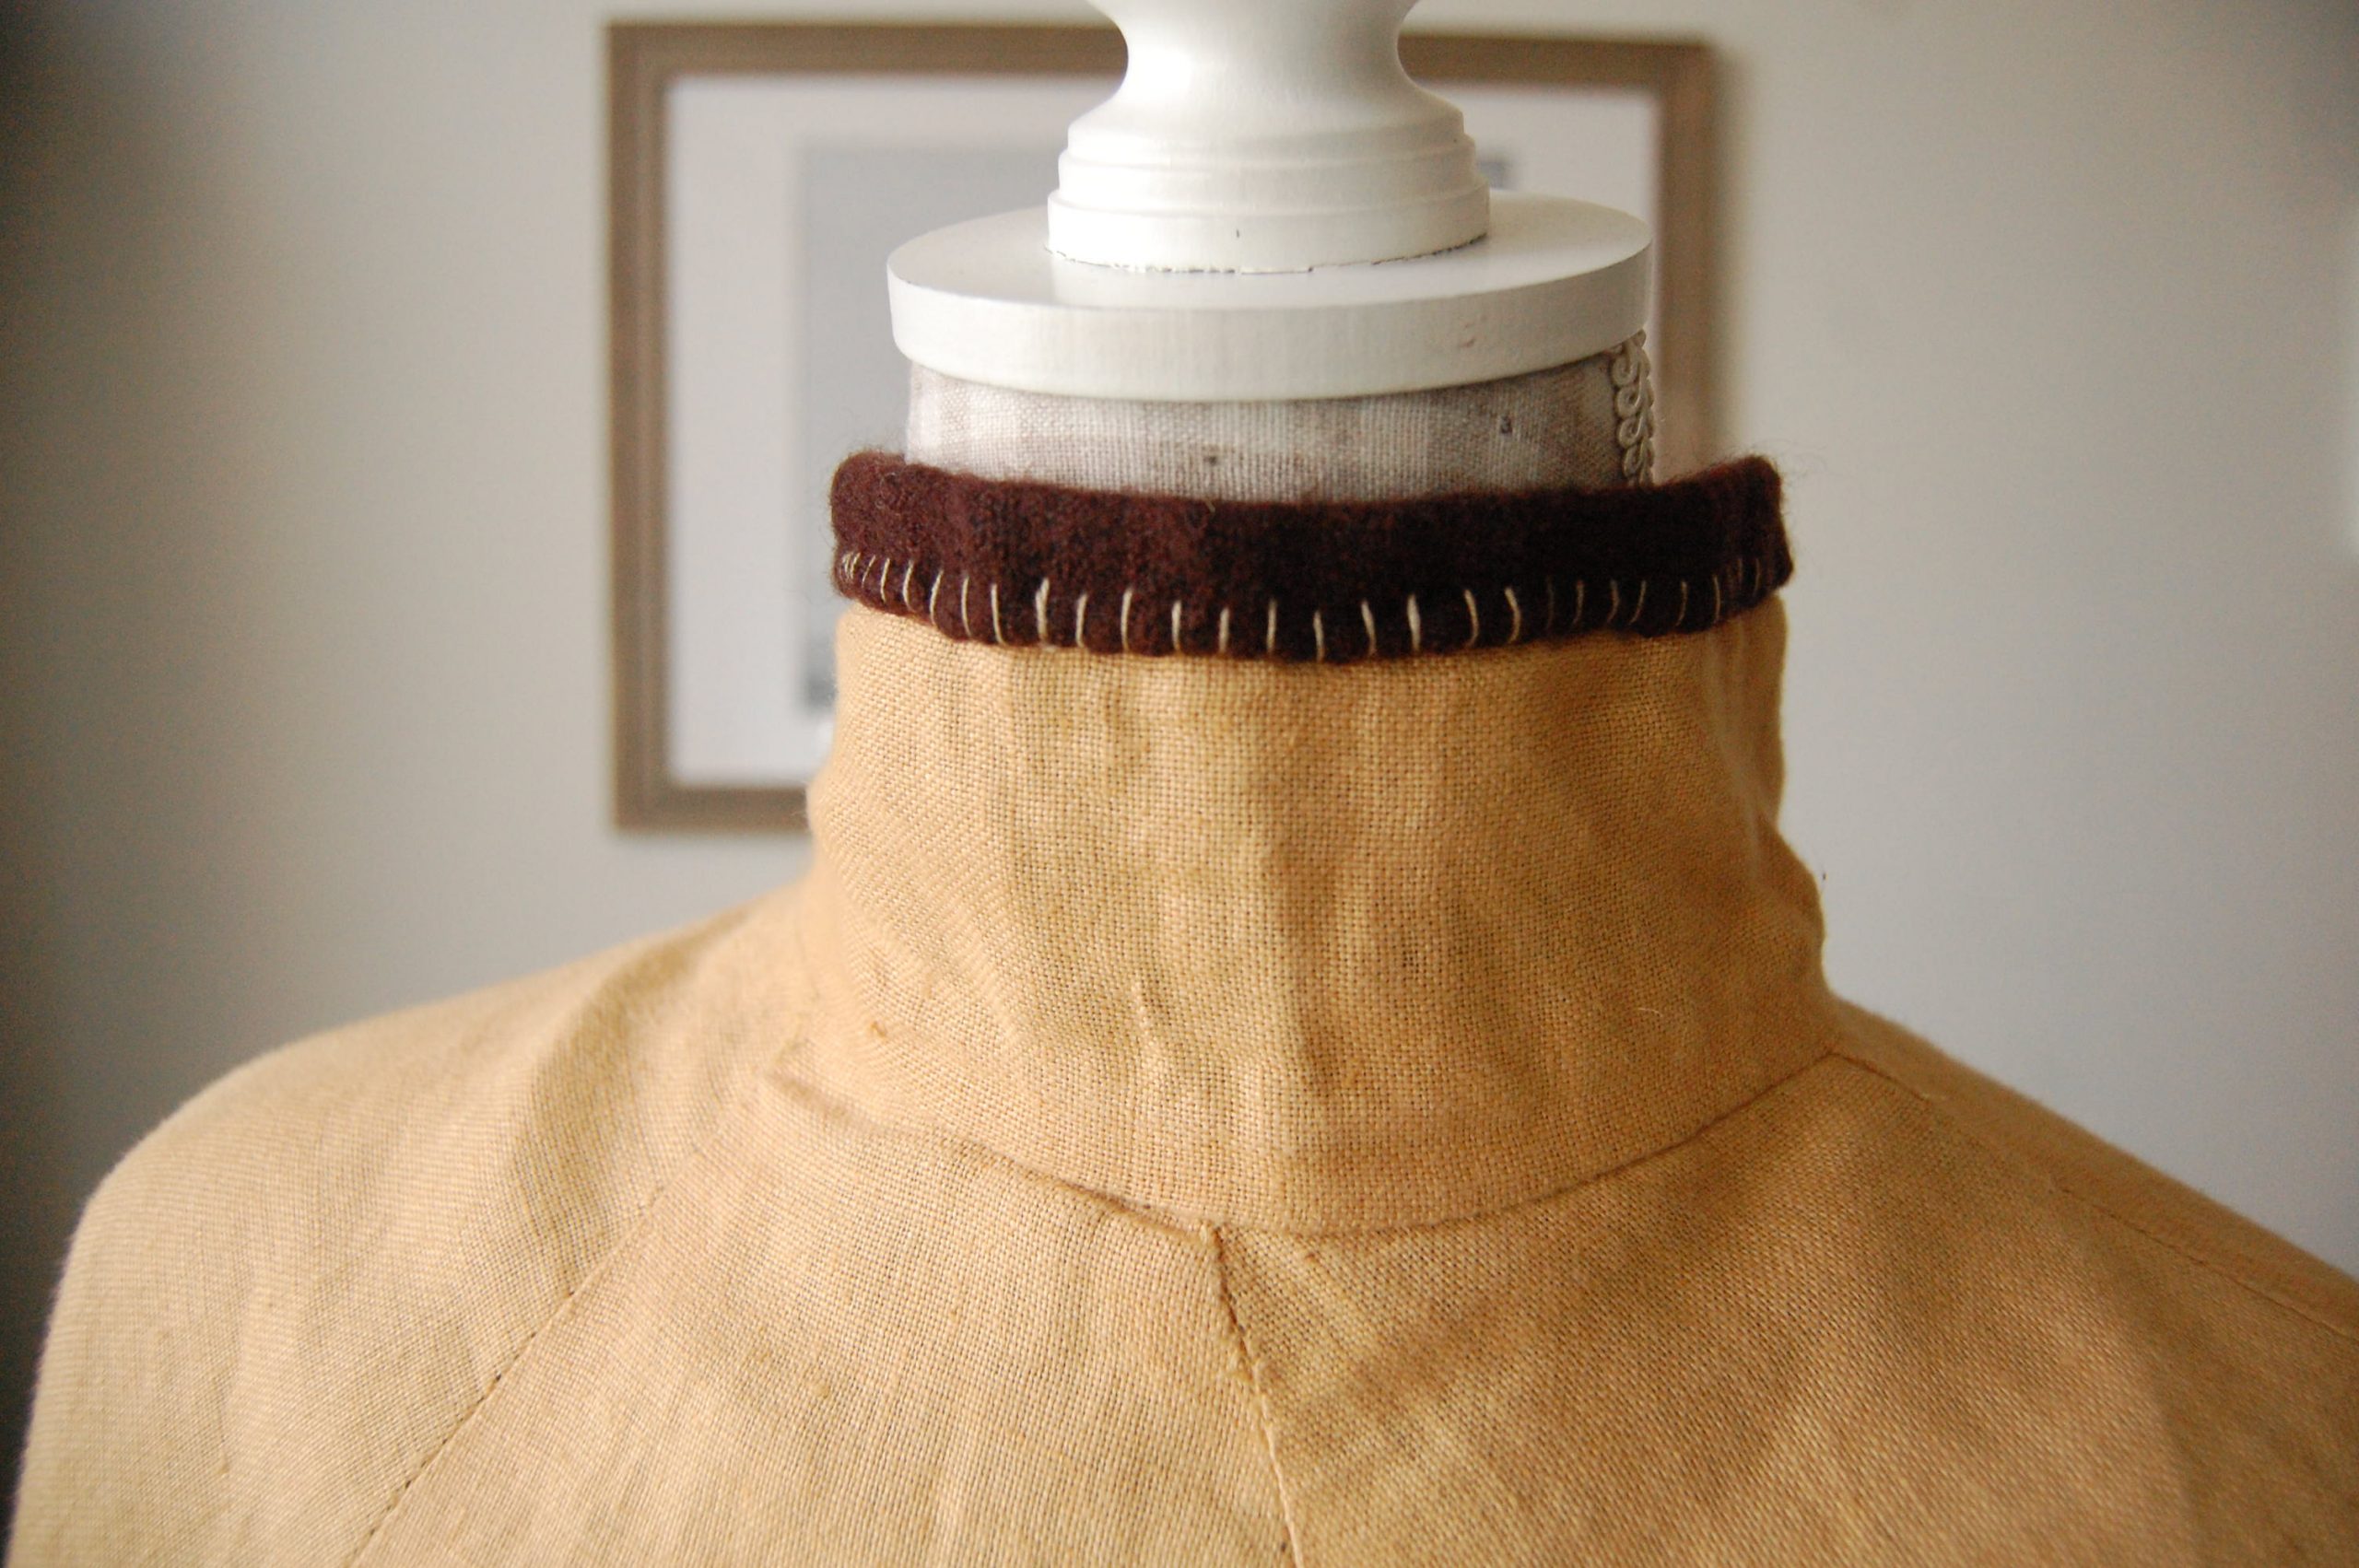
I sewed the edges of the lining, I hid it under the woolen edge so I can sew the fur on a stronger fabric - wool. Unfamiliar with period stitches, I used an unnecessarily large hand stitch.
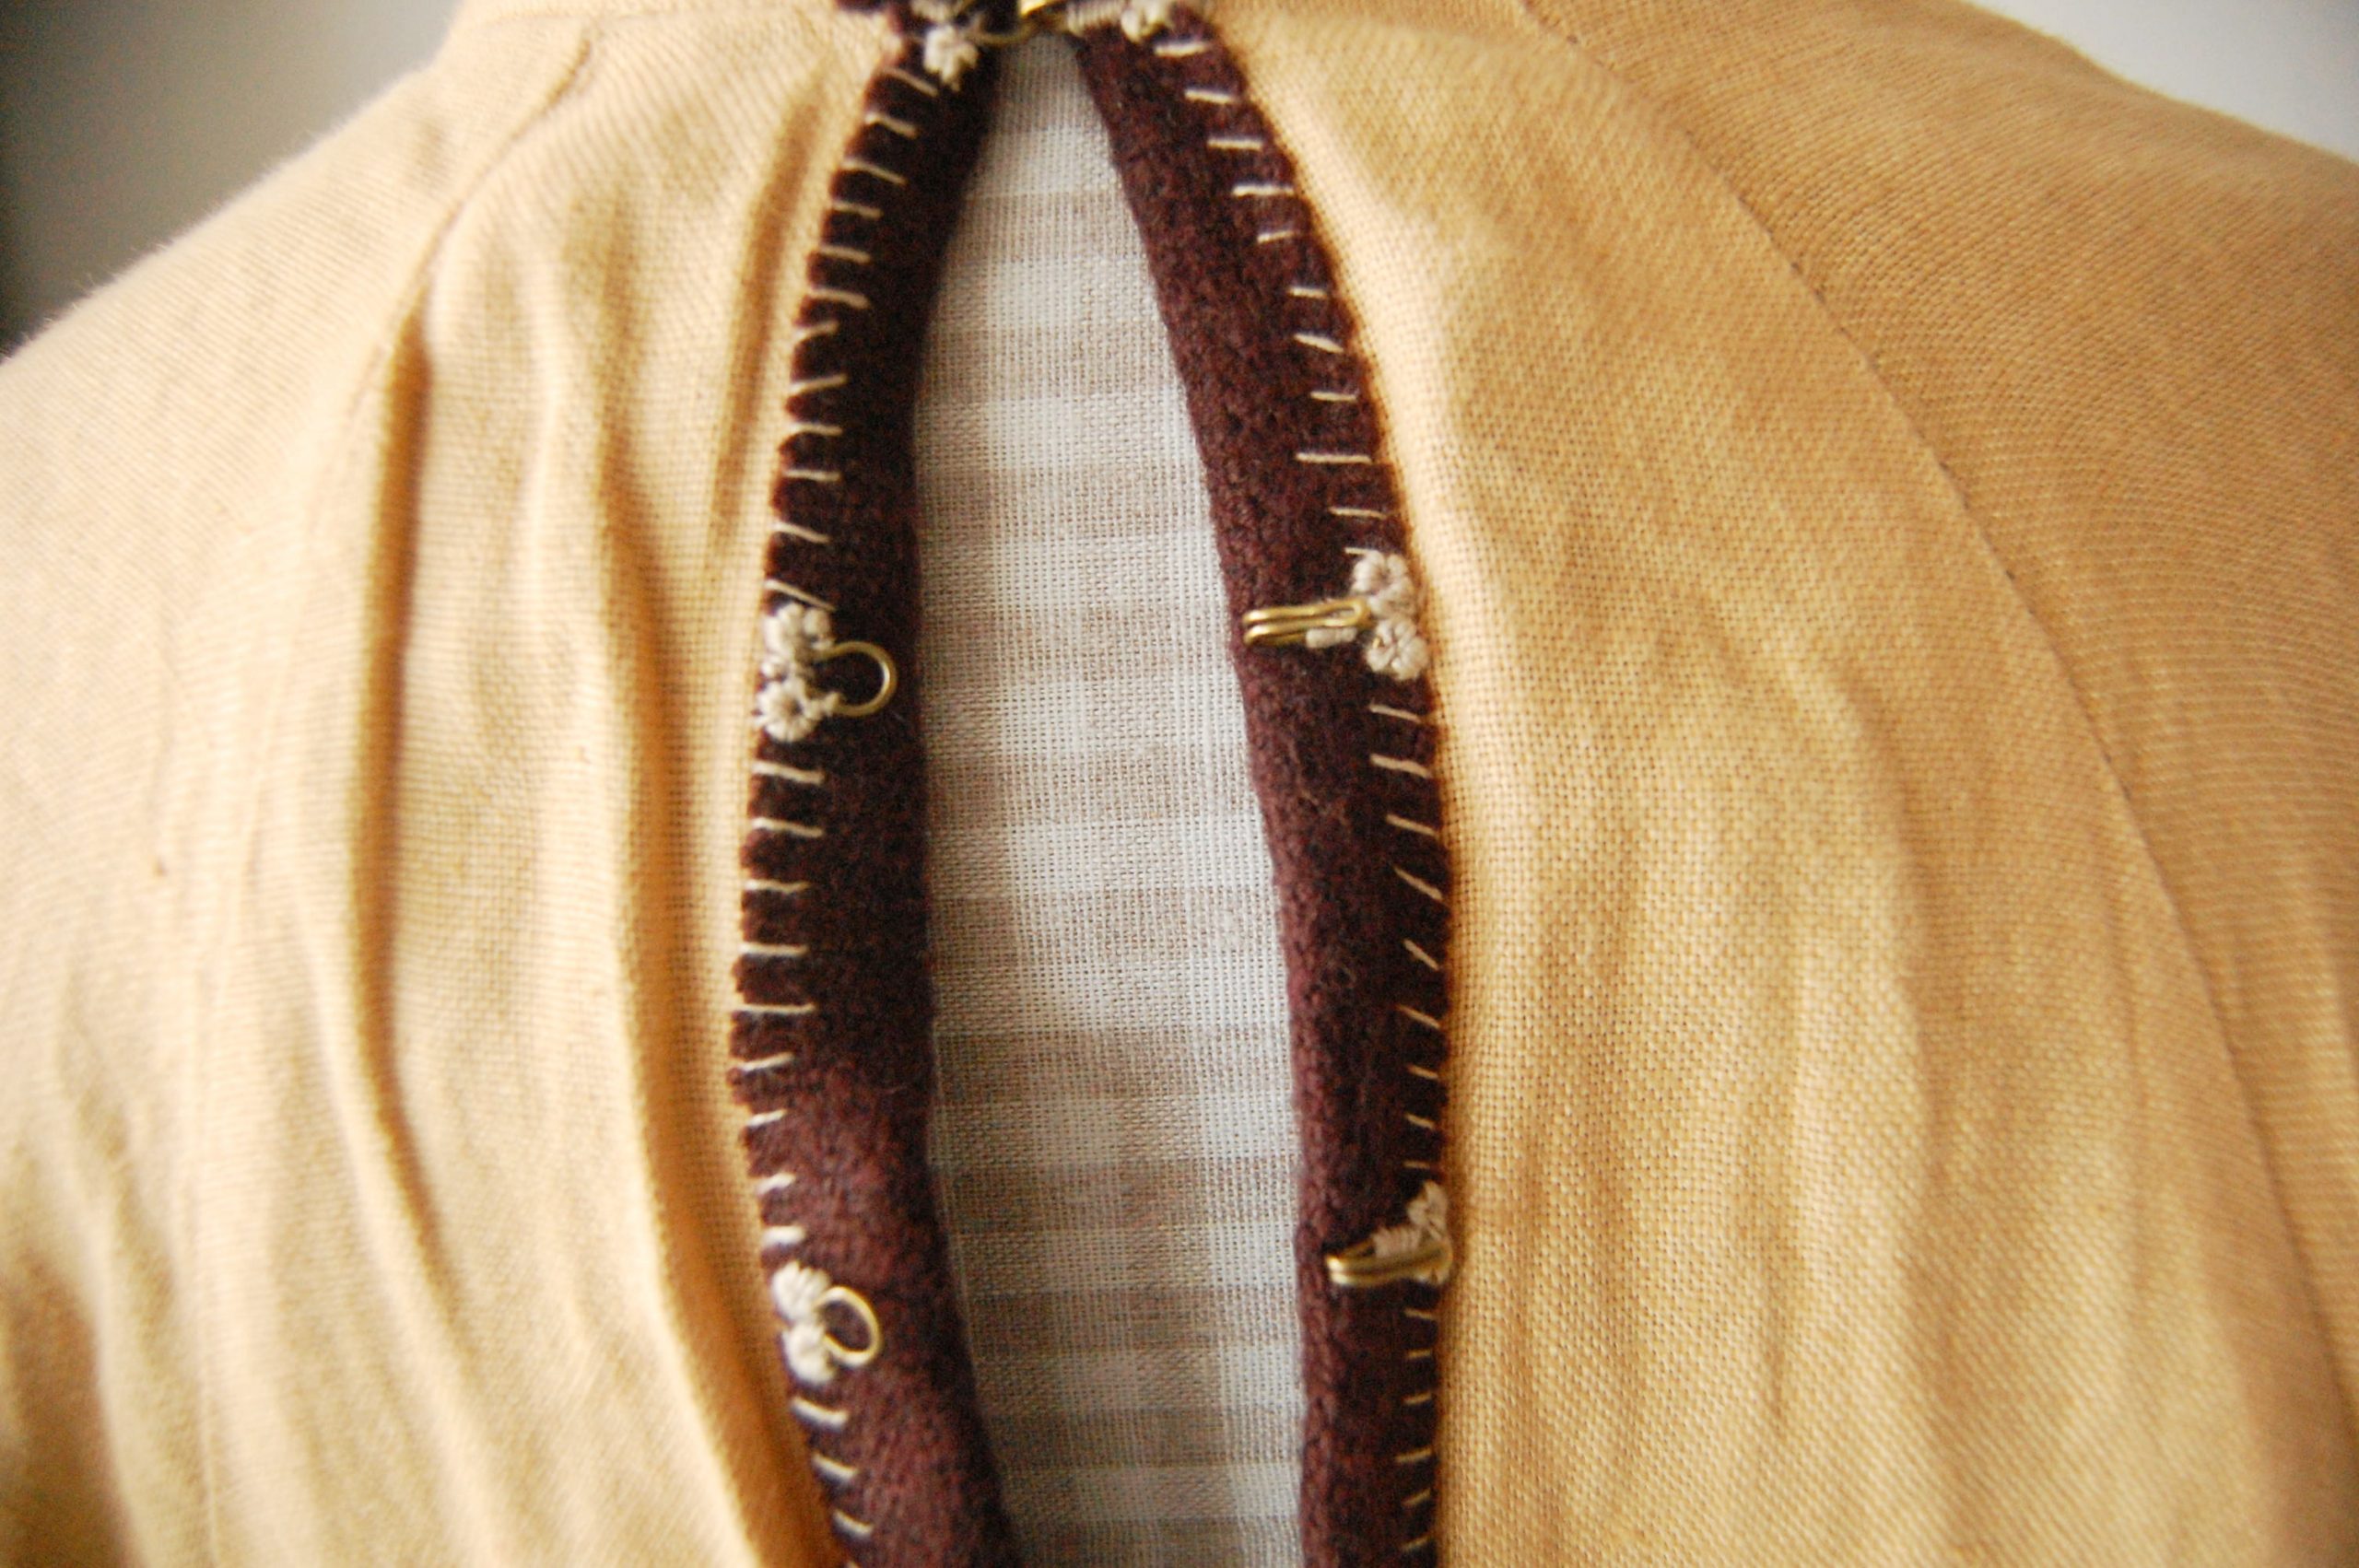
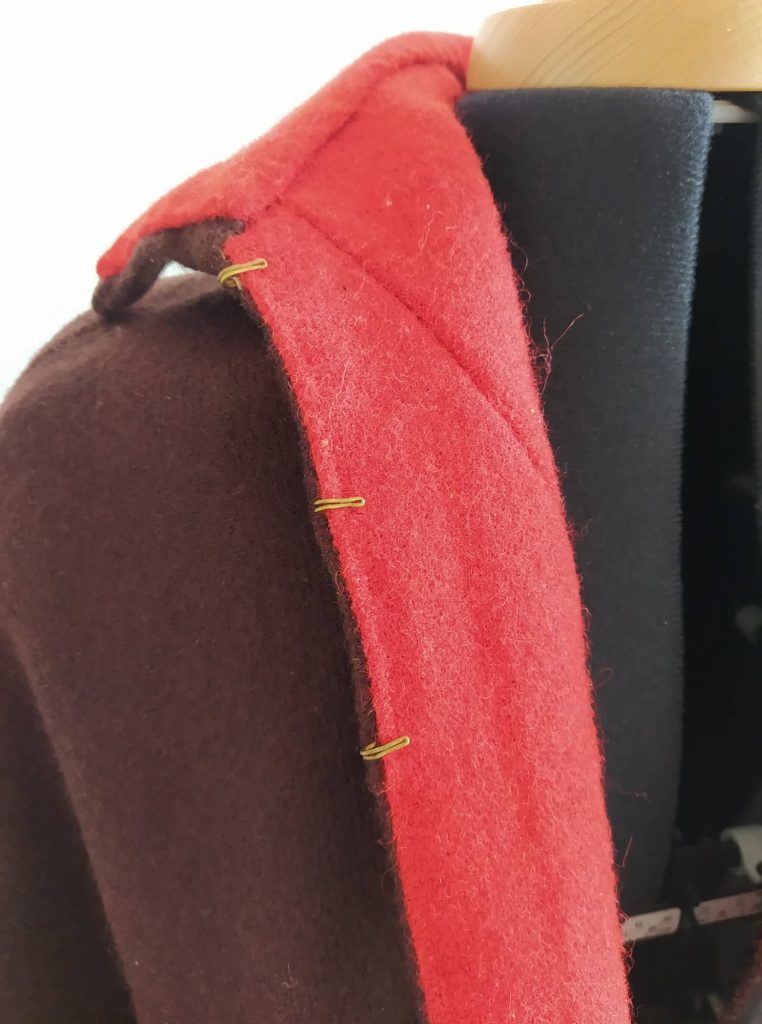
I sewed three eyelets and hooks on the cloak on the area under the neck - on the chest. Than the sewing process stopped for five years. I wore the cloak unfinished and wondered if I should sew the fur. Due to numerous allergies and asthma I began to abandon the idea of sewing fur. But how to finish the cloak? If I left the yellow lining, I would have to sew the hem again, so it will have a period look. But first it occurred to me to leave the lining as the middle layer and sew a warm third layer instead of fur, for example a warm wool lining. But, apart from the fact that I don't know if the interlayer was ever made on the cloaks, and five years later I wanted historical accuracy, I was also not at all sure if the interlayer was practical. If I got wet in my cloak, it could just retain moisture and dry for a long time. So I decided to put the linen lining completely away, to completely abandon the idea of sewing any fur and sew only a warm wool lining, warmer than the top fabric of the cloak. I evaporated the lining and left only the upper part of the cloak - triangles and a collar.
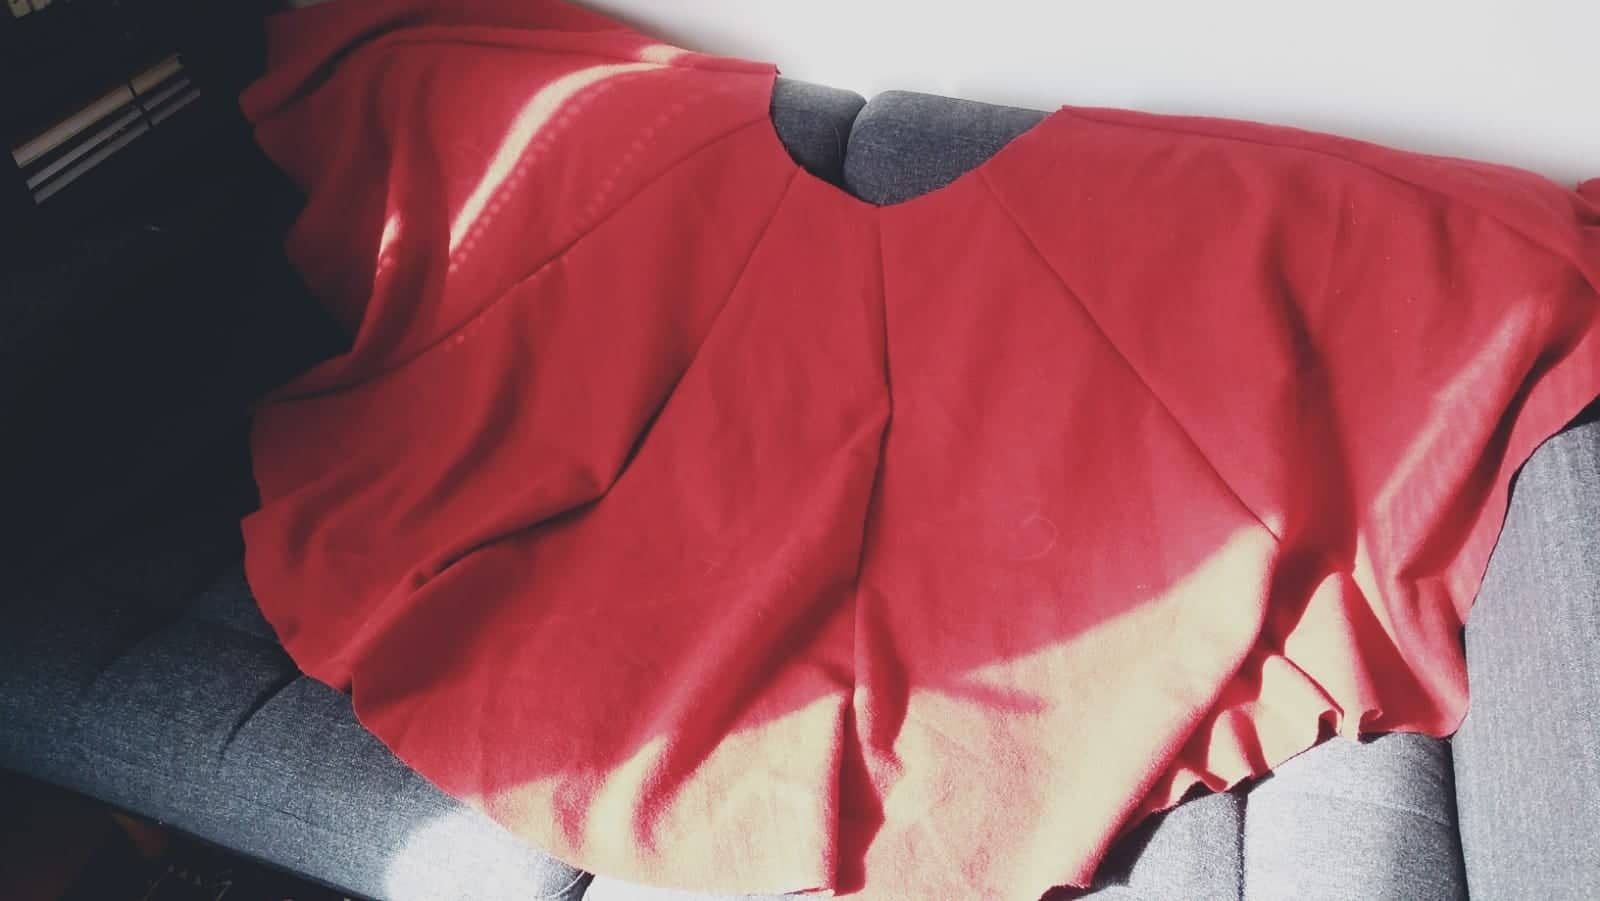
I made a new lining of warm red wool. At this point of sewing, something happened to my memory card and the best photos from the whole process of creating and sewing the lining disappeared forever. I only have a few mobile images.
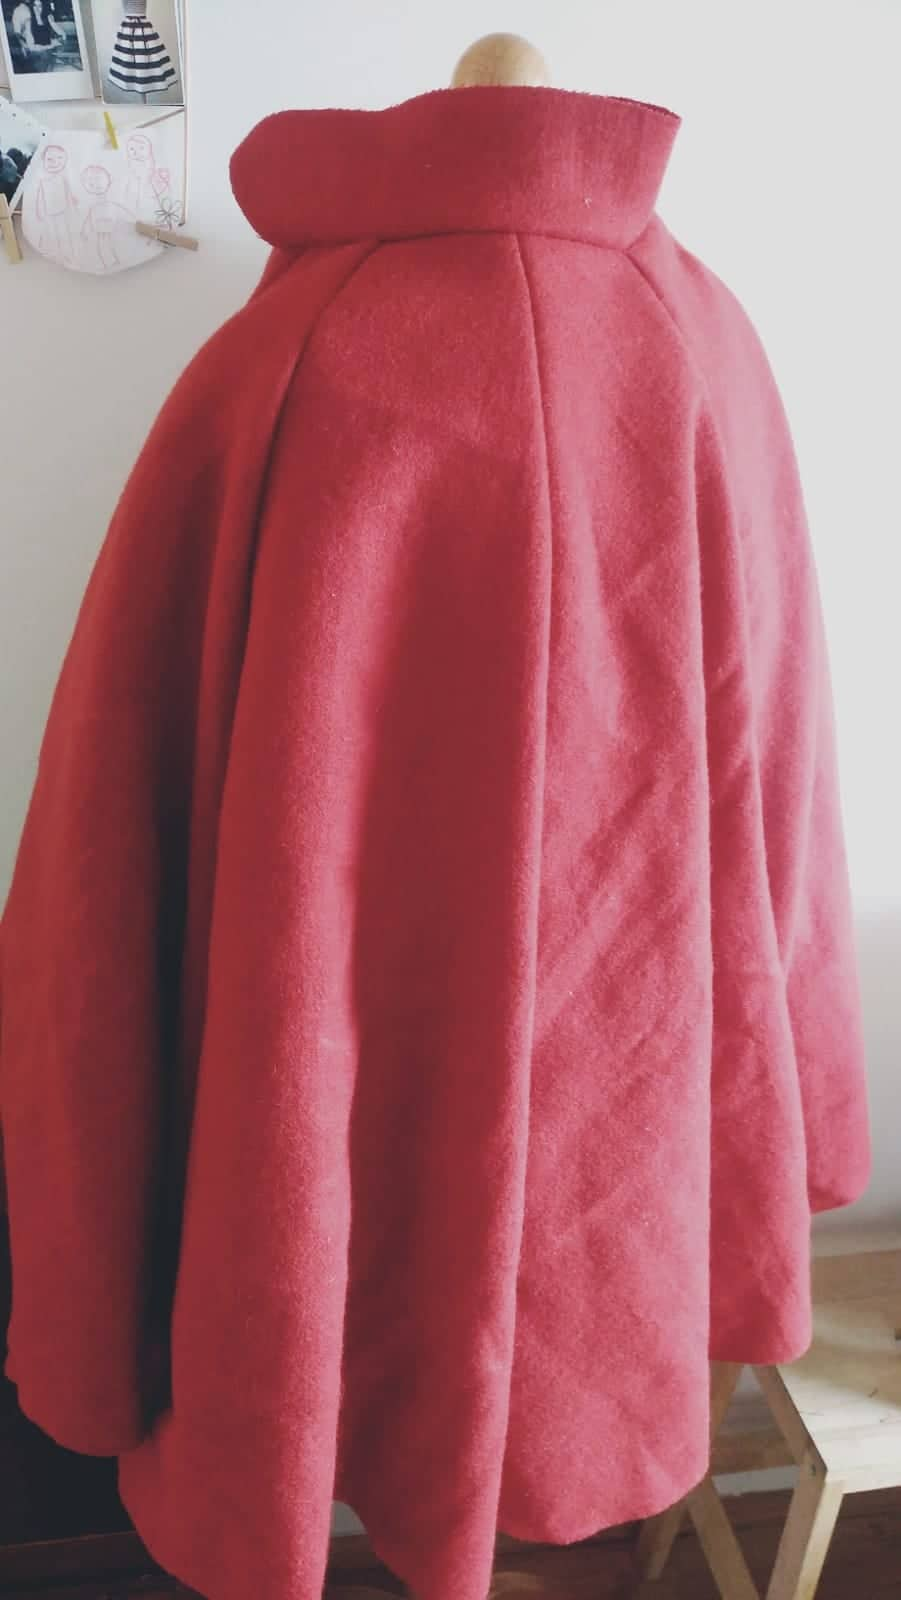
The pattern of the new lining is the same as the cloak's (like the previous one).
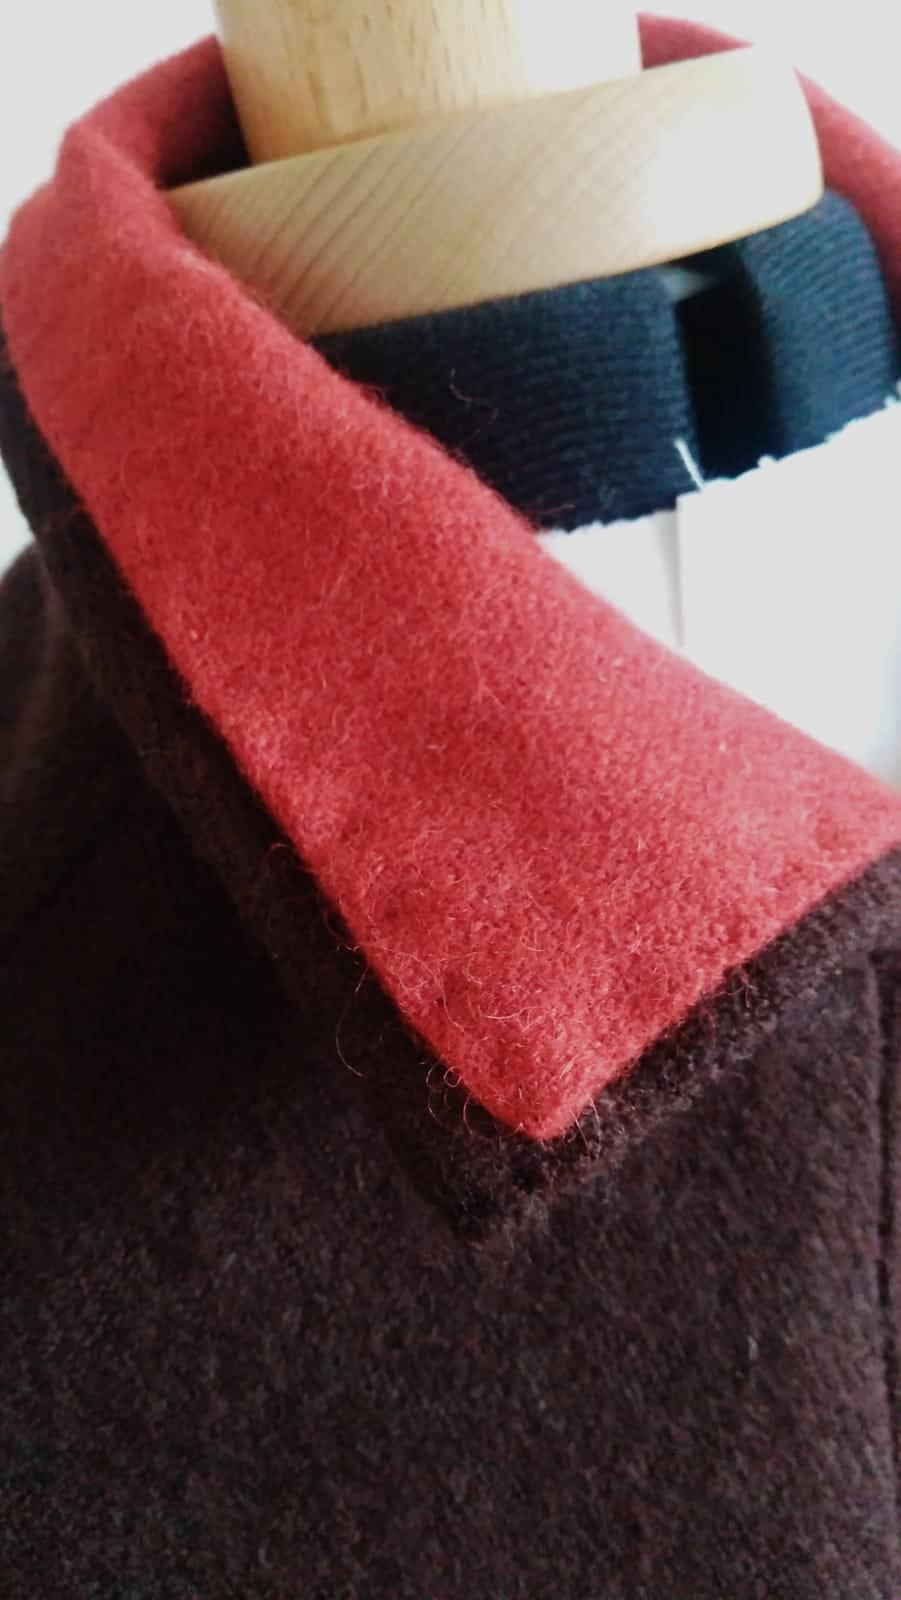
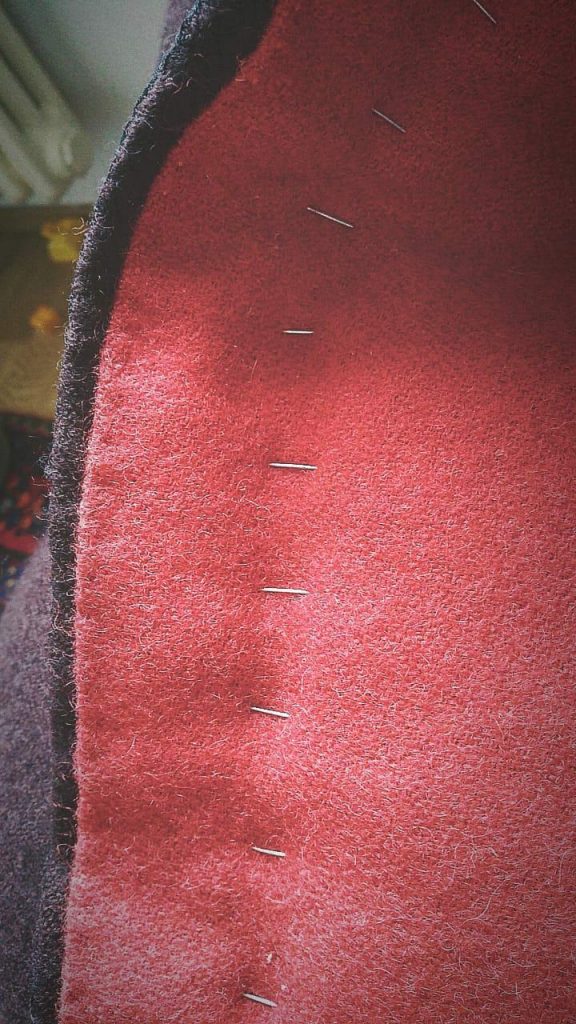
The wool lining was completely sewn to the upper part of the cloak using my favorite prick stitch.
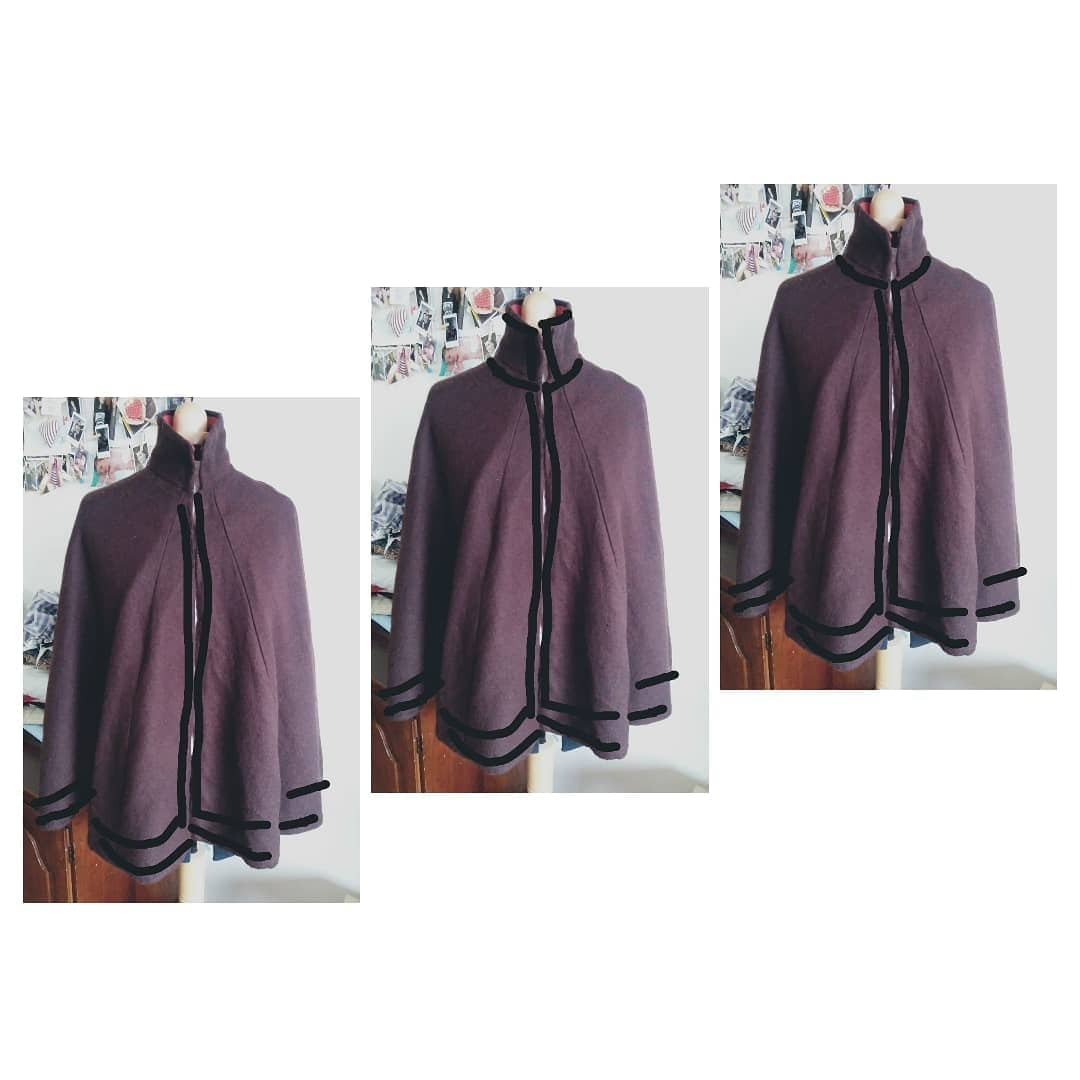
With the transformation of the lining of the cloak, the first visions of its decoration were created. As a mother on parental with two very small children, I am not always allowed to sit down at the PC and outline ideas. That's why I had to quickly notice the decoration inspiration on my phone. These three ideas were created. Of all the variants, I liked the most the one with two ribbons / decorative braids at the edge of the cloak, one along the entire length of the fastening (including the collar) and around the perimeter below and above the collar.
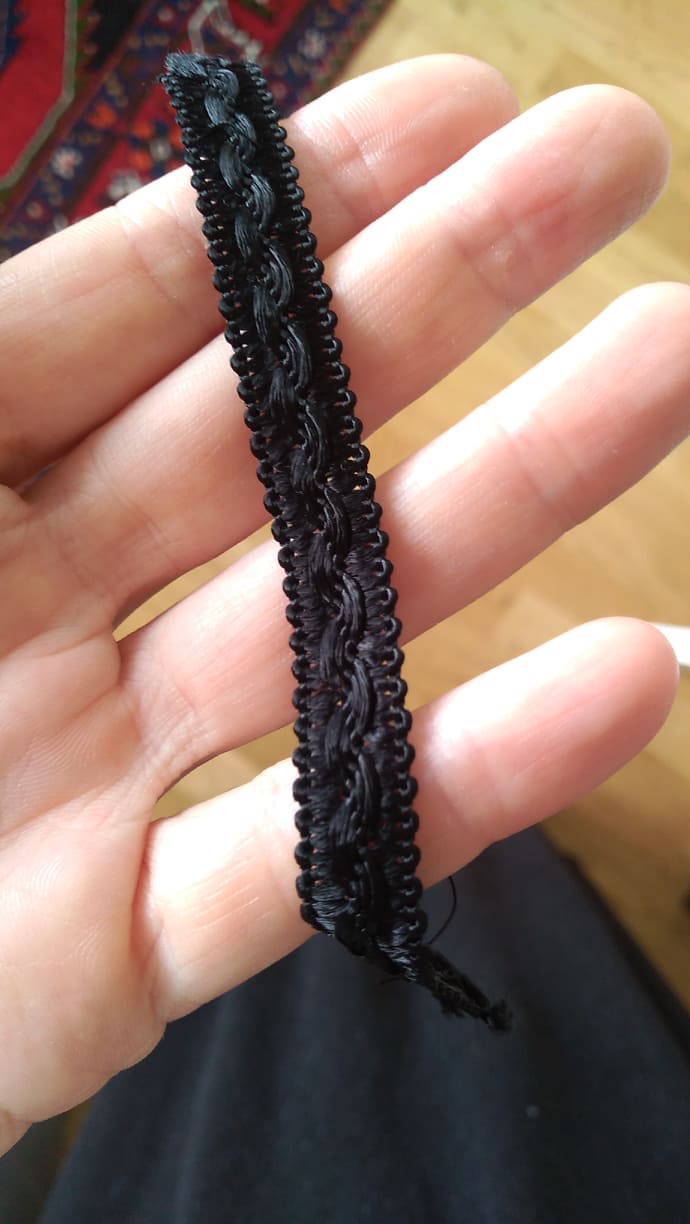
I hesitated for a moment what decorative material to use. I knew I wanted a cloak with black stripes. At first I came up with decorative braids, which are preserved, and at home we once had a replica of viscose. But they seemed to me very ornate. I then hesitated to use a cotton/woolen twill tape - how much is historically right/wrong to use it as a decoration? I wanted to decorate the cloak in a simpler style - to use something not very decorative.
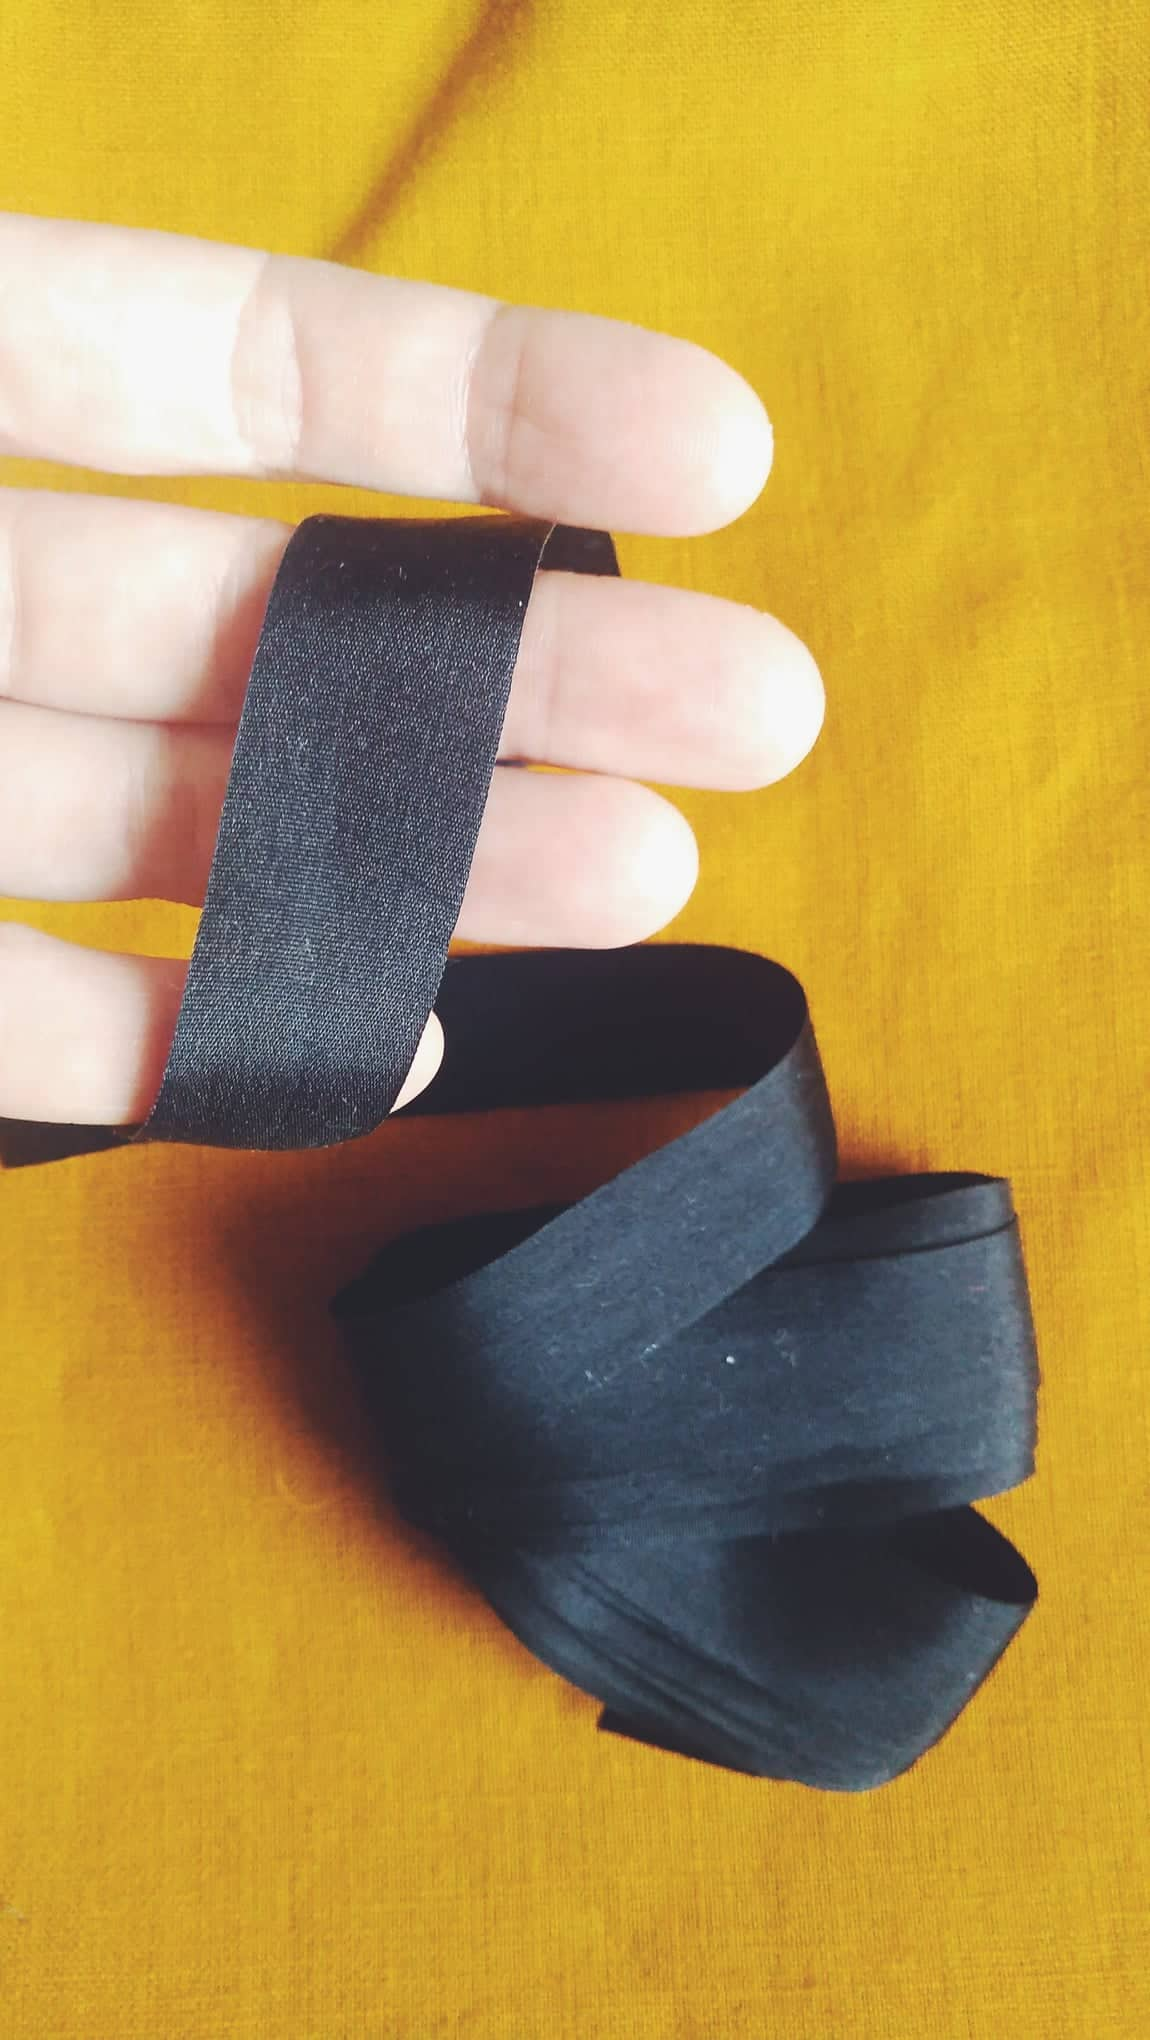
In the end, I decided to sew a silk ribbon. At first, the silk seemed very flashy, but it suited the status of my costume and the use of strips of silk fabrics is even documented from the Spanish estate inventories. Spanish books assume that the remnants of the fabrics were used for these hems after cutting the clothes. The cloak I made is in Spanish fashion, so the silk ribbon should be fine. (I found out this information when writing to the kostym.cz website - I thank the unknown person who showed interest and advised me.)
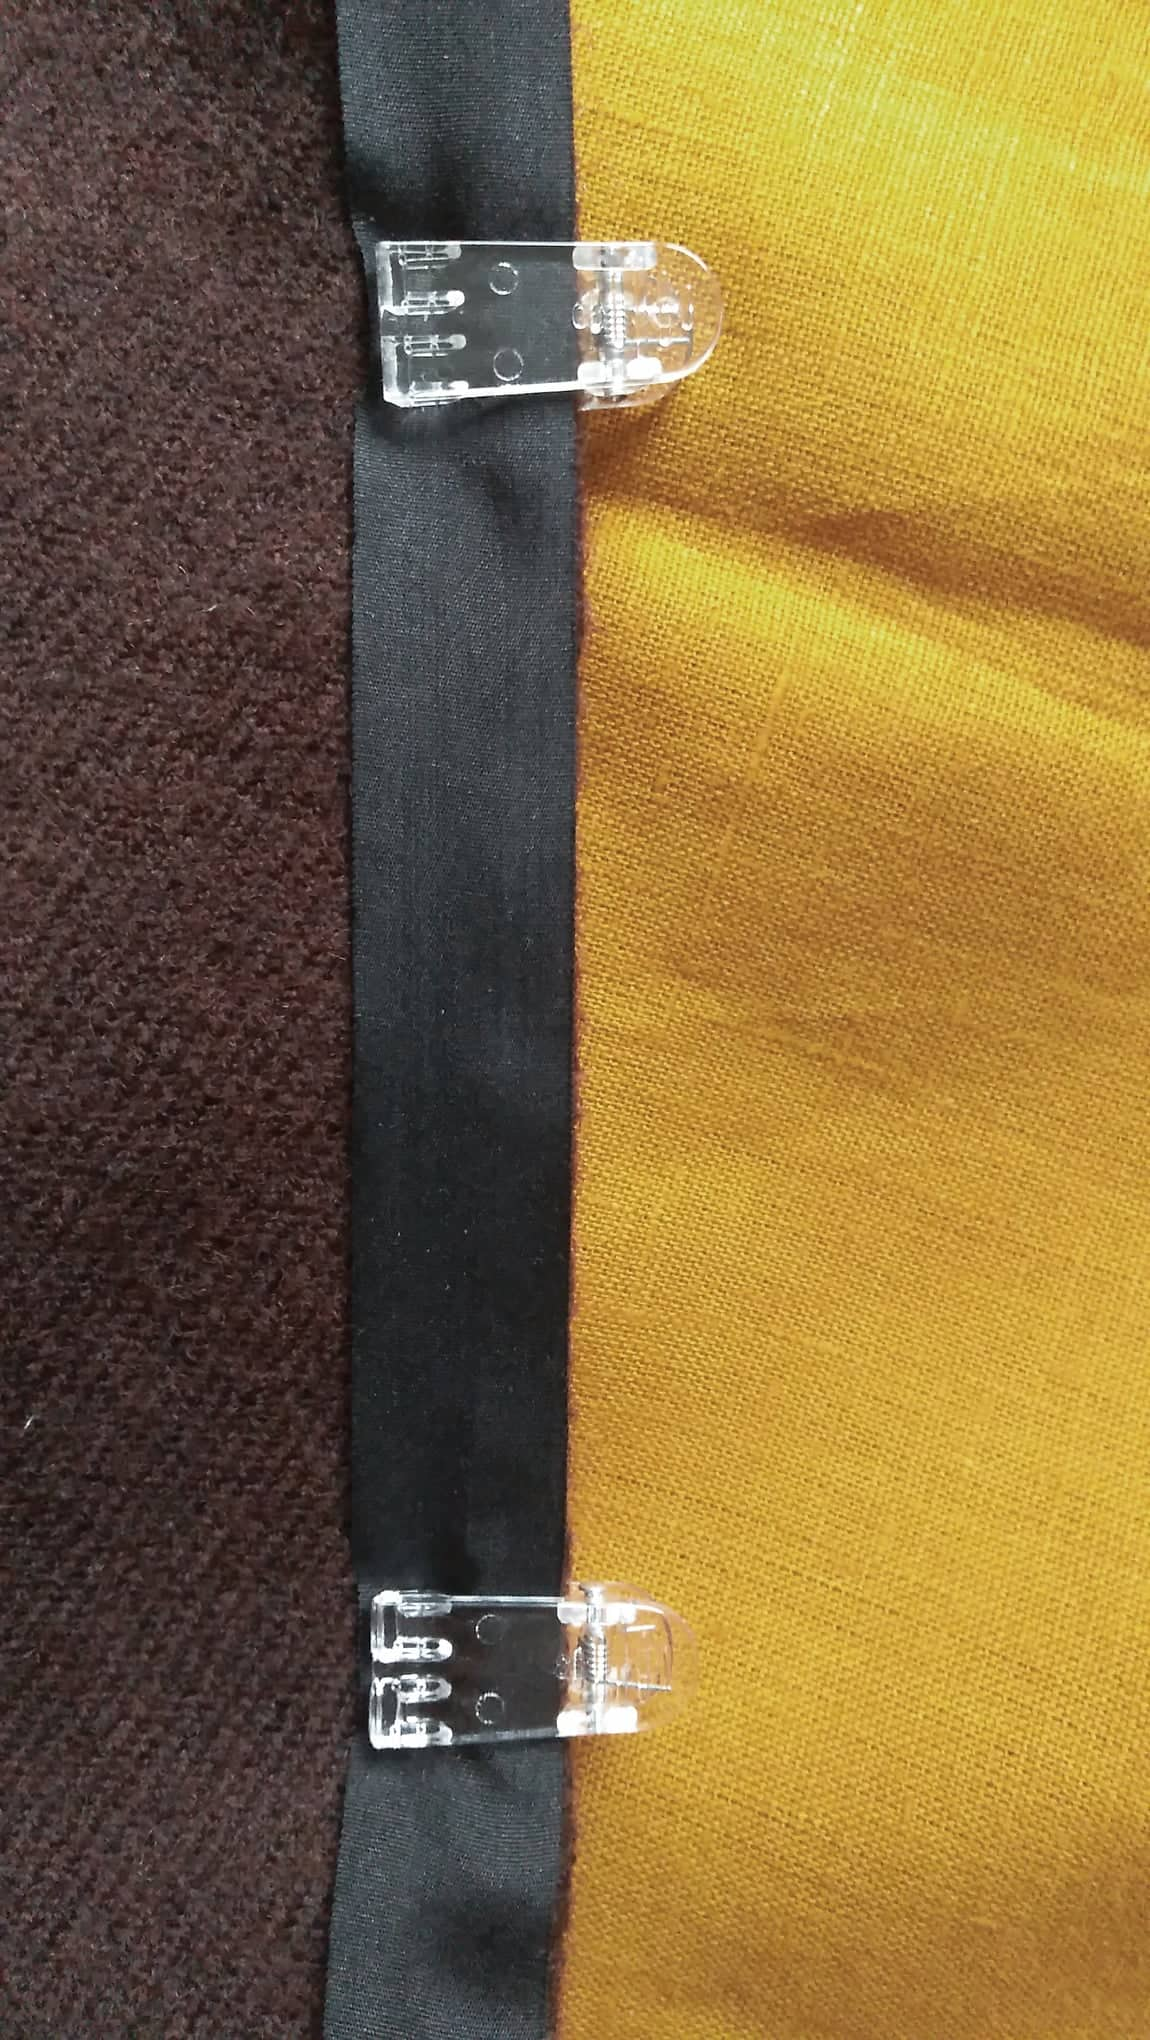
I have already had experience with sewing these ribbons when I made bows for my pregnancy jacket (you can find the tutorial here as well). The ribbons are really very fine and it is easy to destroy them if pins are used to attach them. This time, however, I was a little smarter and bought clips for the fabric, which not only do not destroy the fabric, but also hold more layers very well. With these clips, the ribbon was attached to the edges of the cloak very easily, and not a piece of thread was pulled out anywhere. (I bought the clips in Tchibo, but they have them anywhere in haberdashery.)
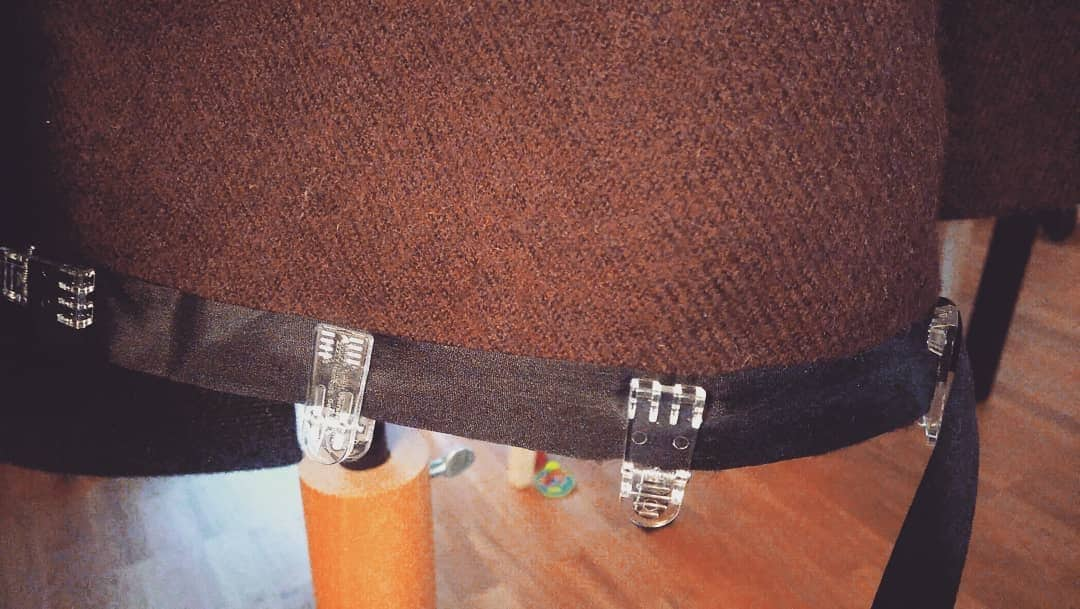
I started with a ribbon at the bottom of the cloak.
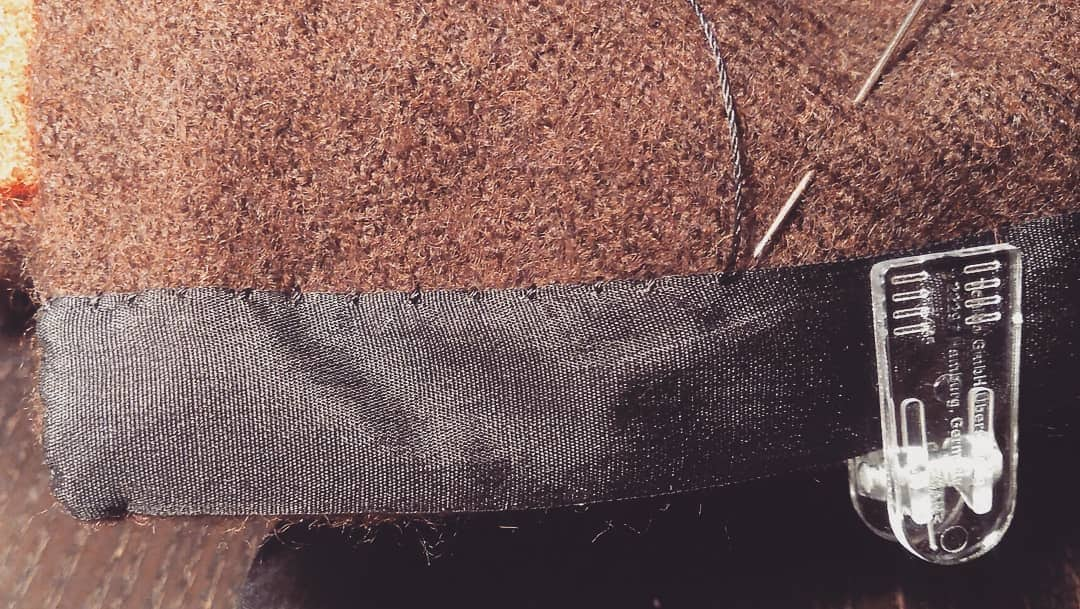
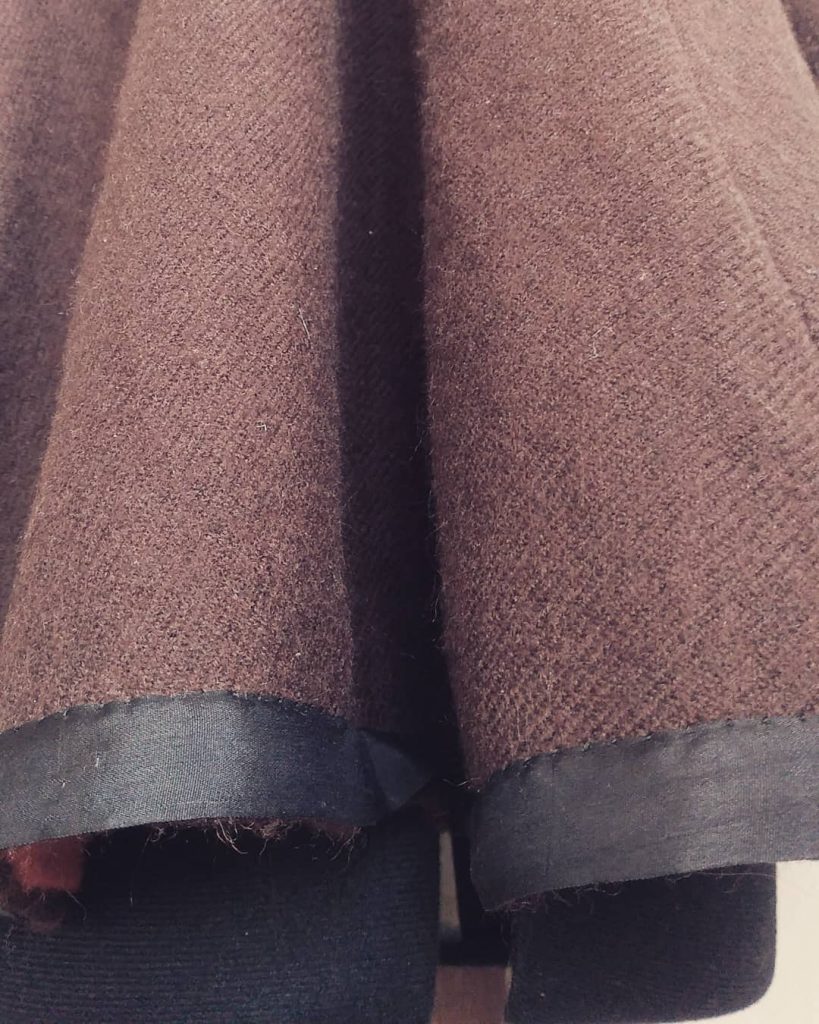
I was looking for a suitable period stitch to sew silk ribbons on the hem of the costume. I decided on couching stitch, which was used in 17th century to sew braids to the costume. It proved to be a suitable choice. I was afraid of scratching the ribbon, but I chose a fairly suitable stitch and narrower distances from the individual stitches, so I'm happy with the result.
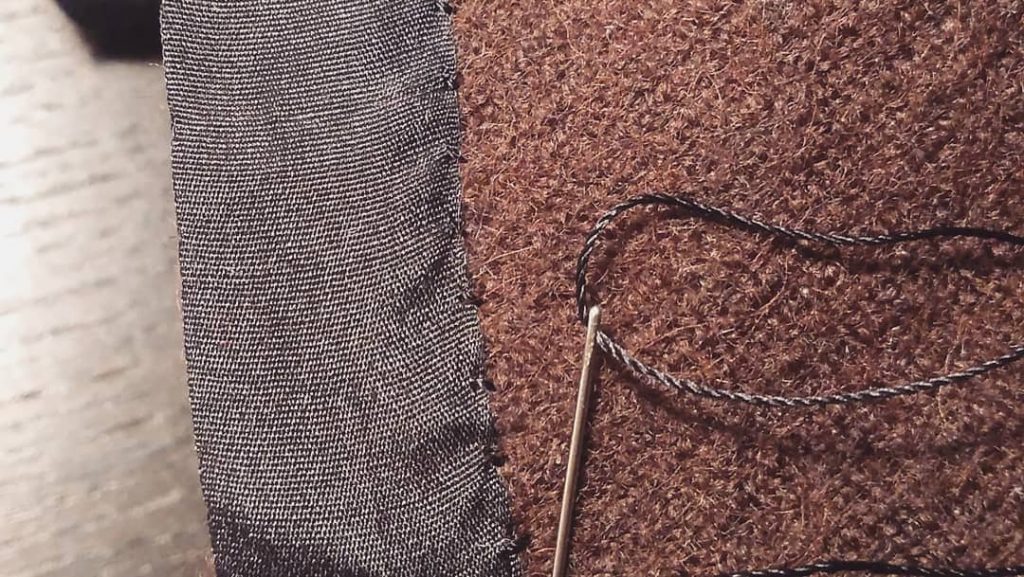
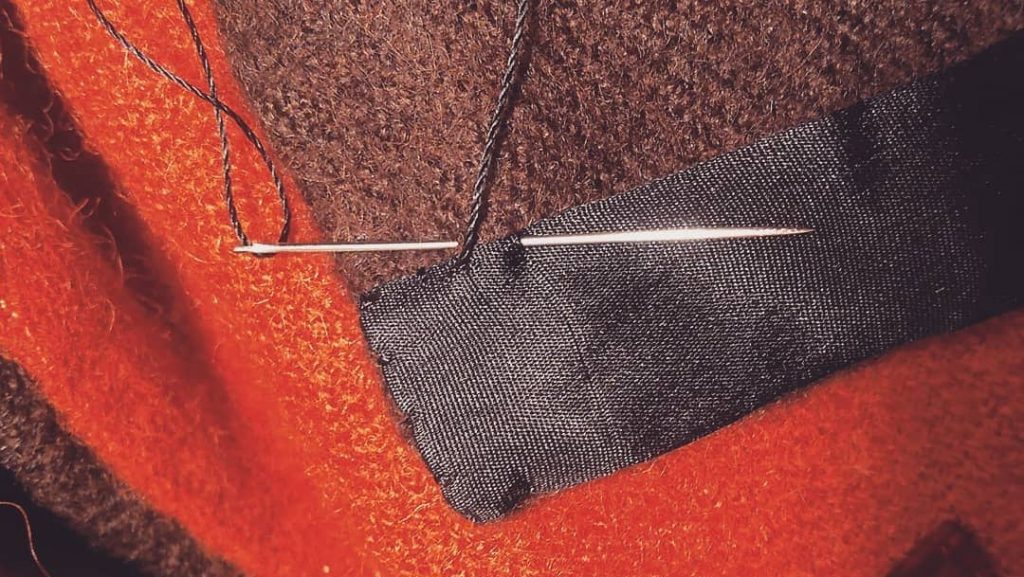
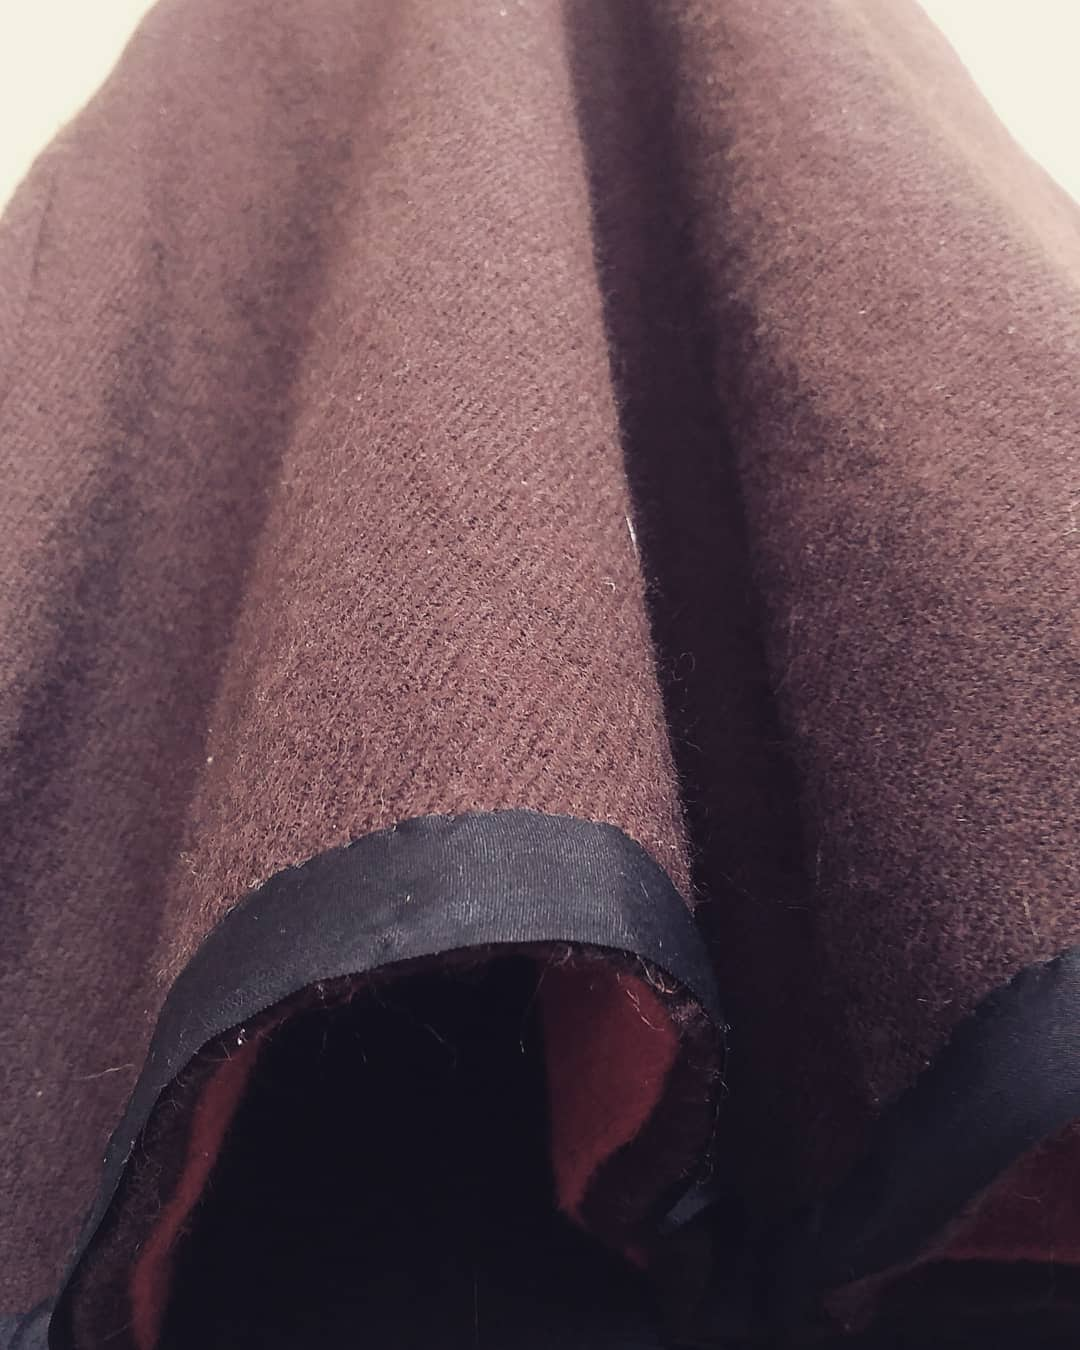
The first row of ribbons at the bottom edge - sewn so far only at the top. This was followed by a horizontal ribbon at the edge when opening the cloak, followed by a second row at the bottom edge and shorter ribbons around the collar.
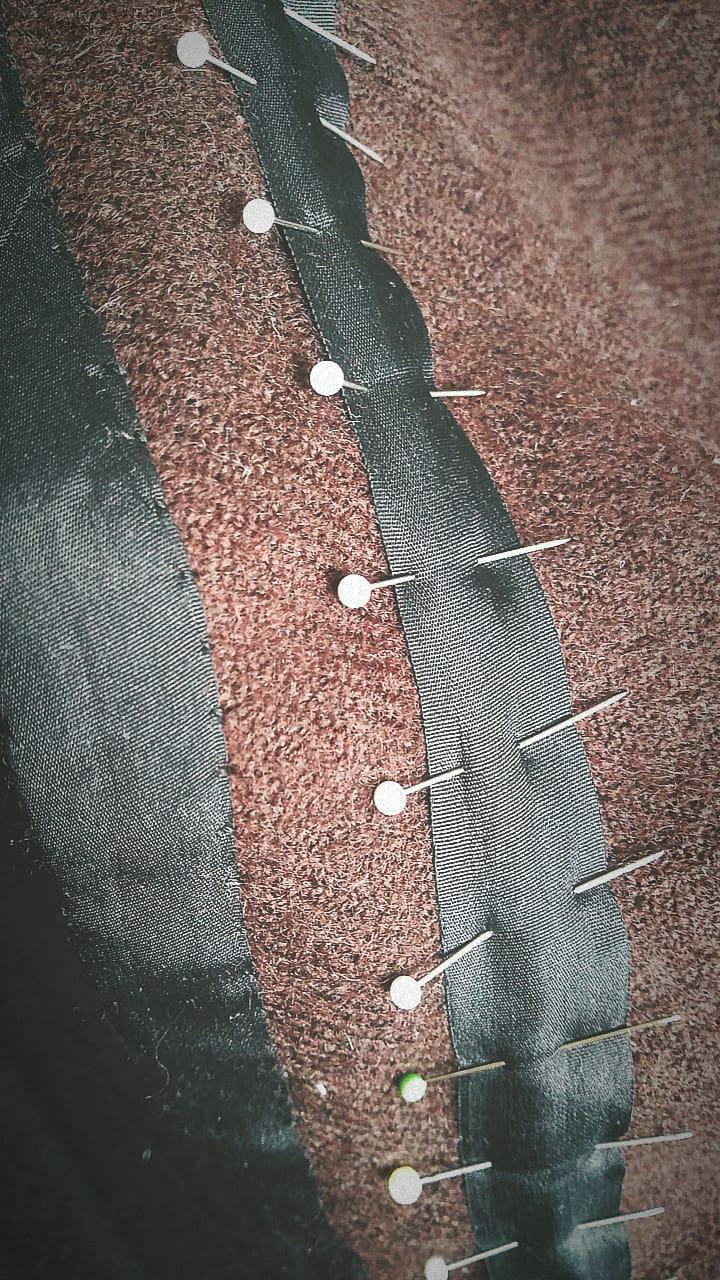
Ribbons that are not on the edge had to be carefully pinned.
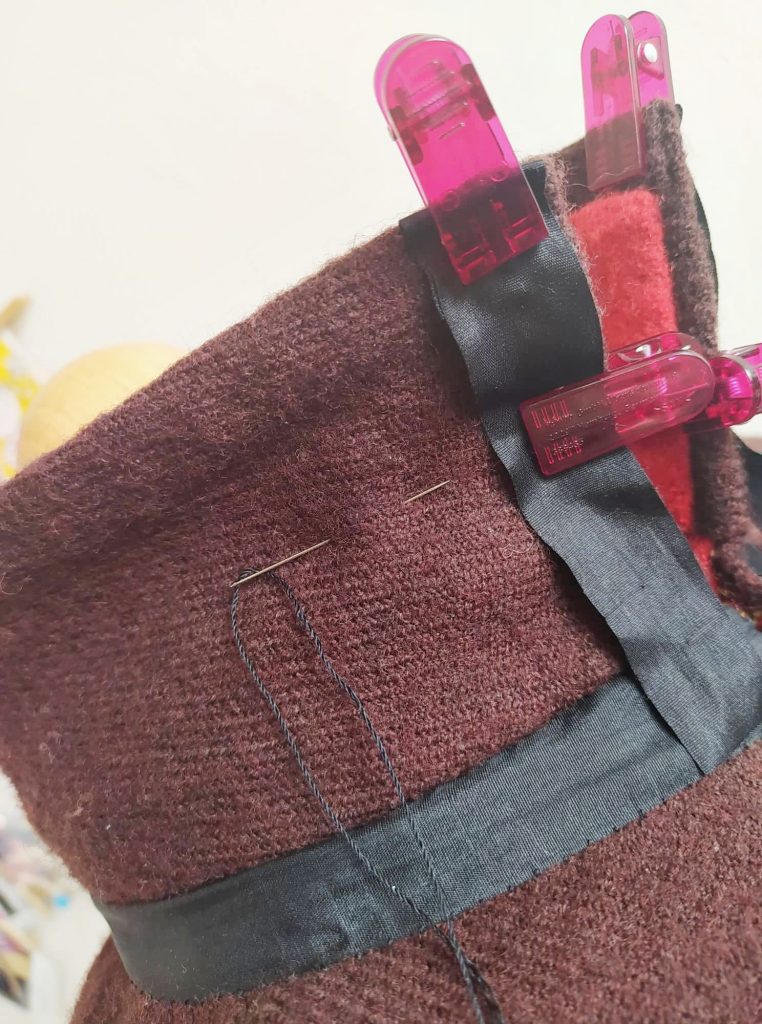


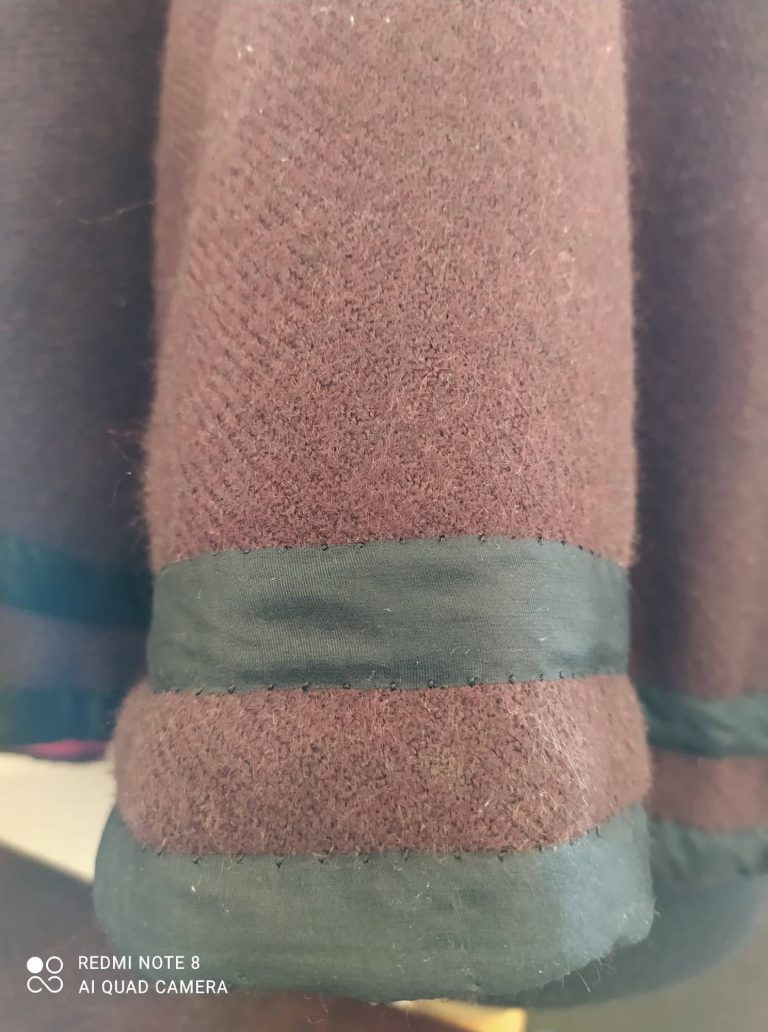
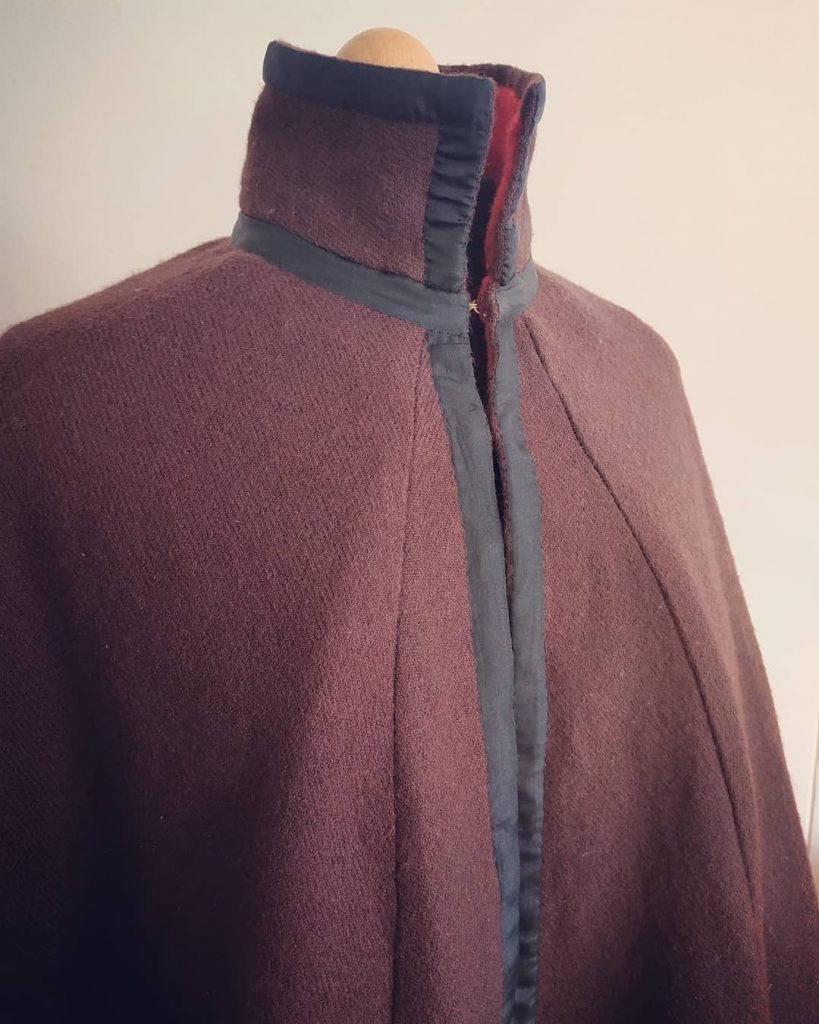
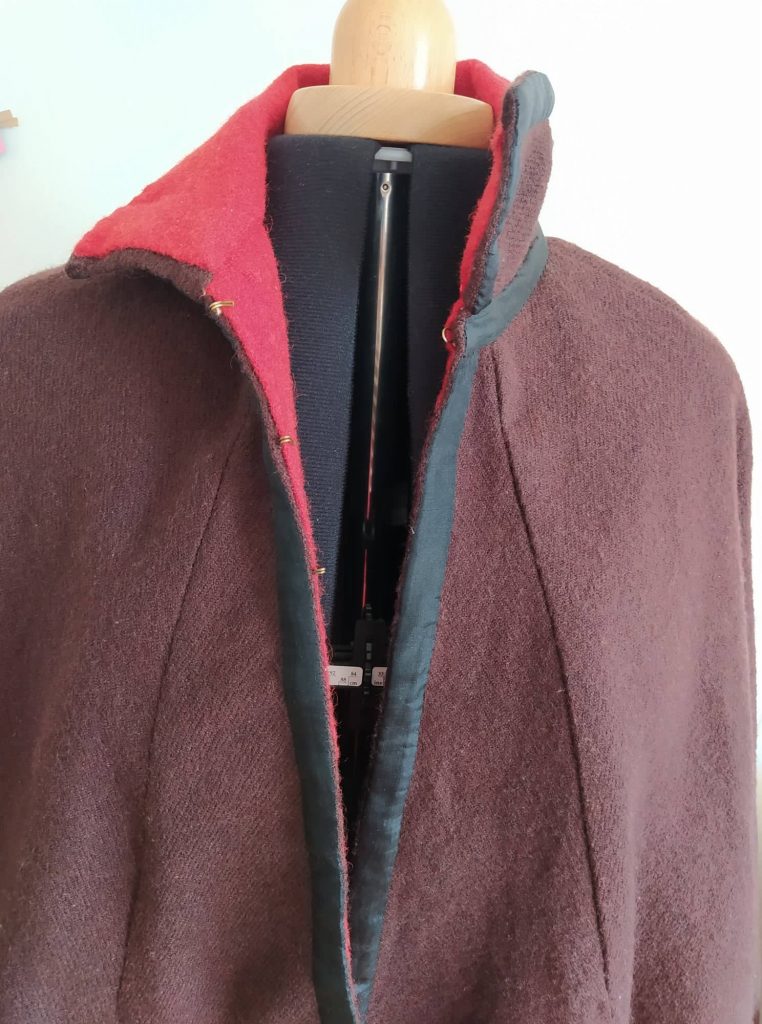
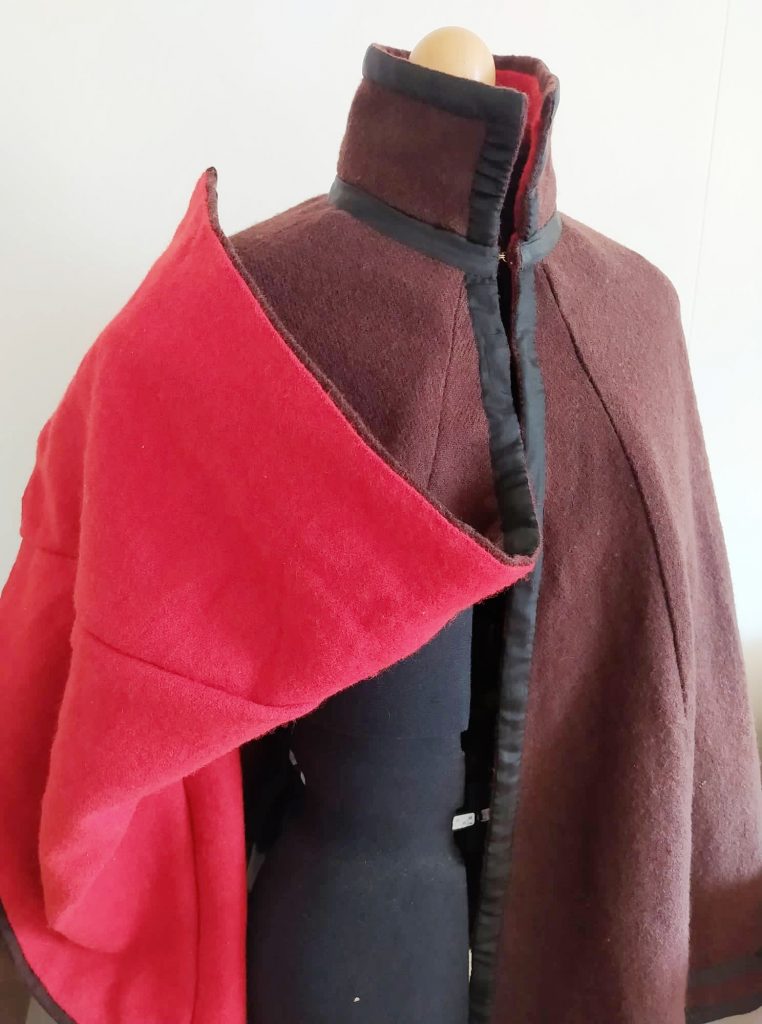
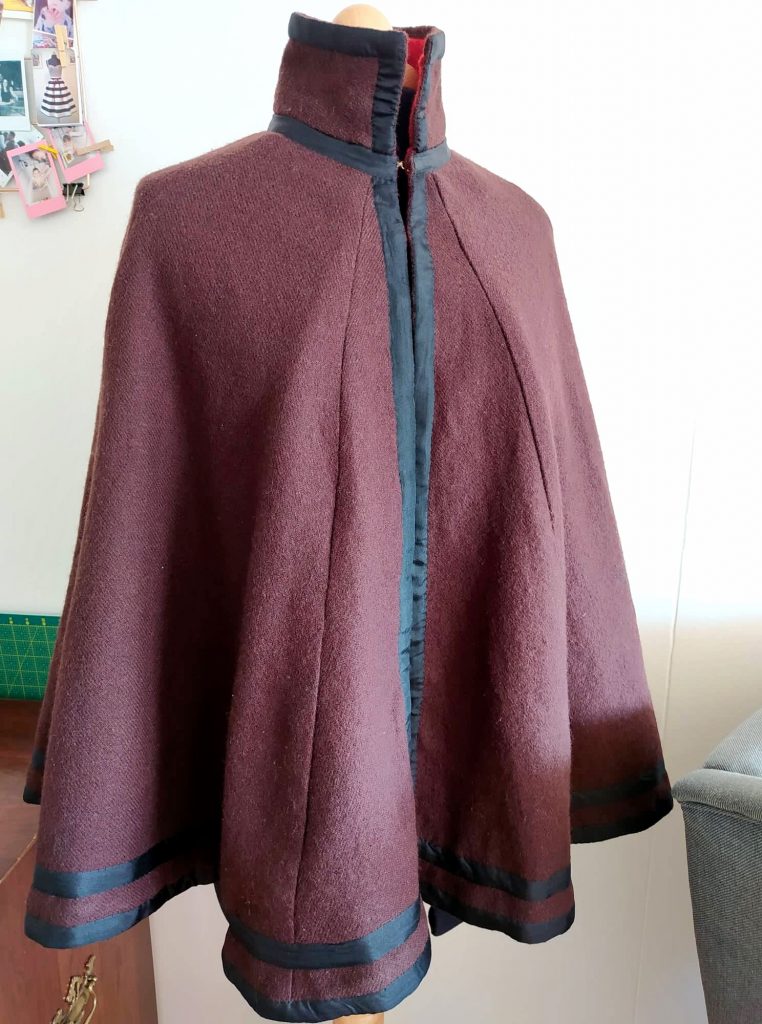
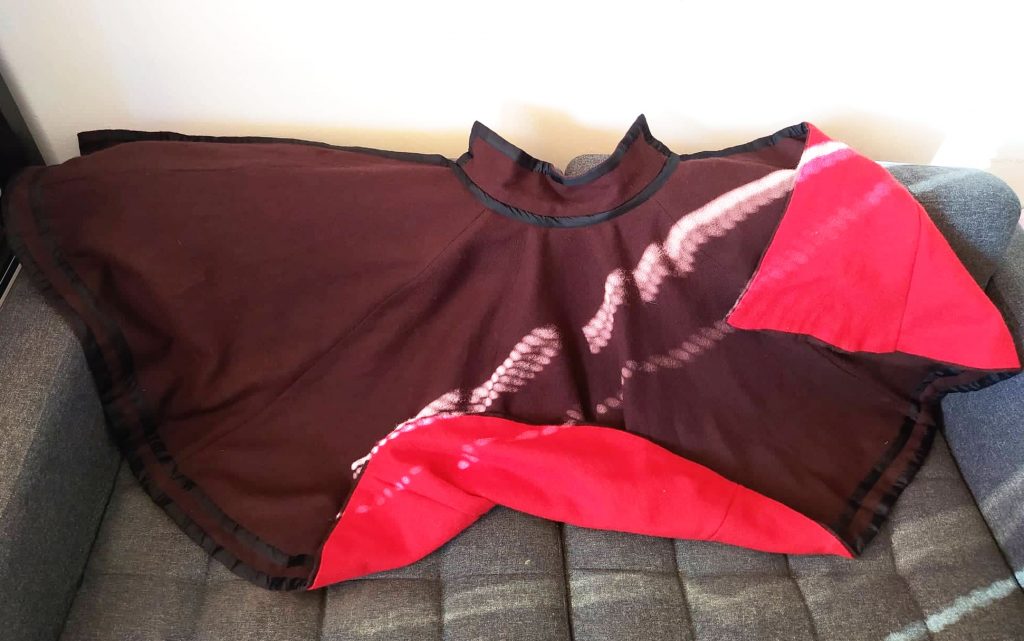
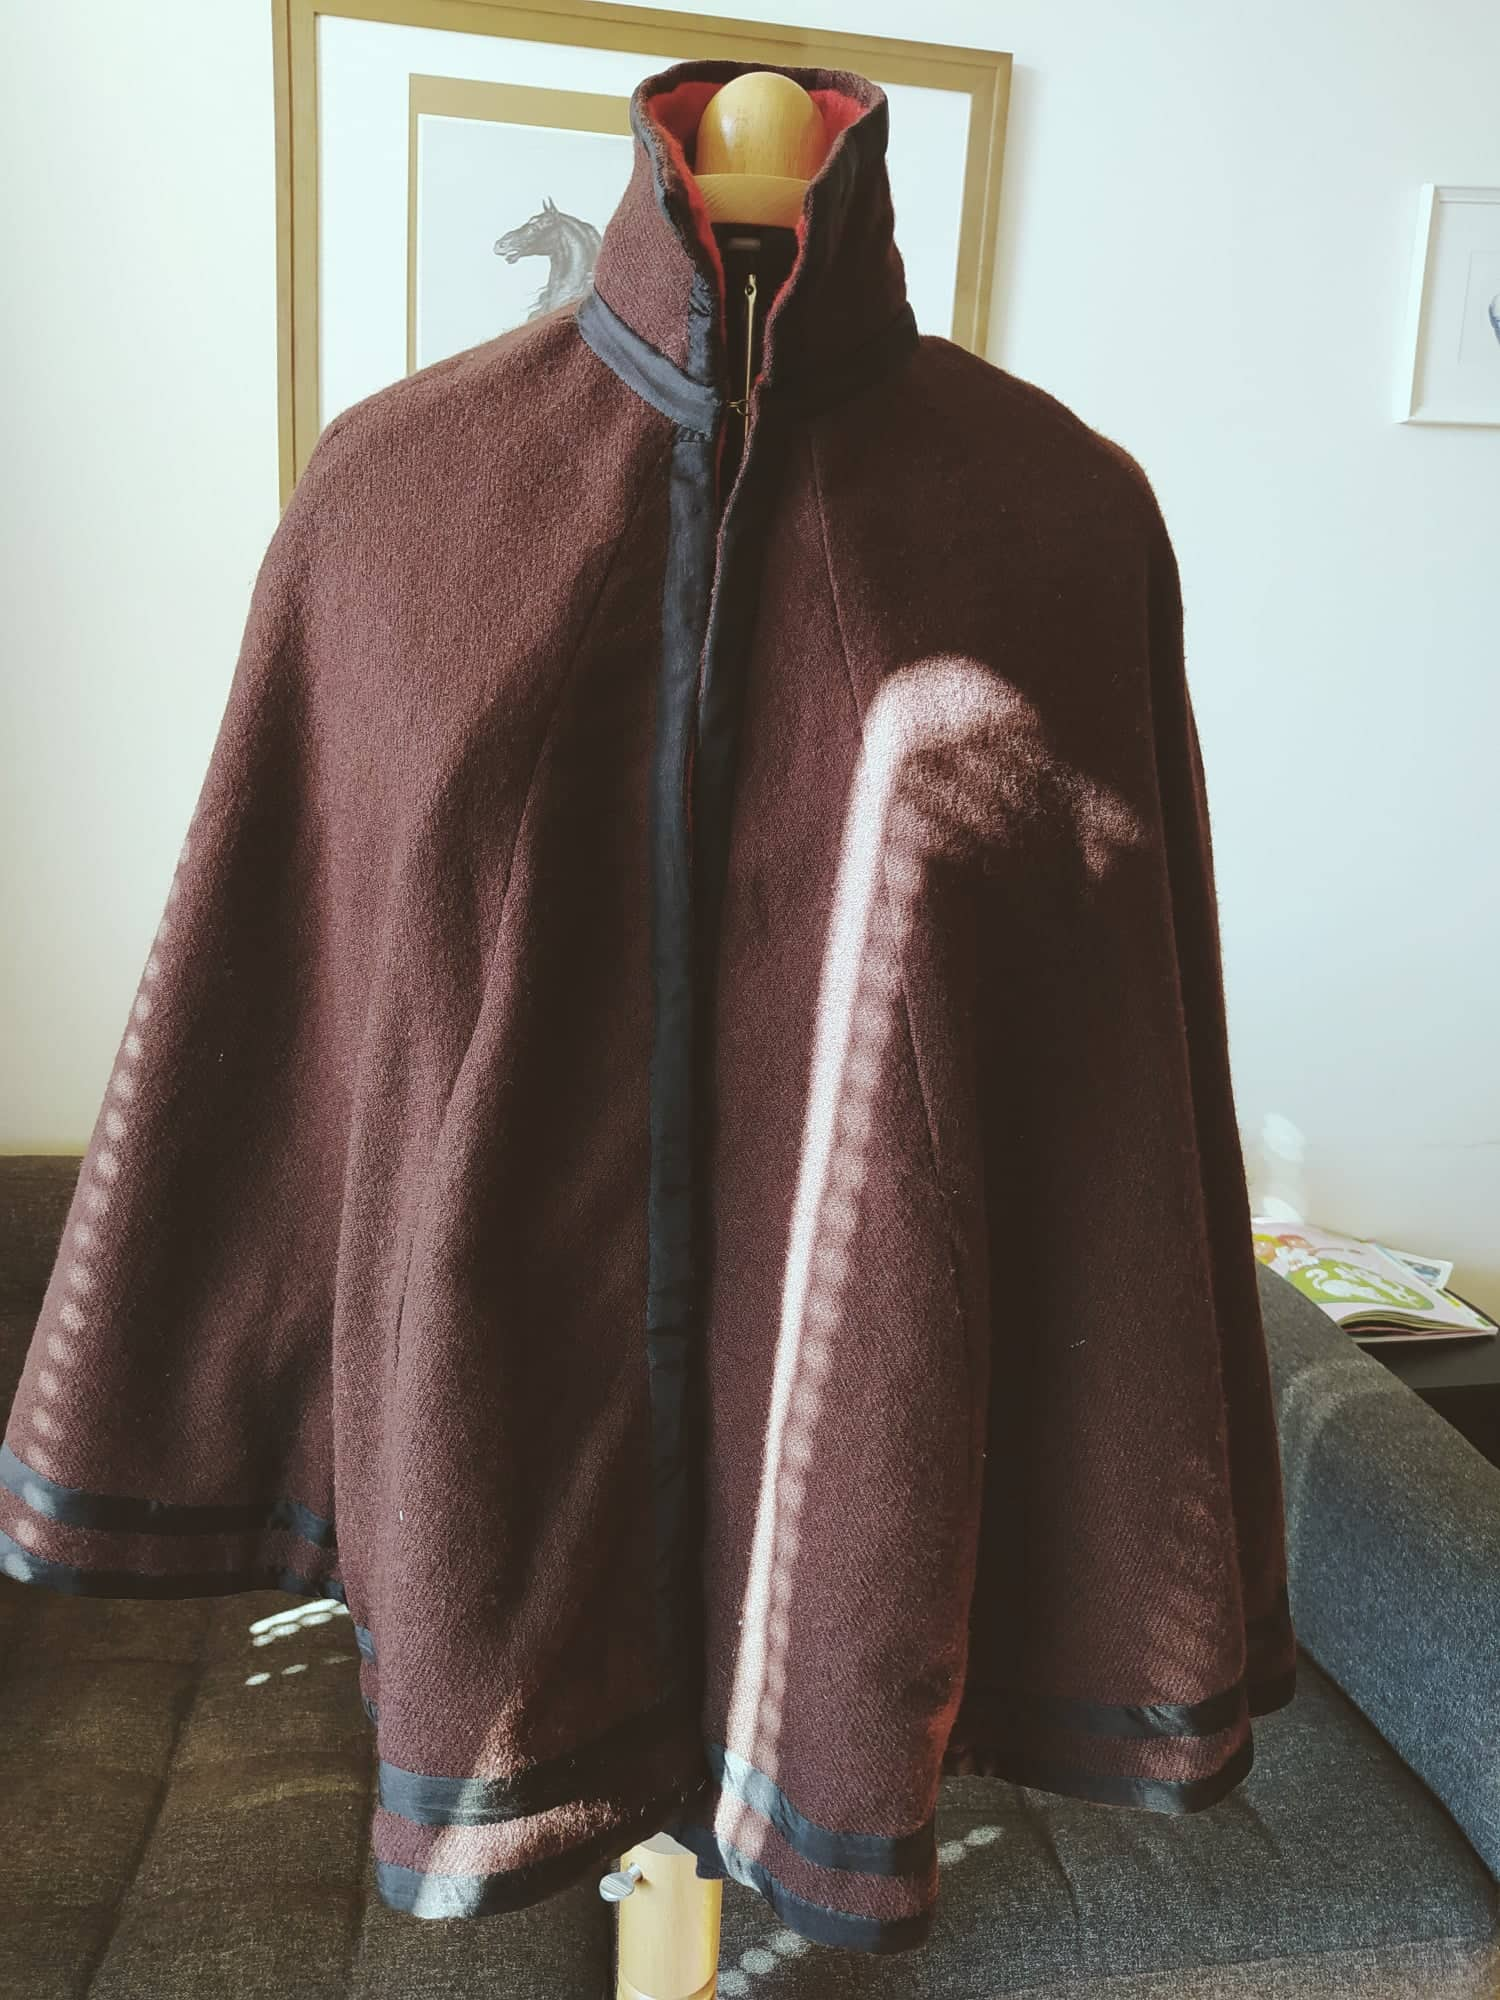
It's done. It has a lot of imperfections, but it will keep me warm and I'll feel like a Hollar's matron in it, and that's something.
What did I use?
- Brown thinner wool from the Belgrade Woolen Combine (BVK)
- Cotton brown, yellow and red threads for machine sewing of longer seams
- Beige linen blacksmith thread
- Brass wire from Korálkárna for making hooks and eyes
- Matte yellow linen of medium weight from the LH shop for the original lining/interlining
- Red stiffer 100% wool by Wooltrade
- Soft, supple ribbon of pure, genuine silk, 2 cm (¾") from Sartor
- Black silk thread from local haberdashery for sewing ribbons
What will I do differently next time?
- Although I really liked the triangular cut of the cloaks, I would no longer do such mathematical calculation and unnecessary sewing of triangles - cloaks sewn from a larger piece of fabric are much faster to sew and save time measuring individual triangles and measuring whether they are all evenly sized (the fabric probably shifted a bit when sewing under the collar, so after measuring the already sewn parts not all of them are evenly wide)
Highlights:
- I found out that there were tailor's clips that made it easier work with ribbons - they hold more layers of fabric firmly + they don't destroy ribbons, I started using them more and more instead of pins
- After the experience of sewing heavier fabrics, I used to hang the costume on a solid hanger for a few days - after sewing the red wool lining in the area of the collar, I let the cloak hang for a few days so that the wool pulled out a little (otherwise it could happen after sewing at the edge of the cloak and it wouldn't look good)


